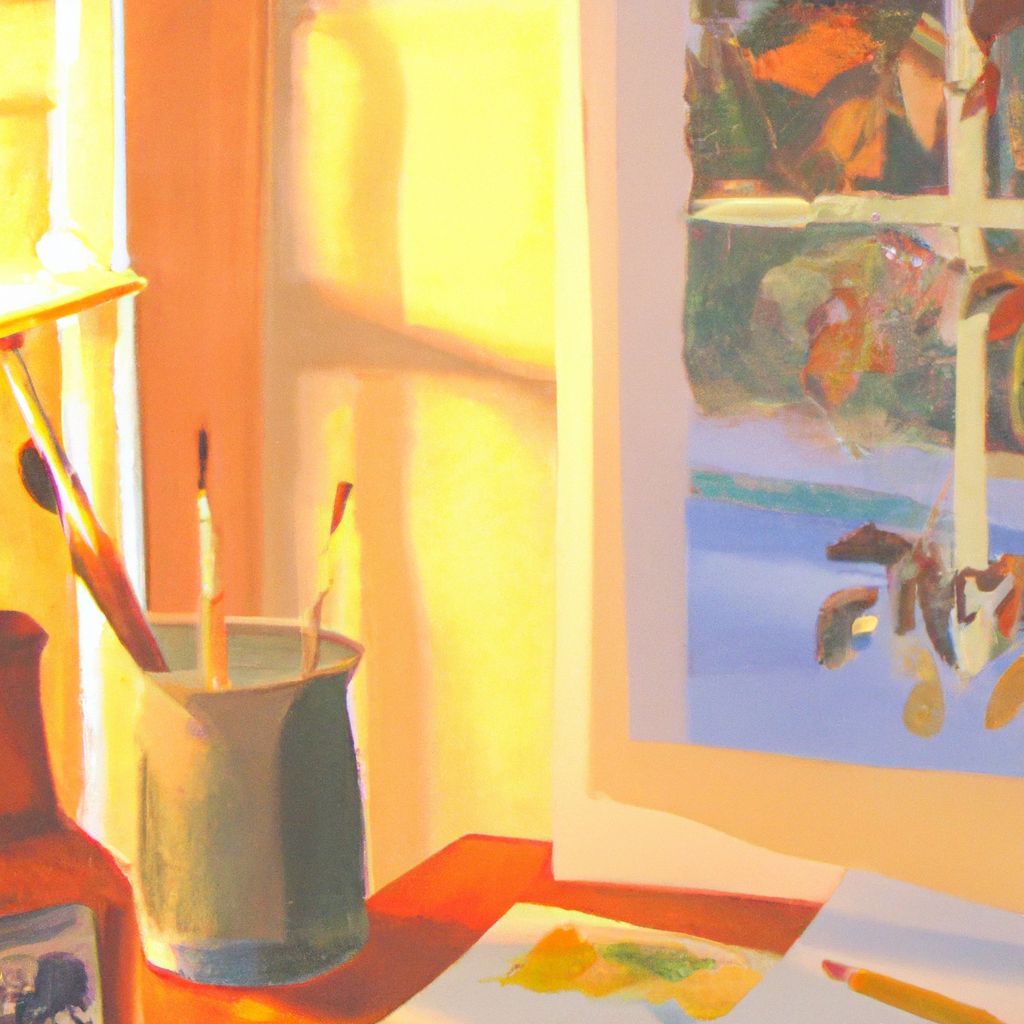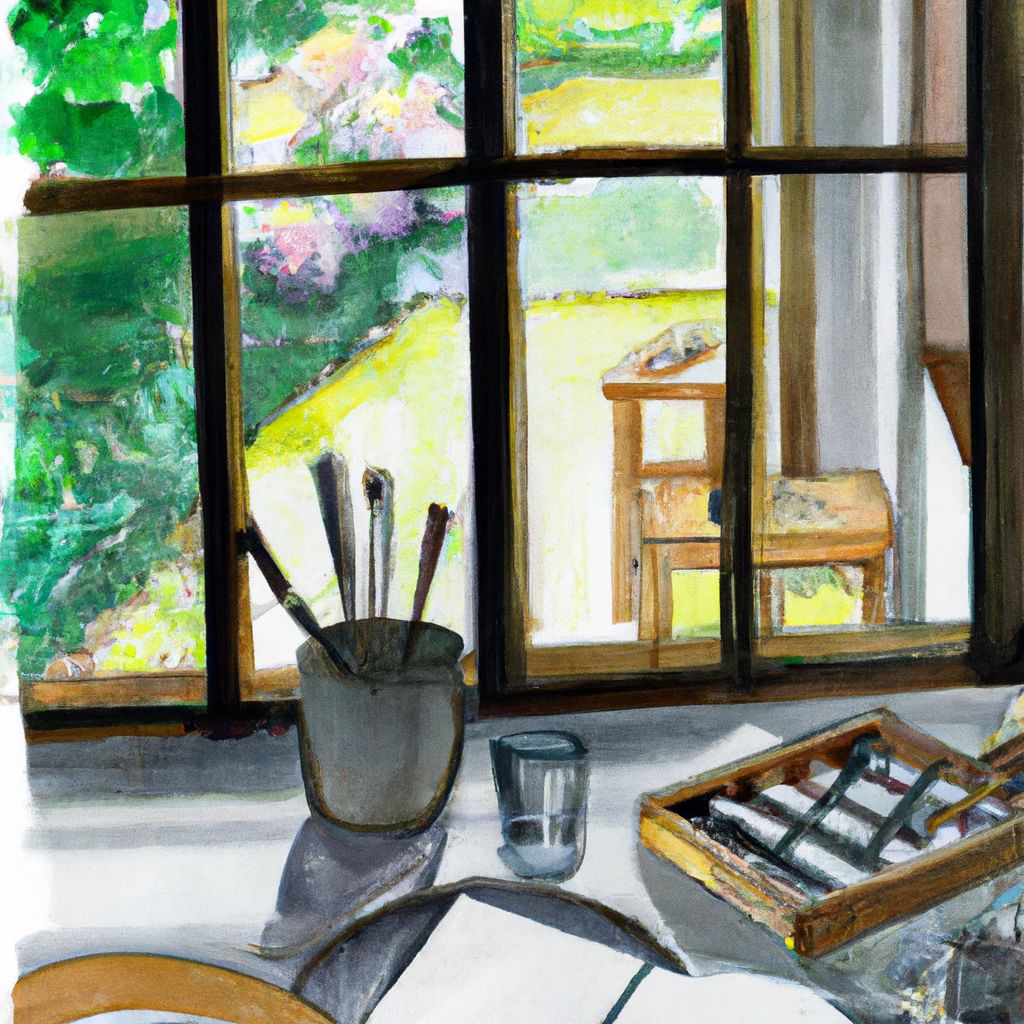
Watercolor painting is an art form that has been cherished for centuries, offering a unique blend of subtlety and vibrancy to artists. The key to mastering this medium lies in understanding the tools of the trade, particularly watercolor brushes. Each type of brush has its own set of characteristics and uses, and knowing when and how to use them can elevate your watercolor techniques to new heights. In this comprehensive guide, we will explore the different types of watercolor brushes available and delve into their specific uses to help you make the most out of your watercolor endeavors.
Understanding Brush Fibers
Before we dive into the various types of brushes, it’s essential to have a grasp on the brush fibers that are commonly used in watercolor brushes. This will set the foundation for understanding the performance and application of each brush type.
- Natural Hair Brushes: Known for their excellent water-holding capacity and smooth application.
- Synthetic Brushes: Durable and more affordable, these brushes have a slightly different feel on the paper.
- Blend Brushes: A mix of natural and synthetic fibers, offering a balance between performance and price.
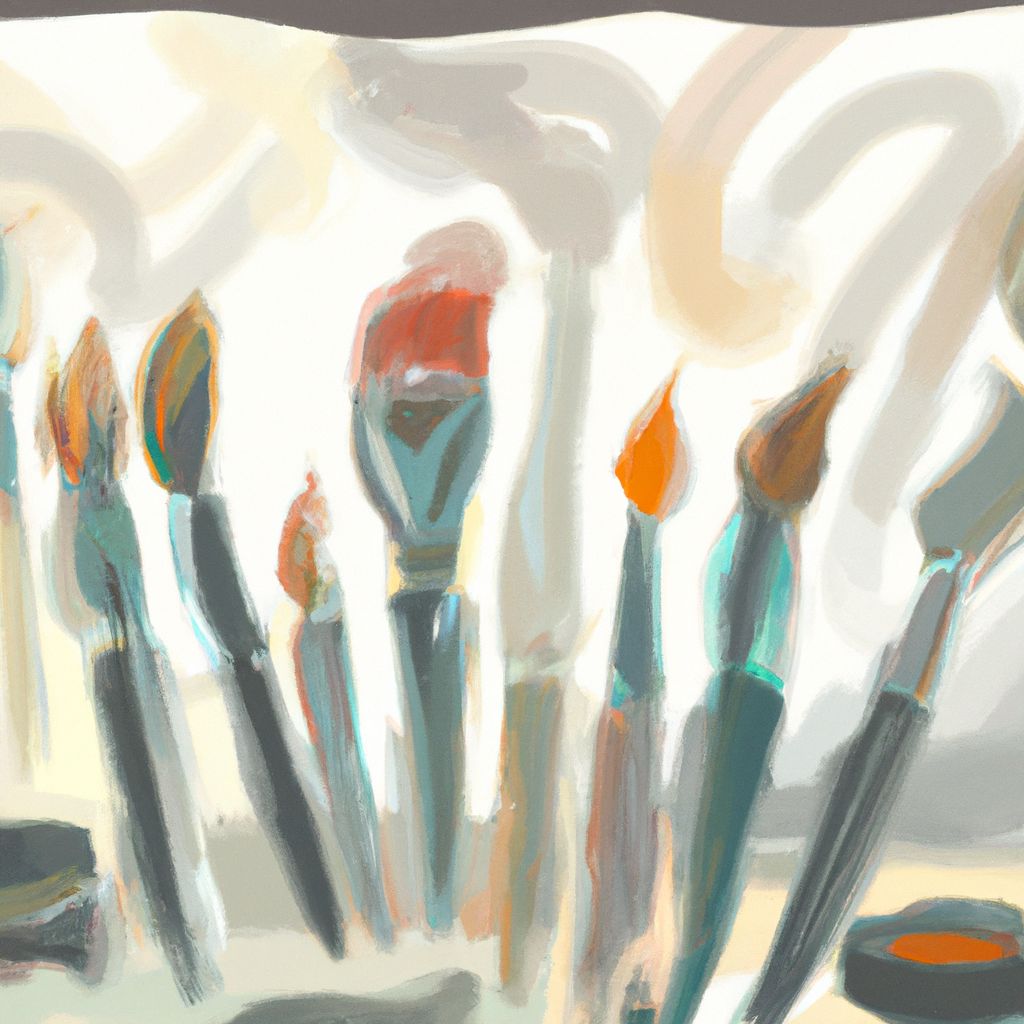
Round Brushes
Round brushes are the quintessential tool for watercolorists. With their pointed tip and robust body, they are incredibly versatile and can be used for a variety of strokes.
"The round brush is the backbone of the watercolor artist's brush collection." - Renowned watercolorist
- Detailed work and fine lines.
- Filling in small to medium areas with precise control.
- Creating gradient washes when used with a light touch.
Spotter and Rigger Brushes
Within the round brush category, spotter and rigger brushes deserve special mention. Spotters are excellent for adding fine detail due to their shorter bristles, while riggers are long and slender, perfect for continuous lines and lettering.
Flat Brushes
Flat brushes have a squared-off tip and are ideal for creating sharp edges and filling in larger areas with color. They come in various sizes and are beneficial for achieving a variety of techniques.
- Washes: Covering large sections of the paper with a uniform color.
- Glazes: Applying thin layers of paint over dried layers to adjust the hue or value.
- Edges: Utilizing the sharp edge to create clean linear strokes.
Wash and Mop Brushes
For expansive washes and soaking large areas, wash and mop brushes are the go-to. These brushes are larger and more rounded than standard flat brushes, capable of holding copious amounts of paint and water.
Fan Brushes
Fan brushes, with their spread bristles, are unique in their shape and effect. They are not as commonly used as round or flat brushes but have their place in creating specific textures and patterns.
- Texture: Ideal for creating foliage, grass, or hair with a natural, random appearance.
- Blending: Useful for softening edges and blending colors smoothly on the paper.
- Special Effects: Great for making waves, clouds, or other creative textural effects.
Angular and Filbert Brushes
Angular brushes, with their angled bristles, and filbert brushes, with their oval shape, are excellent for precision work and controlled strokes.
- Angular Brushes: Perfect for tight shading and curved strokes.
- Filbert Brushes: Best for blending and softening edges with more control than a round brush.
Choosing the Right Brush
With such a wide variety of brushes, it can be overwhelming to decide which to use. The choice ultimately comes down to personal preference and the specific requirements of the piece you’re working on. Here are some tips to guide you in your selection:
- Consider the size of the area you are painting.
- Think about the type of stroke you need to make.
- Don't be afraid to experiment with different brushes to find what works best for you.
Maintenance and Care
To ensure that your brushes last a long time and maintain their performance, proper care is crucial. Here's how to keep your brushes in top condition:
- Clean your brushes thoroughly after each use.
- Reshape the bristles while they are wet.
- Allow the brushes to dry horizontally or with bristles facing down to prevent water from loosening the glue in the ferrule.
- Store brushes in a protective case or holder to maintain their shape.
Conclusion
In conclusion, understanding the different types of watercolor brushes and their specific uses is key to enhancing your watercolor paintings. Whether you prefer the versatility of round brushes, the precision of angular and filbert brushes, or the textural capabilities of fan brushes, there is a tool for every technique. Remember to experiment with various brushes to discover the unique effects each can bring to your artwork, and always take good care of your tools to ensure their longevity. Embrace the beauty of watercolor painting with the right brushes at your fingertips, and watch your artistic visions come to life on the paper.
References
For further reading and to deepen your understanding of watercolor brushes, consider the following resources:
- "The Complete Watercolorist's Essential Notebook" by Gordon MacKenzie.
- "Watercolor Painting: A Comprehensive Approach to Mastering the Medium" by Tom Hoffmann.
- Online tutorials and workshops from professional watercolor artists.
With the right knowledge and tools, the world of watercolor painting is at your brush tip. Dive in, explore, and let your creativity flow!