- Understanding Watercolor Painting: An Overview
- Essential Watercolor Supplies for Beginners
- Setting Up Your Watercolor Workspace
- Basic Watercolor Techniques to Master
- Understanding Color Theory and Mixing
- First Watercolor Project: Simple Steps to Follow
- Common Watercolor Painting Mistakes and How to Avoid Them
- Caring for Your Watercolor Materials
- Finding Inspiration and Developing Your Watercolor Style
- Additional Resources and Communities for Watercolor Artists
Understanding Watercolor Painting: An Overview
The origins of watercolor painting can be traced back to the Paleolithic era, where early humans used pigments mixed with water to create cave paintings. However, it was during the Renaissance that watercolor began to develop as a distinct medium. Its popularity surged in 18th-century England, with artists like William Turner elevating its status from mere sketches to standalone works of art. Watercolor eventually spread across Europe and America, becoming a favored medium among landscape and botanical artists.
Watercolor painting is distinct from other mediums in its inherent transparency and fluidity. Unlike the opaque strokes of oil or acrylic paints, watercolors are translucent, allowing light to pass through and reflect off the paper. This quality gives watercolor works a luminous effect that is both delicate and vibrant. The fluid nature of watercolors also allows for a level of spontaneity and unpredictability, as the pigments can blend and bleed into one another in unexpected ways.
These unique characteristics make watercolor a particularly appealing medium for beginners. The simplicity of the materials needed—a palette of watercolor paints, brushes, and paper—is less intimidating than the elaborate setup required for oil painting. Moreover, the ease with which one can mix and apply watercolors encourages experimentation, making it an excellent avenue for novice artists to explore their creativity. The forgiving nature of the medium, where mistakes can often be reworked or incorporated into the design, further enhances its popularity among those new to the art world.
Essential Watercolor Supplies for Beginners
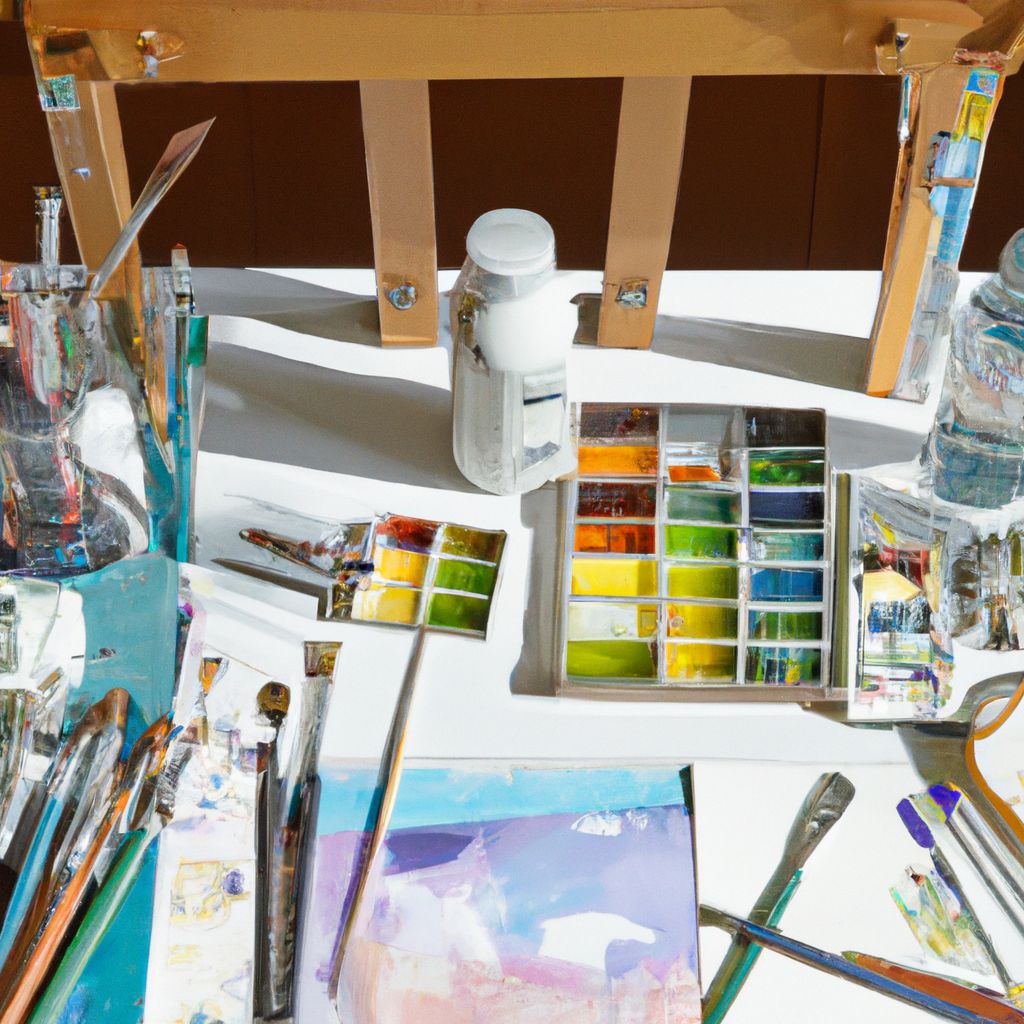
- Watercolor Paints: Watercolors come in pans, tubes, and liquid form.
- Pans are convenient, portable, and great for fieldwork. They are typically activated with a wet brush.
- Tubes provide paint in a more fluid form, which can be easier to mix for larger areas or more saturated colors.
- Liquid watercolors offer high pigment concentration and are typically used for bold, vibrant works.
- Brushes: A variety of brushes is essential for different strokes and effects.
- A round brush is versatile for both detailed work and broader strokes.
- A flat brush is ideal for washes and straight edges.
- Mop brushes hold a lot of water and are good for wetting the paper and large washes.
- Detail brushes are used for fine lines and small details.
- Watercolor Paper: Paper quality is critical in watercolor painting.
- It should be acid-free and consist of either cotton (more durable and absorbent) or cellulose.
- It comes in different textures: rough, cold-pressed, and hot-pressed, each lending a different feel to the painting.
- The weight of the paper (measured in pounds or grams per square meter) affects its ability to absorb water without warping; heavier papers are generally preferred.
- Palettes: Palettes are used for mixing colors. They can be made of plastic, ceramic, or metal and should have a flat surface with wells for holding and mixing paints.
- Water Containers: At least two containers of water are recommended—one for cleaning brushes and the other for clean water to mix with paints.
- Optional Items:
- Masking fluid, also known as liquid frisket, is used to block out areas of the paper to keep them white.
- Sponges can be used for creating textures or for lifting wet paint from the paper.
- A paper towel or a rag is handy for blotting brushes and correcting mistakes.
- Pencil and eraser for lightly sketching the composition before painting.
- Tape can be used to stretch the paper on a board to prevent warping and to create clean edges.
With these basic supplies, beginners can embark on their watercolor journey, experimenting with various techniques and developing their unique style. While high-quality materials can make a difference in the final outcome, starting with mid-range supplies is often sufficient for beginners until they become more familiar with their preferences and techniques.
Setting Up Your Watercolor Workspace
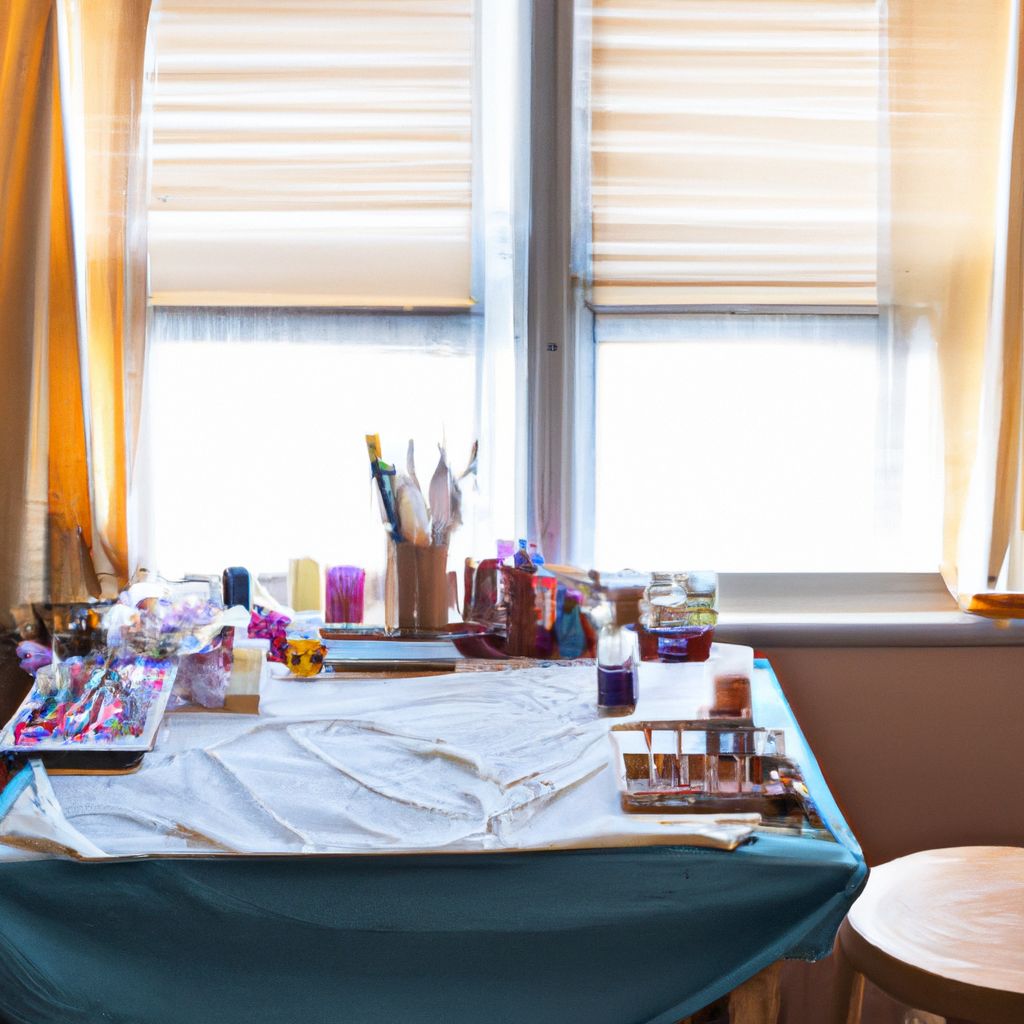
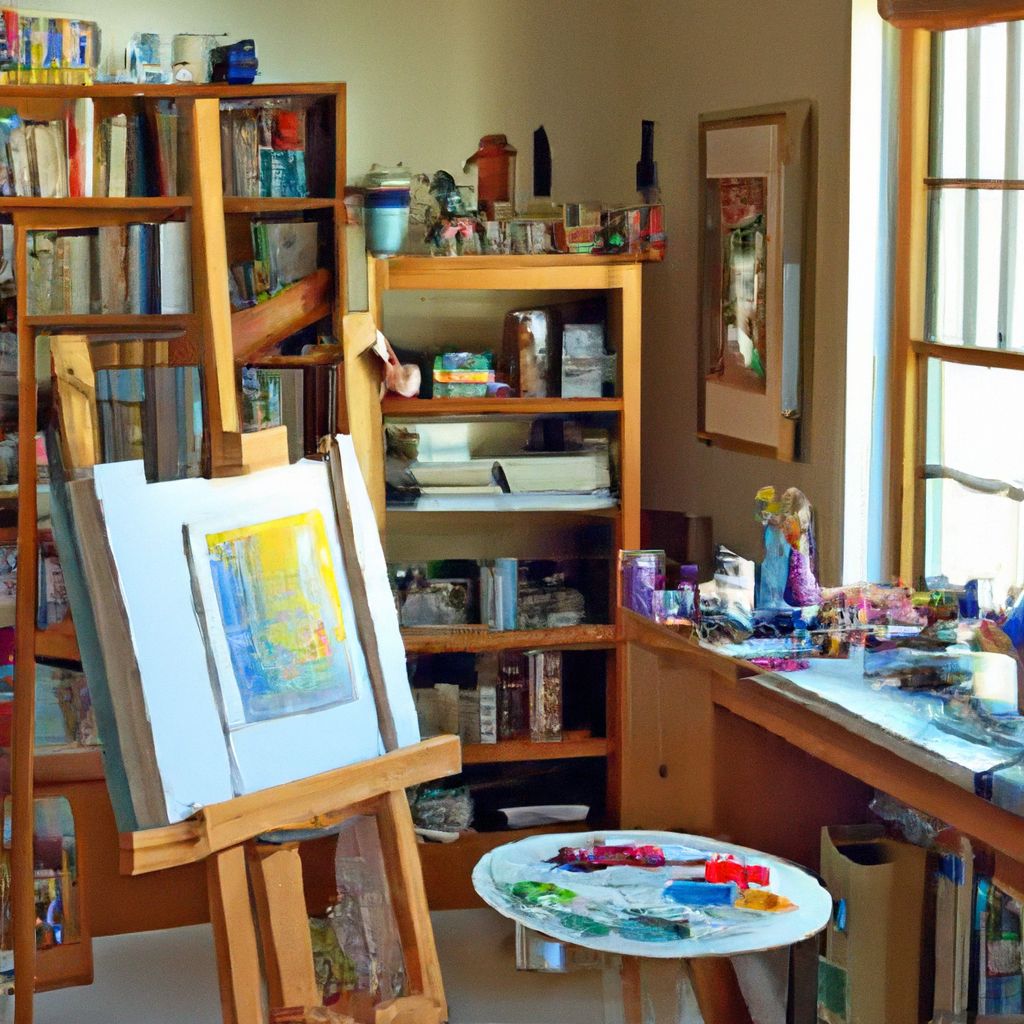
Creating a conducive and efficient workspace is crucial for any artist, and this holds true for watercolor painting. Here are some tips to help beginners set up their workspace:
- Good Lighting:
Optimal lighting is essential for painting, as it affects how colors and details are perceived. Natural light is ideal, but if that's not possible, a daylight LED lamp can be a good substitute. The light should be positioned to illuminate the workspace without causing glare on the paper.
- Protecting the Work Area:
Watercolor painting can get messy, so it's important to protect the work area. Covering the table with a waterproof tablecloth or layers of old newspapers can prevent stains and make cleanup easier. A dedicated art mat or a sheet of plexiglass can also serve as a protective layer and provide a sturdy surface for taping down your paper.
- Organizing Supplies:
Having an organized space where all supplies are easily accessible can greatly improve the painting experience. Use containers or holders for brushes and arrange the paints, palettes, and water containers within arm's reach to maintain a clean and orderly workspace. Keeping tools like sponges, tissues, and masking fluid close by can also enhance efficiency, especially when working with techniques that require quick application.
- Comfortable Seating:
Comfortable seating is key for those long painting sessions. Ensure the chair is at the correct height in relation to the table to maintain good posture. If the table is too low, consider using a tabletop easel or a drawing board propped at an angle to bring the work closer to eye level.
- Workspace Flow:
Consider the flow of your workspace. Place the palette to the side of your dominant hand for easy mixing, and the water containers just beyond it to prevent any accidental paint contamination. Keep the paper towel or rag on the opposite side to avoid dripping water across the painting when reaching for it.
- Minimize Distractions:
Lastly, minimize distractions in your workspace. This could mean turning off your phone, having a clean and clutter-free space, or ensuring that the room's temperature is comfortable. The fewer distractions you have, the more you can focus on the creative process.
With these tips in mind, you can set up an efficient and comfortable workspace that will allow you to focus on developing your watercolor skills. Remember, the best workspace is one that caters to your personal preferences and enhances your workflow.
Basic Watercolor Techniques to Master

Mastering foundational watercolor techniques is essential for creating a variety of textures and effects in your artwork. Here are four basic techniques that beginners should practice:
- Wet-on-Wet:
-
This technique involves applying wet paint onto a wet surface, allowing colors to flow and blend into one another. It's great for creating soft edges, backgrounds, and subtle color transitions. To practice, wet the paper with clean water using a large brush, then introduce wet paint and observe how it spreads and interacts with the water on the paper. An exercise could be to create a gradient sky, where the colors naturally blend from one to another.
- Wet-on-Dry:
-
Applying wet paint onto dry paper gives you more control and results in sharp, defined edges. It's useful for detailed work and layering. Start by painting simple shapes or lines on dry paper and then experiment with layering different colors once the first layer is dry. Try painting a landscape scene where controlled brush strokes define the shapes of objects precisely.
- Dry Brush:
-
With minimal water, drag a brush loaded with paint across dry paper to create a textured, scratchy effect. This is ideal for rendering rough surfaces like tree bark or grass. To practice, use a flat brush with just a bit of pigment and drag it across the paper, experimenting with the angle and pressure to see the different textures you can create.
- Layering (Glazing):
-
Layering, or glazing, involves applying thin, transparent layers of paint on top of one another once the previous layer is completely dry. This builds depth and luminosity in the painting. Start with a simple wash of color, let it dry, then apply a second wash over it to see how the colors interact. An exercise might include painting a fruit with several layers to build up the color intensity and depth gradually.
Practicing these techniques will give you a solid foundation in watercolor painting. Begin with simple exercises and as you gain confidence, incorporate these techniques into more complex compositions. Remember, watercolor is a medium that often rewards patience and gentle control, so take your time and enjoy the learning process.
Understanding Color Theory and Mixing

Color theory is a fundamental aspect of painting that guides artists in creating visually appealing and coherent works of art. At the heart of color theory is the color wheel, a tool that illustrates the relationships between colors.
- Primary Colors:
-
Primary colors are red, blue, and yellow. These colors cannot be made by mixing other colors together and are the starting point for creating all other colors on the color wheel.
- Secondary Colors:
-
Secondary colors—orange, green, and violet—are created by mixing two primary colors. For instance, mixing red and yellow produces orange.
- Tertiary Colors:
-
Tertiary colors are formed by mixing a primary color with a secondary color adjacent to it on the color wheel, resulting in colors like red-orange, yellow-green, and blue-violet.
To mix colors effectively, begin with the primary colors and experiment by combining them in various ratios to achieve the desired secondary and tertiary hues. Understanding the color wheel helps in creating a harmonious palette, as colors close to each other (analogous colors) generally work well together, while those opposite each other (complementary colors) provide contrast.
Beyond hue, color value is the lightness or darkness of a color. Adding water to watercolor paint can lighten its value, while adding more pigment darkens it. Color values are crucial for creating depth, volume, and interest in a painting.
Color temperature refers to the warmth or coolness of a color. Warm colors (reds, oranges, yellows) can make elements appear closer or more active, while cool colors (blues, greens, violets) can create a sense of calmness or distance. Using temperature strategically can influence the mood and perspective of a painting.
For practical application, beginners should create their own color wheel by mixing paints to understand the relationships between colors. Experimenting with color mixing and creating a color chart can also be useful. This chart can include various values and temperatures of colors, serving as a handy reference for future painting projects.
Understanding color theory, mixing, and the emotion conveyed by different colors can greatly enhance the effectiveness of your watercolor paintings. With practice, these concepts will become intuitive, allowing for more freedom and creativity in your work.
First Watercolor Project: Simple Steps to Follow
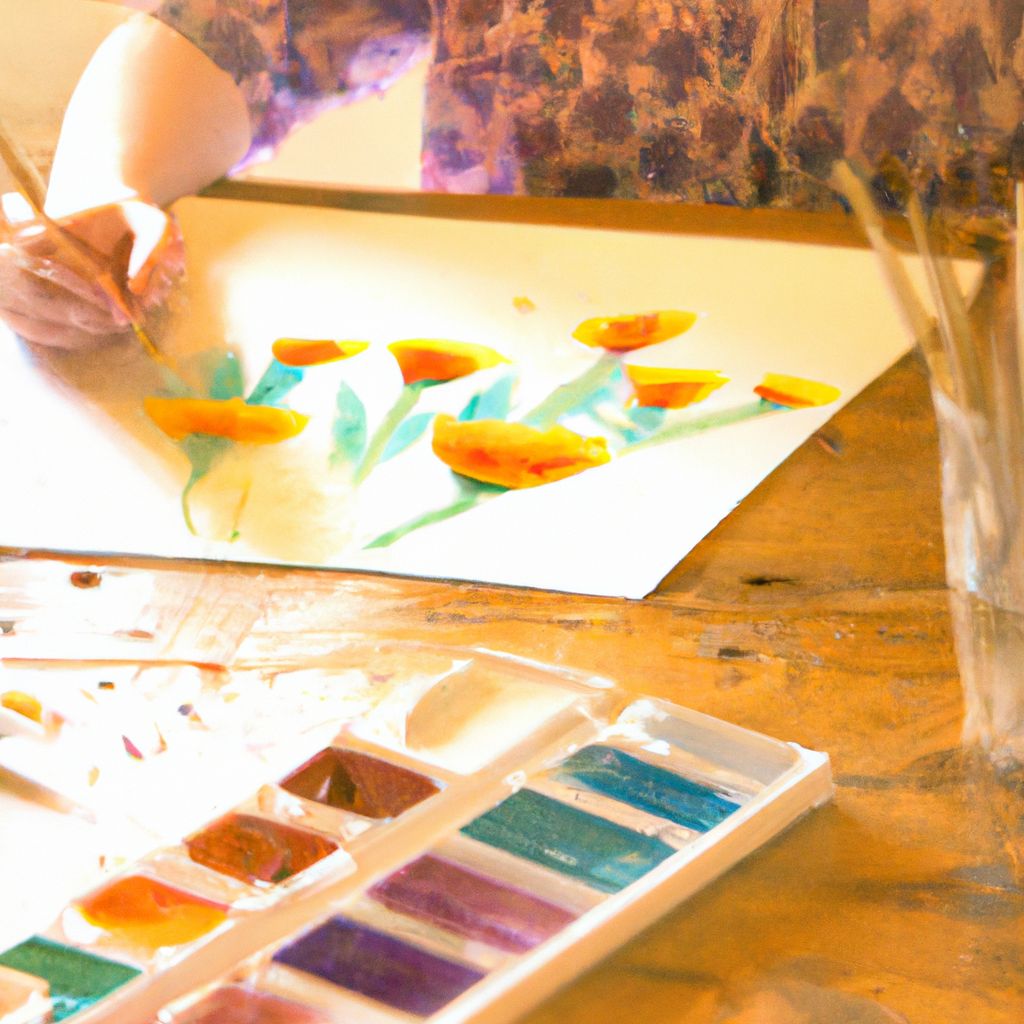
A basic watercolor project for beginners could be painting a simple landscape, which incorporates fundamental techniques and offers a forgiving subject matter. Follow these step-by-step instructions to create your first piece of watercolor art:
- Sketch the Design:
Start with a light pencil sketch on your watercolor paper. Keep the lines faint to avoid them showing through the paint. Outline the basic shapes of your landscape, such as the horizon line, a tree, and perhaps a small body of water.
- Prepare Your Workspace:
Set up your workspace with all the necessary materials within reach: watercolor paints, brushes, water containers, palette, paper towel, and your sketched paper secured on a board.
- Apply the First Washes:
Mix a light value of blue for the sky and a different, light value of green for the grass area. Using a large brush, apply a wet-on-dry wash to create a smooth background. Let this first layer dry completely before proceeding.
- Add the Second Layer:
Once the first layer is dry, mix a slightly darker shade for both the sky (to give the impression of clouds) and the grass (to indicate variations in the landscape). Apply these colors using the wet-on-dry technique to maintain control over the shapes.
- Paint Basic Shapes:
Now, start painting the middle-ground elements such as trees or bushes. Use a medium-sized round brush and a green that is darker than the grass area. Apply the paint with the wet-on-dry technique, allowing some of the bottom edges to blend slightly with the grass to anchor the trees in the landscape.
- Detailing:
With a smaller brush, begin adding details such as branches, leaves, and textures to the tree trunks. For the water, use horizontal strokes of light blue to suggest ripples, keeping some areas white to represent the sparkle of sunlight.
- Shadows and Depth:
Add shadows to your landscape to create depth. Mix a cool gray or blue and apply it to the side of the trees and landforms opposite your imagined light source. Keep these shadows light and transparent, as heavy paint can flatten the image.
- Final Touches:
Review your painting for any areas that need more contrast or color. Adding a few darker accents can help your image pop. Lastly, if you have areas that you wish to highlight, use a clean, damp brush to lift some paint from the paper to lighten specific spots.
Throughout the process, remember to step back and look at your work from a distance. This perspective can help you see the balance of colors and values more objectively. Allow the painting to dry completely before removing it from the board.
As a beginner, it is important to enjoy the learning experience and not to worry about achieving perfection. Each painting you complete will build your skills and confidence in using watercolors.
Common Watercolor Painting Mistakes and How to Avoid Them
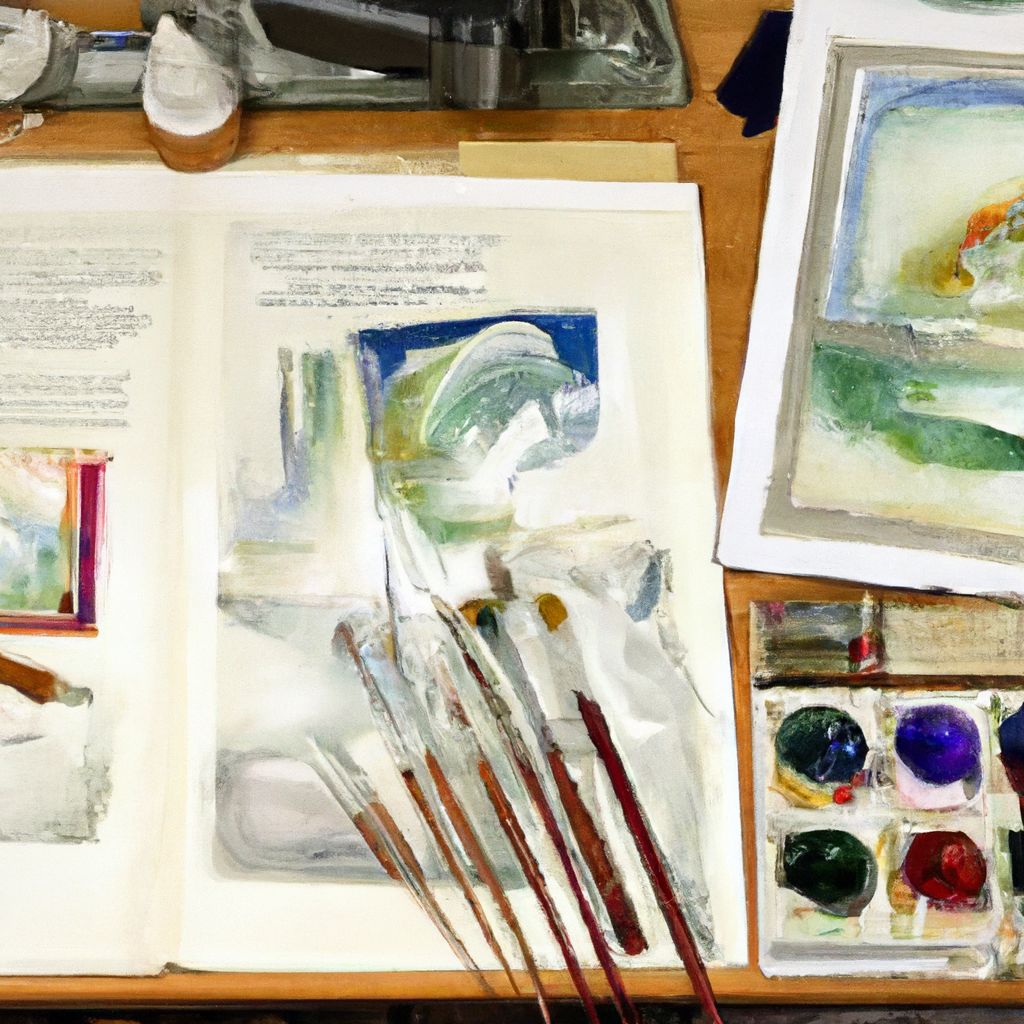
Beginning watercolor artists often encounter a range of common mistakes. Identifying these early on can significantly improve your technique and overall results. Here are some typical errors and how to avoid them:
- Overworking the Paper:
-
Excessively manipulating or reworking wet paint can damage the surface of the paper and lead to muddy colors. To avoid this, plan your brushstrokes and color applications beforehand. Allow layers to dry completely before reapplying or adjusting colors and use gentle brushwork to preserve the paper's integrity.
- Using the Wrong Paper Weight:
-
Thin paper can buckle and warp when wet, which can distort your painting. Select watercolor paper that is at least 140 lb (300 gsm) to ensure stability and absorbency. Stretching your paper or taping it down to a board can also prevent warping while you work.
- Not Controlling Water Flow:
-
Too much water can lead to uncontrollable washes and blooms, while too little can result in streaky, uneven color. Practice achieving a balance by varying the amount of water on your brush and learning to judge the wetness of the paper. A test sheet can help you get a feel for how water and pigment interact before you apply it to your painting.
- Insufficient Color Mixing:
-
Mixing too little paint can interrupt your workflow and lead to inconsistent color. Mix enough paint to cover the area you intend to work on, keeping in mind the color's transparency when diluted. This ensures a cohesive wash of color and reduces the chance of having to remix mid-application.
- Ignoring Color Harmony:
-
Using too many colors without consideration of harmony can create a disjointed effect. Familiarize yourself with the color wheel, plan your color palette in advance, and use a limited number of colors to achieve a cohesive look. This also helps in understanding color relationships and creating a more pleasing composition.
- Lack of Dark Values:
-
Shying away from dark values can result in a flat painting. Don't hesitate to use a mix of darker tones to add depth and contrast to your work. Remember, it's easier to start light and gradually build up to the darks than to try and lighten a color that's too dark.
- Neglecting Composition:
-
Paying little attention to composition can lead to a lack of focus and imbalance. Sketch a rough composition before you start painting, and consider the rule of thirds to place your points of interest. Also, think about leading lines and the distribution of visual elements to achieve a dynamic and balanced painting.
Improving in watercolor painting is a matter of practice and patience. By being mindful of these common pitfalls and actively working to correct them, you can enhance your skills and create more successful watercolor paintings.
Caring for Your Watercolor Materials
Proper care for your watercolor materials not only extends their lifespan but also ensures that they perform optimally. Here are some tips for maintaining your brushes, paints, and artwork:
- Brush Care:
-
Clean your brushes thoroughly after each painting session with water and, if needed, a mild soap. Rinse until the water runs clear, and gently reshape the bristles before laying them flat to dry. Avoid soaking the brushes in water as this can damage the bristles and handle. Once dry, store them bristles up in a jar or lay them flat in a drawer to prevent them from bending.
- Paint Preservation:
-
Tubes of watercolor paint should be closed tightly after use to prevent the paint from drying out. Pans should be left open to air dry before being stored away to avoid mold growth. Store your paints in a cool, dry place away from direct sunlight to maintain their vibrancy and consistency.
- Artwork Care:
-
Finished watercolor paintings should be stored away from direct sunlight to prevent fading. Use acid-free mats and UV-protective glass when framing to preserve the color integrity. For unframed works, store them flat in archival-quality folders or portfolios, separating each piece with a sheet of acid-free paper to prevent any color transfer or damage.
The longevity of watercolor materials and artwork is greatly enhanced with proper care. High-quality brushes can last for years if cleaned and stored correctly. Watercolor paints can remain usable for many years as well, with tubes often having a shelf life of 5-10 years, if not longer. When it comes to the artwork itself, watercolor paintings can last for generations if protected from the elements and treated with care.
Investing time in the maintenance of your materials not only protects your investment but also ensures that every painting session starts with the best possible tools at hand, allowing you to focus solely on the joy of creating art.
Finding Inspiration and Developing Your Watercolor Style
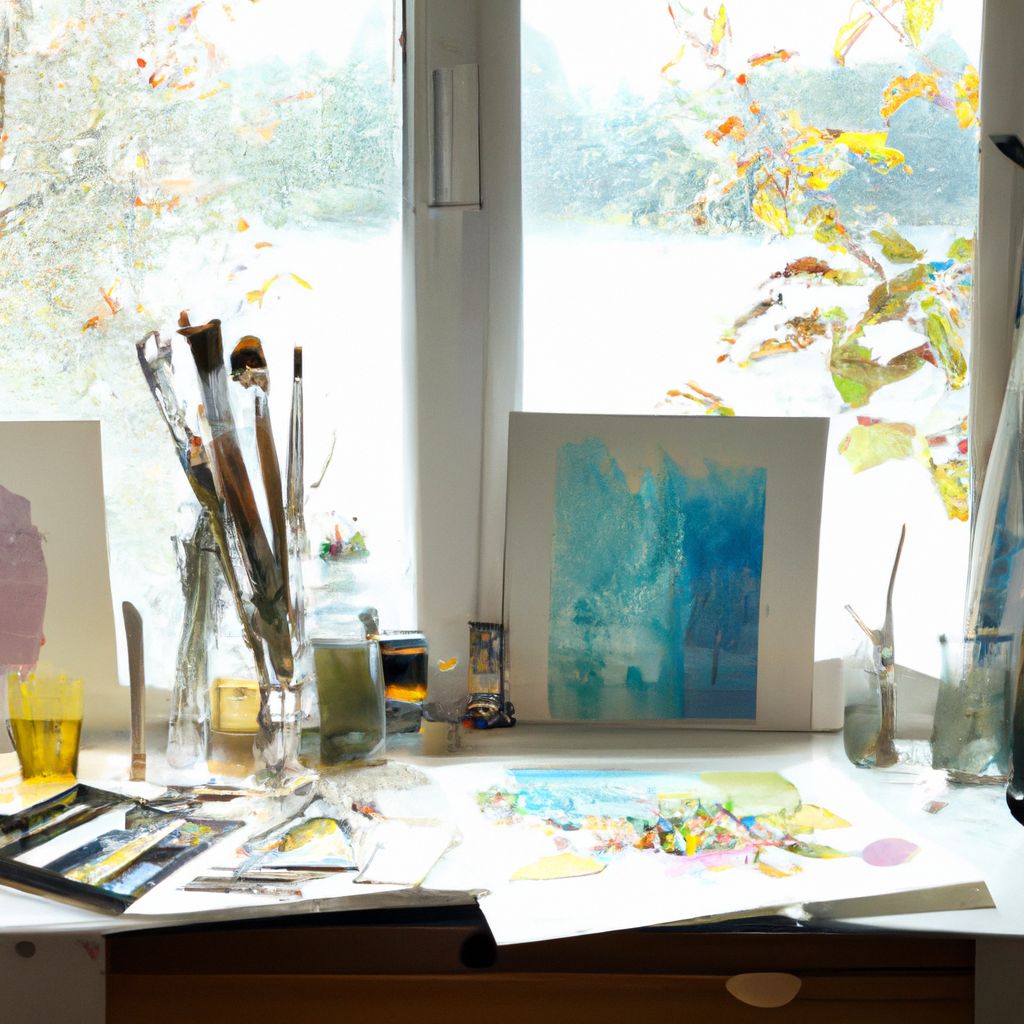
Finding inspiration and developing a unique watercolor style is a journey that involves exploration, practice, and reflection. Here are some ways to fuel your creativity and refine your artistic voice:
- Experiment with Different Subjects:
Don't limit yourself to one type of subject. Try painting still life setups, landscapes, cityscapes, portraits, or abstract compositions. Each subject can teach you something different about light, form, color, and composition.
- Seek Inspiration in Everyday Life:
Look for the beauty in the world around you. A simple walk in nature, the play of light through your window, or the vibrant colors of a fruit bowl on your table can spark the desire to paint. Inspiration is often where you least expect it, so stay open and observant.
- Visit Art Galleries and Museums:
Seeing the work of other artists can provide a wealth of inspiration. Pay attention not just to the subjects they paint, but to how they use color, texture, and composition. Take notes or sketches of elements that resonate with you.
- Study the Masters:
Look at historical watercolor paintings and learn from the techniques of the masters. This can give you a sense of the medium's potential and perhaps inspire you to adapt classical techniques to your contemporary work.
- Join a Community:
Participate in local art classes or online forums. Sharing your work and receiving feedback can be incredibly informative. Similarly, offering your insights on others' work can refine your critical eye.
- Keep a Sketchbook:
Maintain a sketchbook for spontaneous ideas, color mixes, and compositional studies. This habit can help you explore concepts that may later evolve into more significant projects.
- Set Personal Challenges:
Push your boundaries by setting challenges, such as creating a painting a day for a month or experimenting with a limited color palette. Constraints can often fuel creativity.
The importance of regular practice in developing a personal style cannot be overstated. As you paint more, you'll begin to notice patterns in your choice of subjects, color preferences, and brushwork that define your style. Embrace the process of discovery and allow your style to emerge naturally. Remember, every artist's journey is unique, and your personal style will develop with time and experience.
Additional Resources and Communities for Watercolor Artists

There is a wealth of resources available for watercolor artists looking to improve their craft and connect with a community. Here are a variety of options to explore:
- Books:
-
- "Watercolor Painting: A Comprehensive Approach to Mastering the Medium" by Tom Hoffmann
- "Everyday Watercolor: Learn to Paint Watercolor in 30 Days" by Jenna Rainey
- "The Watercolorist's Essential Notebook" by Gordon MacKenzie
- Online Courses:
-
- Udemy offers a variety of watercolor courses for all skill levels.
- Domestika provides specialized courses often taught by renowned artists.
- Skillshare features a range of classes focused on specific techniques and projects.
- Social Media Groups:
-
- Facebook has numerous watercolor groups where you can share your work and get feedback, such as 'Watercolor Artists' or 'Watercolour Beginners and Improvers'.
- Instagram and Pinterest can be excellent sources of inspiration and connection with other artists. Use hashtags like #watercolorbeginners or #watercolortutorial to find relevant content.
- Local Workshops and Art Schools:
-
- Check with local art supply stores or community colleges for advertised workshops and classes.
- Joining an art league or society can provide information on local events and opportunities for exhibitions.
- Art Forums and Websites:
-
- WetCanvas is an online forum where artists can discuss techniques, supplies, and challenges.
- Danielle Donaldson offers creative watercolor workshops that focus on whimsical illustrations.
Regardless of the medium, connecting with other artists and continuously learning new techniques is key to growth. These resources can provide the knowledge and support needed to develop your skills and perhaps inspire you to take your watercolor painting in new and exciting directions.


