- Introduction to Watercolor Painting for Beginners
- Understanding Watercolor Materials
- Setting Up Your Watercolor Workspace
- Basic Watercolor Techniques
- Color Mixing and Creating Palettes
- Brushwork Skills for Beginners
- Understanding Water Control
- Simple Watercolor Projects for Practice
- Troubleshooting Common Watercolor Mistakes
- Additional Resources and Practice Tips
Introduction to Watercolor Painting for Beginners
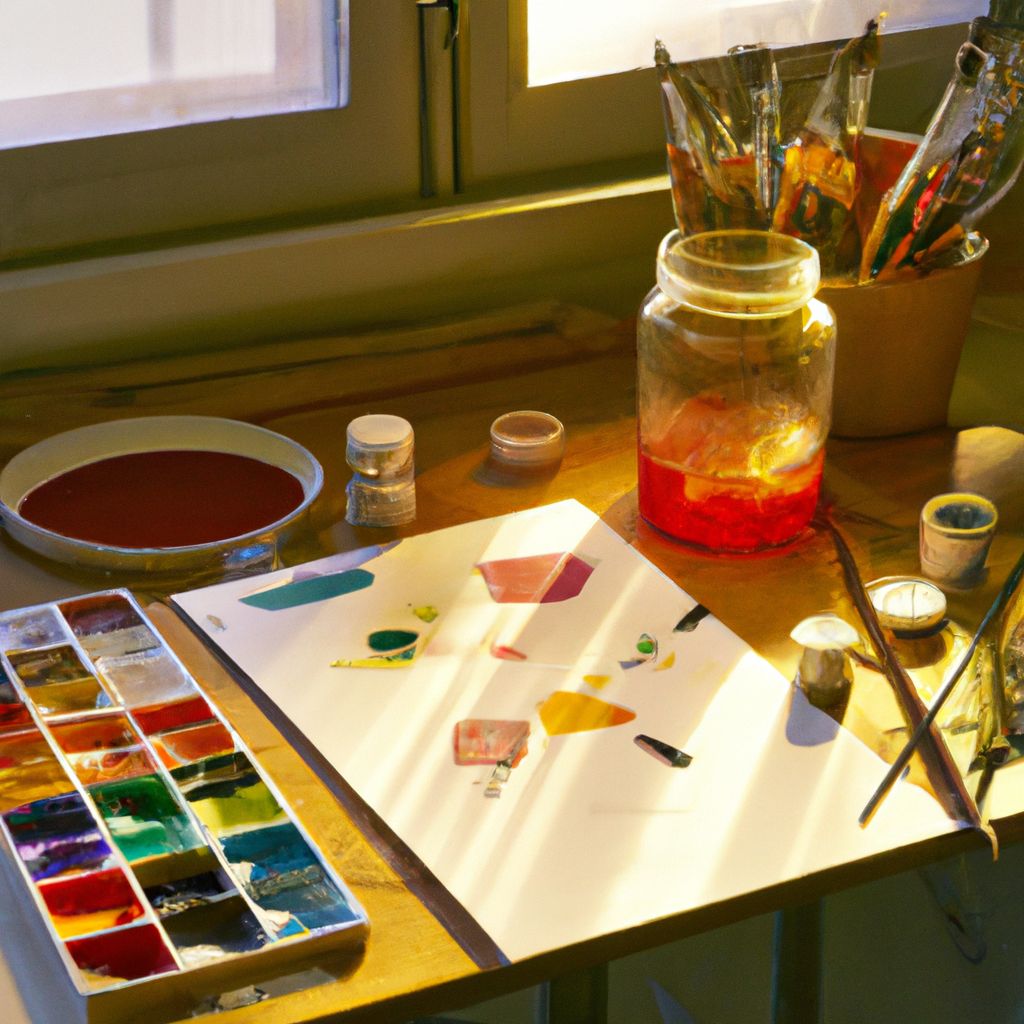
Watercolor painting is a mesmerizing art form, beloved for its fluidity, transparency, and vibrant colors. The unique appeal of watercolor lies in its capacity to blend and merge hues, creating delicate washes or bold strokes of color. For beginners, one of the most enticing aspects is the ease of setup; a palette, watercolors, a brush, and paper are all that's needed to embark on this artistic journey. Moreover, the portability of materials allows artists to paint anywhere, from the comfort of their home to the great outdoors.
The versatility of the medium is another remarkable feature. Watercolor can be used for a wide range of subjects, from landscapes and portraits to abstract compositions. However, it's essential for novices to understand that mastering watercolor techniques requires patience and consistent practice. The fluid nature of watercolor can be unpredictable, and it takes time to learn how to control the pigment and water on paper. Embracing this learning curve is part of the joy and challenge that comes with watercolor painting.
Understanding Watercolor Materials
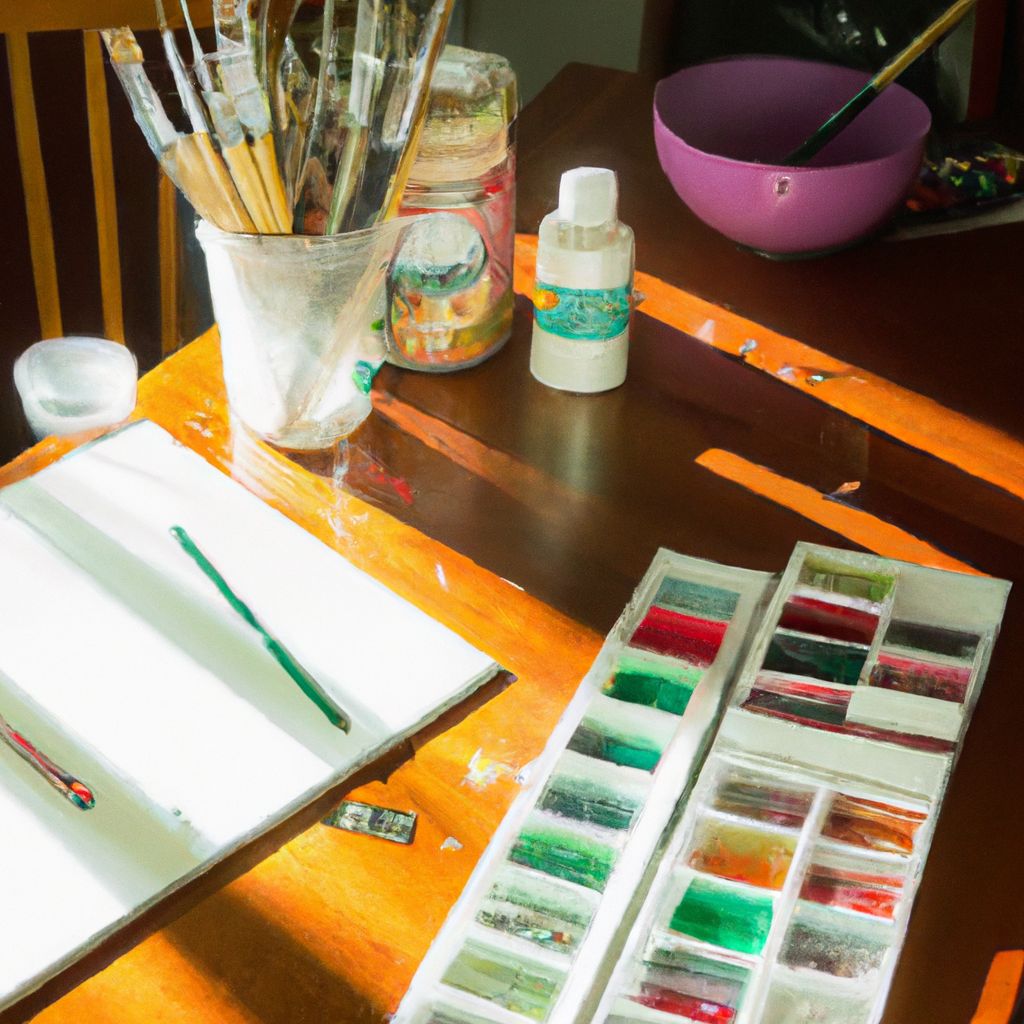
Embarking on the watercolor journey begins with understanding and selecting the right materials. The cornerstone of watercolor painting is, of course, the paint itself. Watercolor paints come in tubes and pans. Tubes provide fresh paint that can be mixed to the desired consistency, while pans are convenient for portability and ease of set-up. For starters, a basic set of high-quality, student-grade paints can serve as a solid foundation, without the need for immediate investment in professional-grade options.
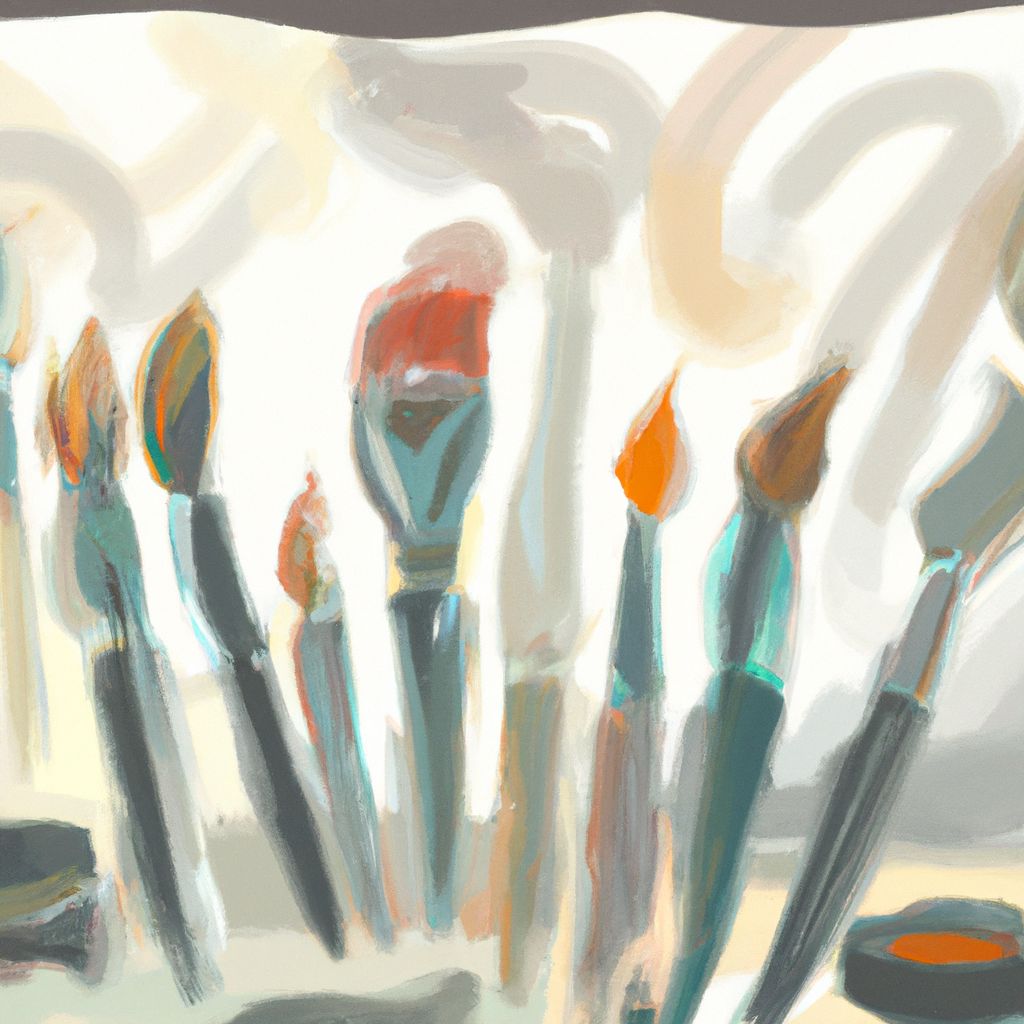
When it comes to brushes, the variety can be overwhelming. Essential brushes for beginners include a round brush for general painting and detail work, and a flat brush for broader strokes and washes. Brushes come in natural or synthetic fibers, each with its own properties. Natural fibers tend to hold more water and paint, while synthetic brushes are more durable and affordable. Sizes typically range from 000 (very fine) to 24 (very large), but a basic range from size 2 to 12 is sufficient for beginners to tackle a variety of strokes and techniques.
The choice of paper is pivotal in watercolor painting. Watercolor paper is categorized by its weight and texture. Heavier papers (300gsm/140lb and above) are preferred as they handle moisture better and tend not to warp. Textures vary from rough to cold-pressed (medium texture) to hot-pressed (smooth). For beginners, cold-pressed is often recommended as it is versatile and forgiving.
A white, flat palette is necessary for mixing colors, and it's advisable to choose one with several wells. Water containers are also essential, preferably two – one for washing brushes and the other for clean water to mix with paints. Among other accessories, paper towels or a sponge can be handy for blotting brushes, and a masking tape for securing paper and creating sharp edges.
When selecting materials, beginners should consider their budget and the type of watercolor work they aspire to create. Research and expert recommendations can guide the purchase of materials that balance quality with cost-effectiveness.
Setting Up Your Watercolor Workspace
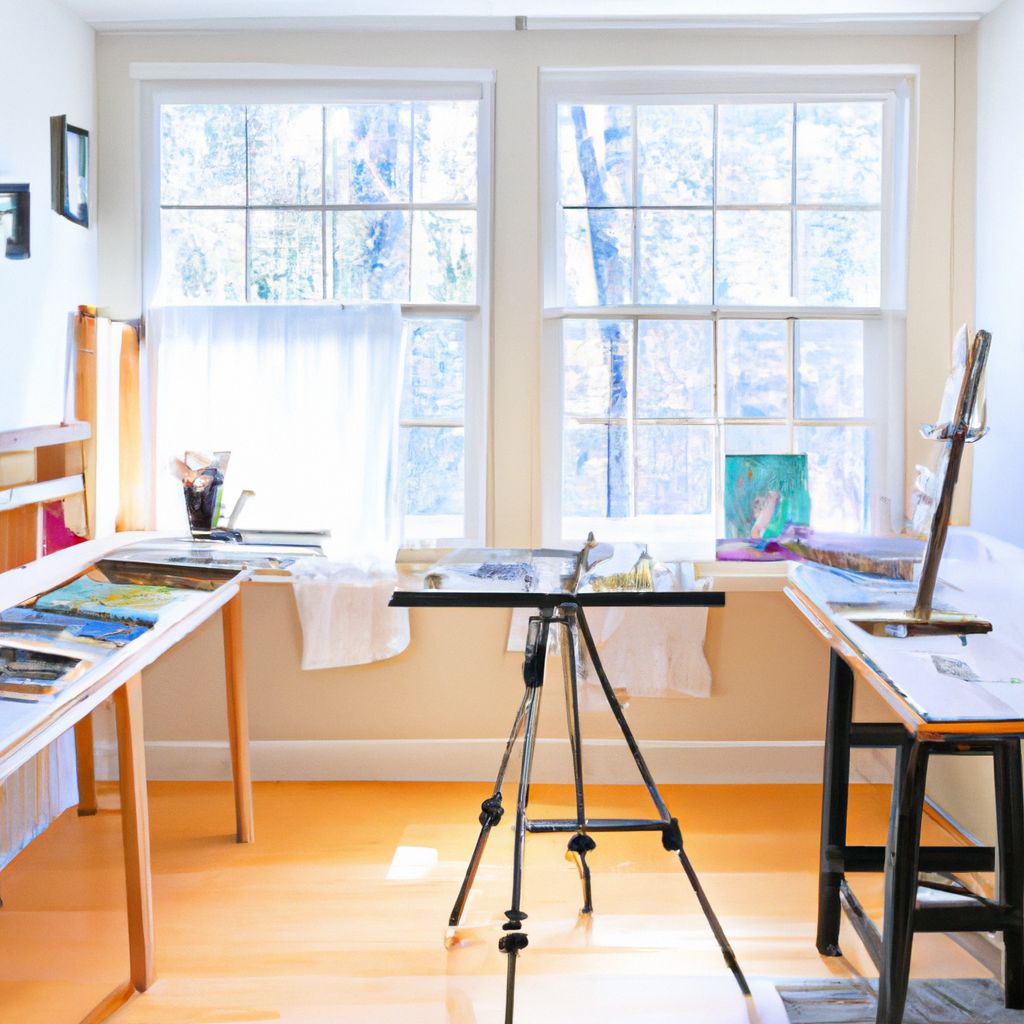
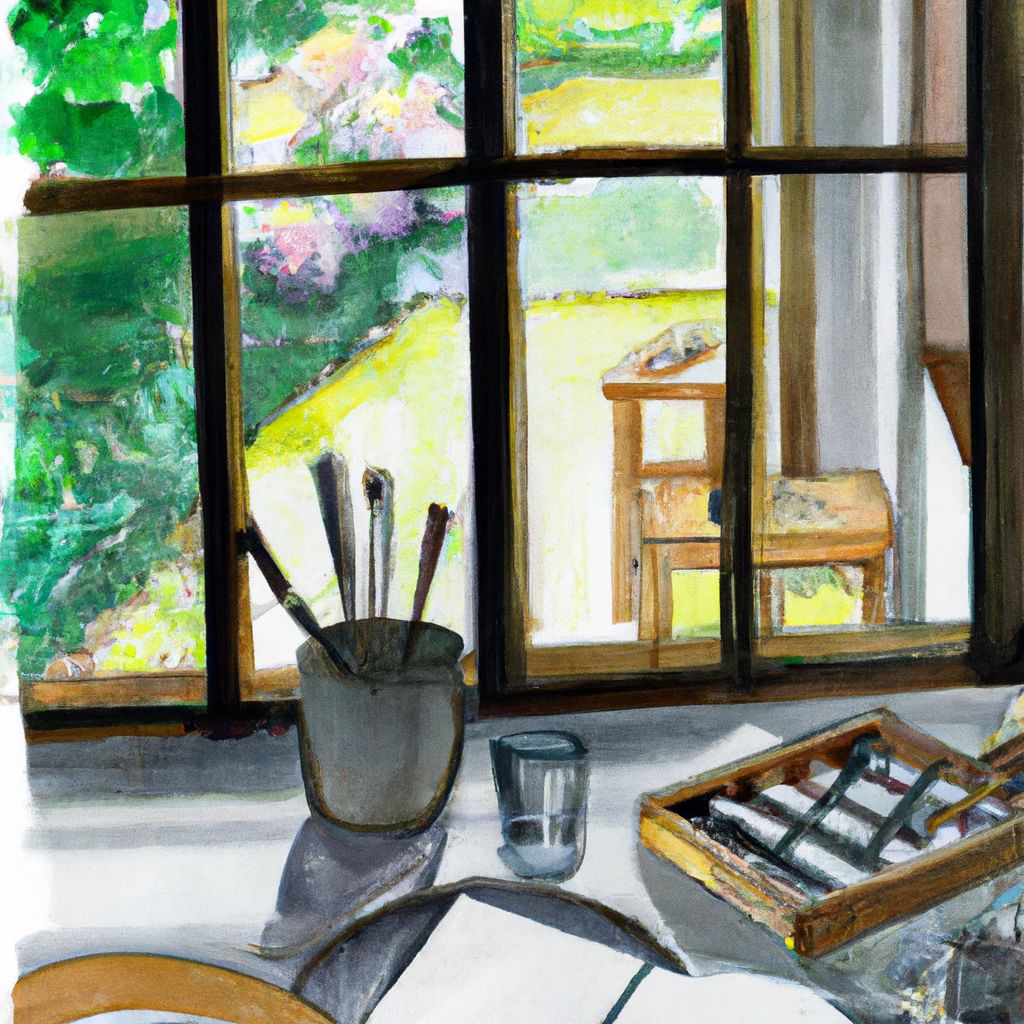
Creating an effective and comfortable workspace is a critical step in your watercolor painting journey. Good lighting is paramount. Natural light is ideal, as it provides the most accurate color representation; however, if that's not available, a daylight simulation bulb can be a suitable alternative. Ensuring your workspace is well-lit will reduce eye strain and enhance your ability to see nuances in color and detail.
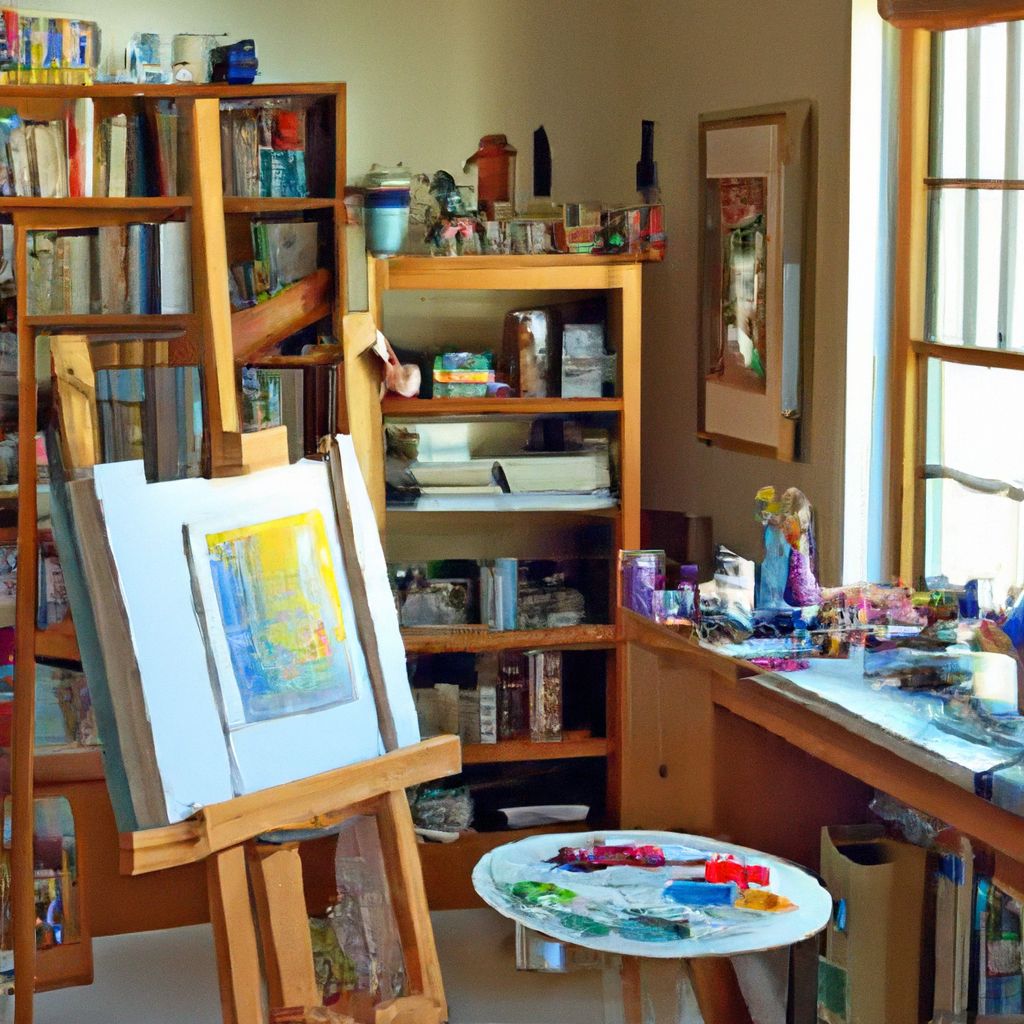
Maintaining a clean area is essential to prevent any unwanted specks or spills on your artwork. It's advisable to have a dedicated space for painting that is organized and free of clutter. Organize your materials for efficiency, keeping paints, brushes, water containers, and paper within easy reach. This organization streamlines your workflow and keeps you focused on the creative process rather than searching for materials.
Regarding the painting surface, you have options. Some artists prefer using an easel, which can be set to an upright or slightly angled position, aiding in the flow of the watercolor. Others might find a flat surface more suitable, especially when working with wet-on-wet techniques that require less movement of the paint. Regardless of your preference, it's important to ensure that your painting surface is stable.
To protect your workspace from water damage, consider using a waterproof tablecloth or a large tray underneath your painting area. Additionally, a thick absorbent paper or a towel can be used to soak up any excess water or spills. For paper stretching or to keep the paper from warping, you can tape the edges of your watercolor paper to a board, which also makes it easier to move your work if needed.
Ultimately, your workspace should be a reflection of your personal comfort and the way you like to work. An environment that fosters creativity and efficiency will make your watercolor painting experience all the more enjoyable.
Basic Watercolor Techniques
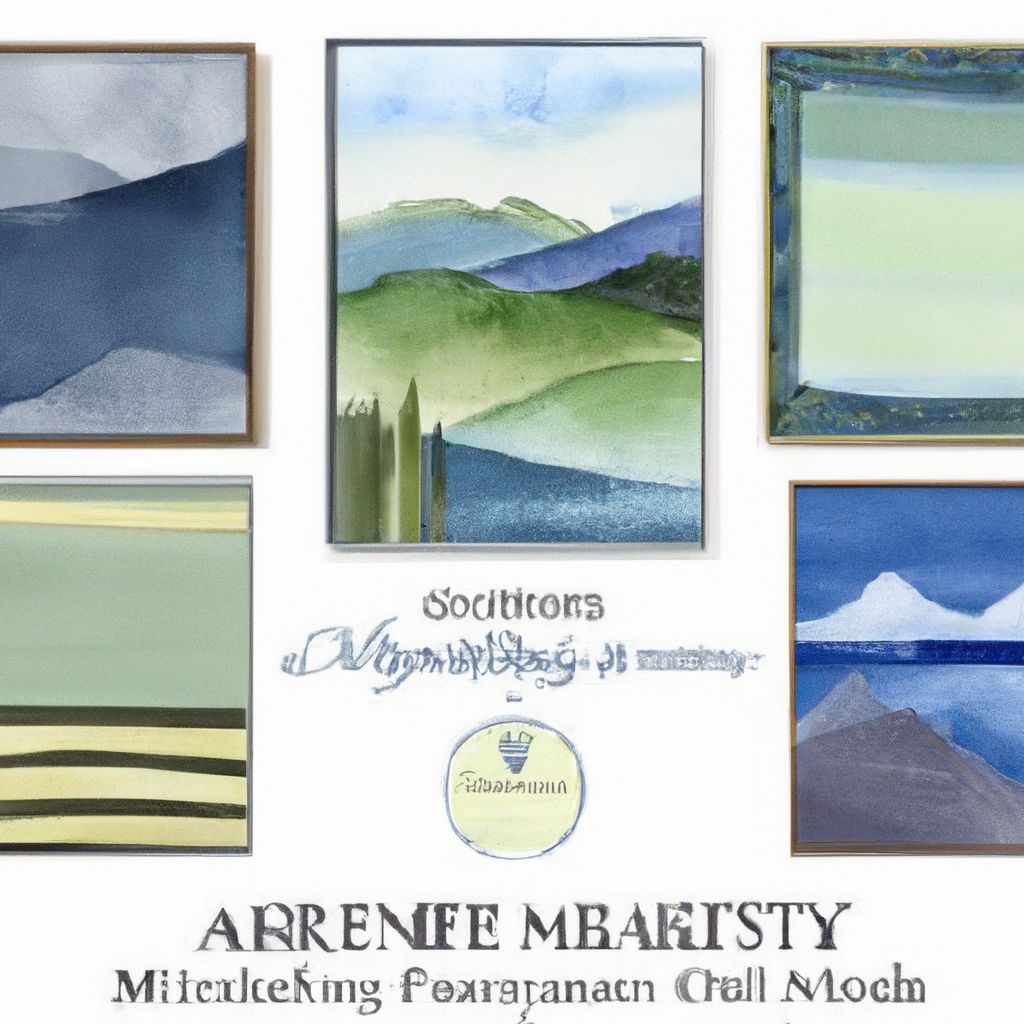
The foundation of watercolor painting lies in mastering a few fundamental techniques. Understanding these will not only improve your skills but also enhance the expressive quality of your work. Let's delve into four key techniques: wet-on-wet, wet-on-dry, dry brush, and layering.
- Wet-on-Wet
-
This technique involves applying wet paint onto a wet surface. Start by evenly wetting the paper with a brush and clean water. Next, introduce your watercolor paint onto the wet surface. You'll notice the color naturally spreads, creating soft edges and blending seamlessly with other wet colors on the paper. The wet-on-wet technique is excellent for creating smooth backgrounds, skies, or water where you want a sense of softness and fluidity.
- Wet-on-Dry
-
Wet-on-dry is the application of wet paint onto dry paper. Begin by loading your brush with paint and then applying it to the paper. This technique offers more control over the paint, allowing you to create defined edges and detailed shapes. It's useful for adding details on top of a dry layer or when precision is necessary in your composition.
- Dry Brush
-
The dry brush technique uses a brush with very little water and undiluted paint. Lightly drag the brush across dry paper, which creates a textured, grainy effect as the bristles leave a broken line of color. This method is perfect for creating rough textures like grass, tree bark, or the sparkle of light on water.
- Layering (Glazing)
-
Layering, also known as glazing, involves painting a thin, transparent layer of color over a dry layer. Start with a fully dried paint layer, and then apply a light wash of a different color on top. Each layer must be completely dry before applying the next to prevent the colors from bleeding into one another. This technique can add depth, change tones, and build up colors gradually without losing the luminosity of your watercolors.
Practice is the key to mastering these techniques. Begin by setting aside time to experiment with each one, observing the effects they produce on the paper. Use simple shapes or scenes to apply these techniques, such as a sunset for wet-on-wet, a tree for wet-on-dry, a textured rock for dry brush, and a series of transparent waves for layering. As you become more comfortable with these methods, you'll start to recognize which technique to use to achieve a desired effect in your paintings.
Color Mixing and Creating Palettes
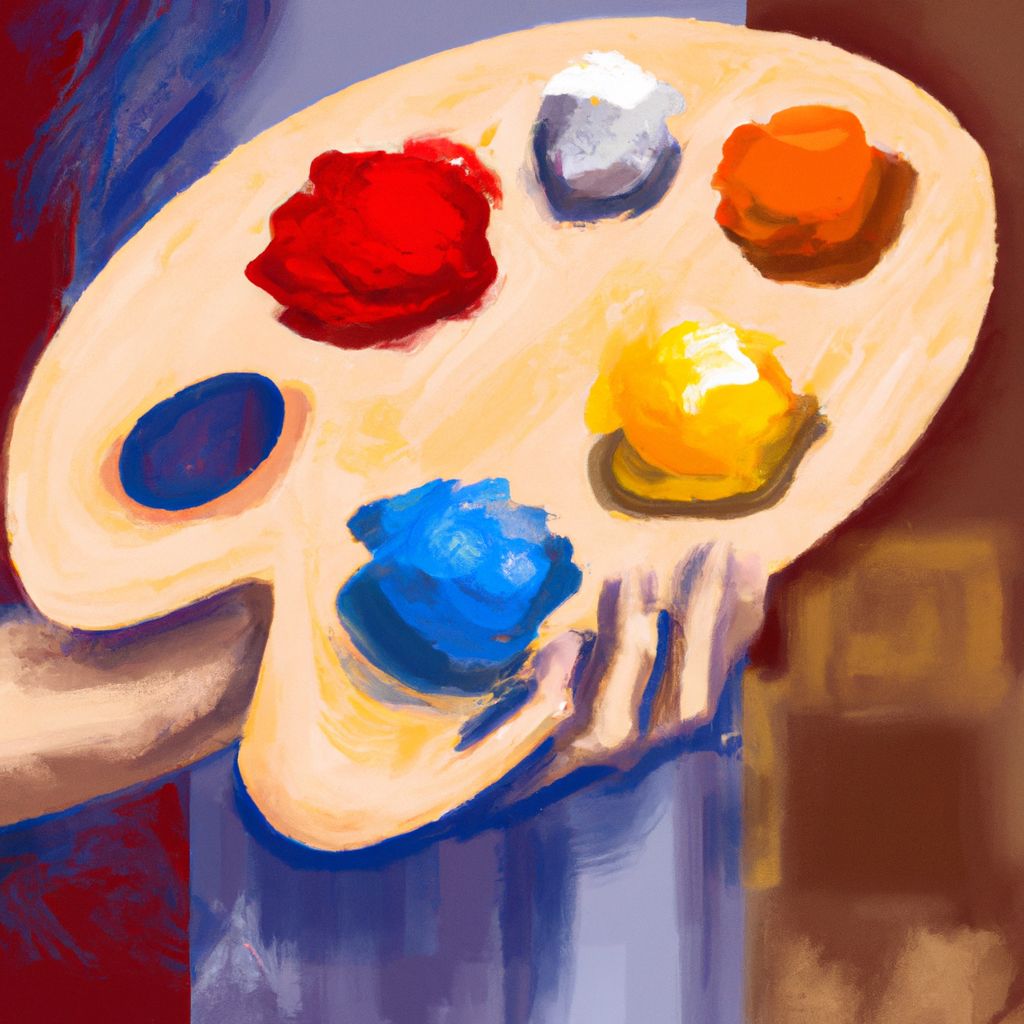
Mixing colors effectively is a vital skill in watercolor painting and understanding the color wheel is fundamental to this process. Using a limited palette can actually enhance your color mixing ability and help maintain the vibrancy of your paintings by avoiding muddy colors.
To start, focus on the three primary colors: red, yellow, and blue. These cannot be mixed from other colors, but they can be combined to create a wide range of hues. Mixing two primary colors will give you secondary colors: green from blue and yellow, orange from red and yellow, and purple from red and blue. From there, you can create tertiary colors by mixing a primary color with a neighboring secondary color.
One exercise to practice color mixing is creating a color chart. Begin with your primary colors at full strength. Then mix each primary color with the other primaries in varying ratios to observe the range of secondary and tertiary colors you can create. Keep notes of your color ratios to replicate the desired shades in future paintings. This exercise not only familiarizes you with color mixing but also helps you create a personalized color palette.
As you gain confidence, gradually introduce more hues into your palette. Consider adding a warm and a cool version of each primary color to expand your mixing possibilities. For instance, a warm red like cadmium red and a cool red like alizarin crimson. This allows for more nuanced color mixing and the ability to match colors with greater accuracy.
When creating harmonious color schemes, consider using analogous colors (colors next to each other on the color wheel) for a serene look, or complementary colors (colors opposite each other on the color wheel) for dynamic contrast. Always remember that less is more when it comes to mixing watercolors. Overmixing can quickly lead to dullness, so mix gently and test on a scrap piece of paper before applying to your artwork.
By starting with the basics and slowly building up your palette, you'll develop a deeper understanding of color relationships and how they can be harnessed to express mood, atmosphere, and light in your watercolor paintings.
Brushwork Skills for Beginners
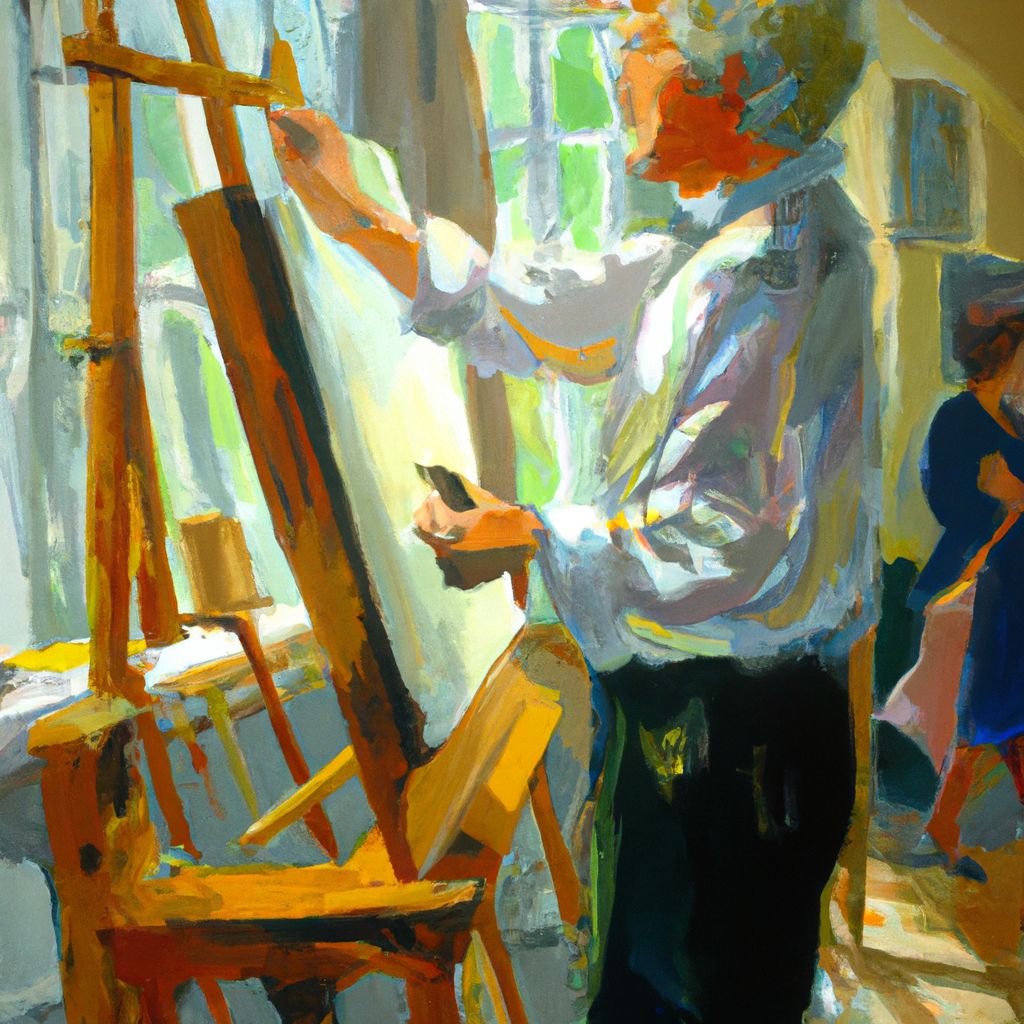
Brushwork is an essential aspect of watercolor painting, encompassing how you hold the brush, the pressure you apply, and the variety of strokes you use to convey texture and detail. For beginners, developing a steady hand and a sense of control over the brush can significantly enhance their painting technique.
To begin, it's important to understand how to hold the brush. While it might feel natural to hold it like a pencil, this can lead to a tight grip and less fluidity in your strokes. Instead, hold the brush closer to the end of the handle for a looser, more expressive stroke. This grip encourages a broader range of motion from your arm and wrist.
The amount of pressure you apply to the brush will affect the thickness and texture of your strokes. A light touch is generally used for thin, delicate lines, while more pressure will create thicker, bolder strokes. Achieving a balance between the two will allow for greater expression in your work.
Different strokes can be achieved by varying the angle and part of the brush you use. The tip of the brush is used for fine lines and details, while the side of the brush can be used for broader strokes and washes. The speed of your stroke will also affect the outcome, with quick movements creating more dynamic lines, and slower ones resulting in smoother, more controlled strokes.
To improve brush control and fluidity of movement, here are a few exercises:
- Lines and Loops: Practice painting lines of different lengths and weights. Try creating loops and swirls to gain better control of brush movement.
- Gradients: Work on creating a gradient from dark to light by gradually decreasing the amount of pressure you apply as you move the brush across the paper.
- Shapes: Paint simple shapes like circles, squares, and triangles using different parts of the brush. This will help you understand how to manipulate the brush to achieve the desired shape.
Consistent practice with these exercises will lead to improved dexterity and confidence in your brushwork. As you become more comfortable with the brush, you'll find that it becomes an intuitive extension of your creative intent, allowing you to expressively translate your visions onto paper.
Understanding Water Control
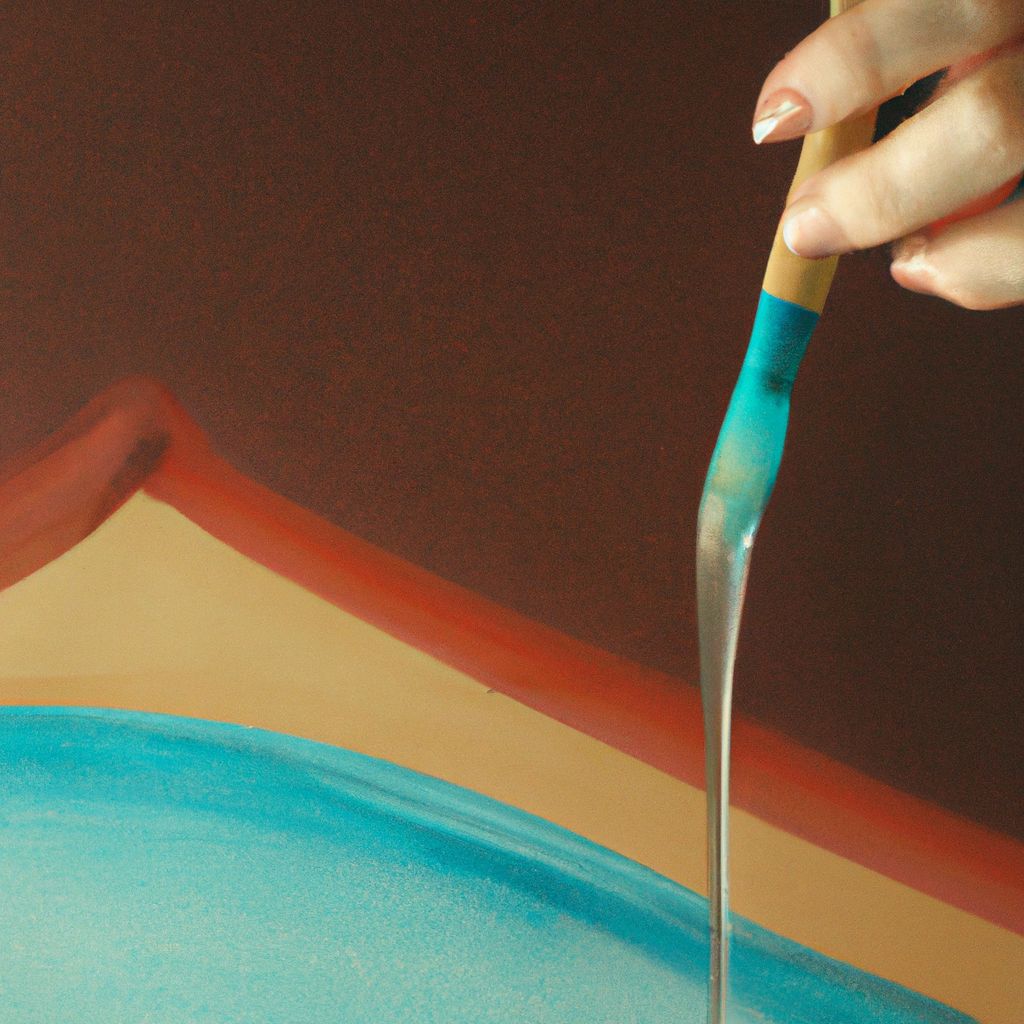
Water control is arguably the most crucial element in watercolor painting, as it determines the paint's transparency, flow, and the overall mood of the piece. The unique charm of watercolor lies in its ability to range from opaque to a sheer wash, and this versatility is all in the water management.
The amount of water mixed with the paint can produce vastly different effects. More water results in a lighter, more transparent wash, while less water yields a darker, more opaque application. The key to mastering water control is understanding how to achieve the right balance for the desired effect.
Here are some tips on managing water in watercolor painting:
- Know Your Paper: Familiarize yourself with the absorbency and texture of your paper. Different papers can dramatically affect how the water and pigment behave.
- Consistent Mixing: Before applying paint to paper, mix your paint with water consistently to avoid uneven shades and unexpected changes in transparency.
- Test Swatches: Always test your color on a separate piece of paper to gauge the transparency and intensity before applying it to your artwork.
- Drying Time: Allow for proper drying time between washes to prevent unwanted bleeding unless you are intentionally working with wet-on-wet techniques.
- Blotting: Keep a paper towel or sponge handy to blot excess water from your brush or to lift paint from the paper if needed.
- Brush Load: Pay attention to how much water your brush is holding. A saturated brush can create puddles on the paper, while a too-dry brush may not release paint smoothly.
Practicing water control involves creating washes of varying tones and learning to respond to what the watercolor is doing on the paper. Try exercises like graded washes, where you gradually dilute the paint with more water to create a gradient effect, or practice glazing by layering thin washes to see how colors interact when transparency is taken into account.
Mastering water control is a process of experimentation and observation. By understanding the interplay between water and pigment, you can harness the full potential of watercolor painting, creating works that are as controlled or as free-flowing as you desire.
Simple Watercolor Projects for Practice
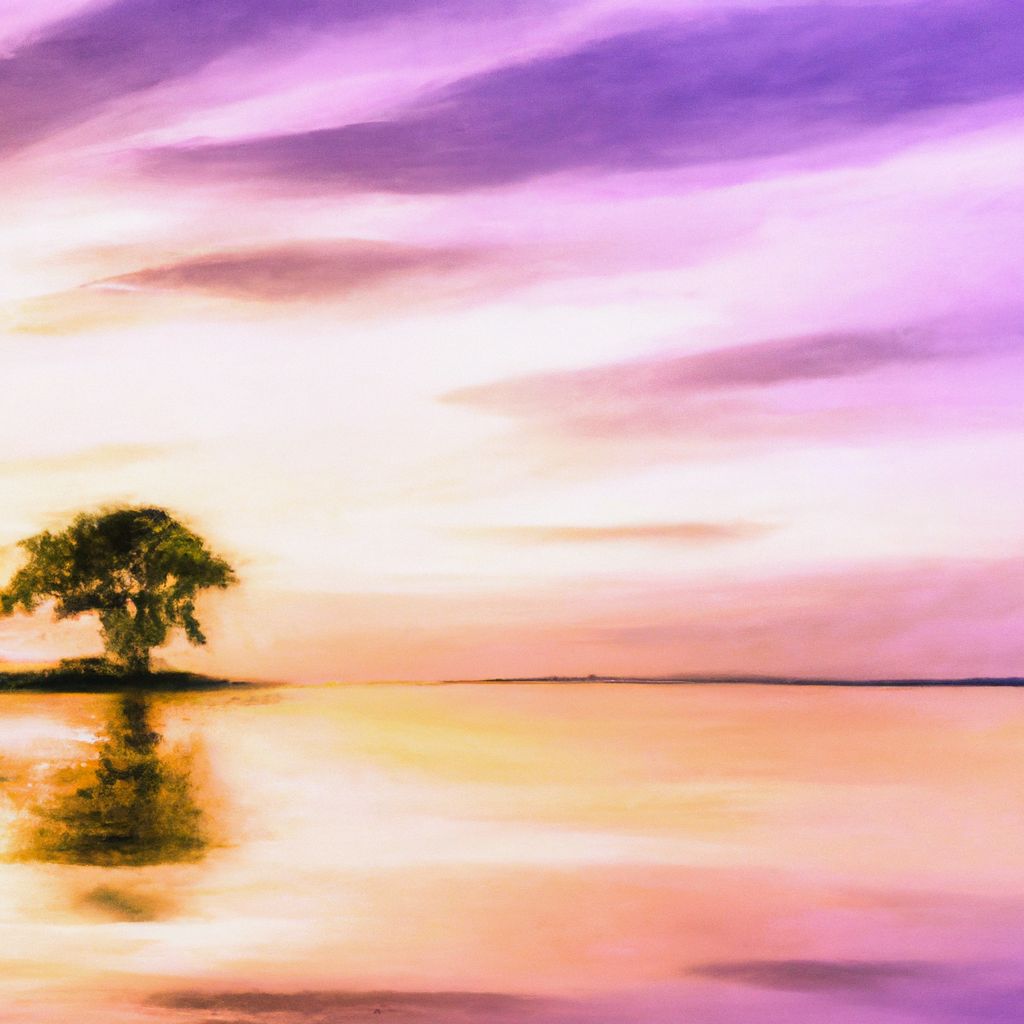
As a beginner in watercolor painting, embarking on simple projects can be both educational and gratifying. Starting with straightforward subjects allows you to apply the techniques you've learned without the pressure of tackling a complex composition. Here are a few project suggestions that are well-suited for beginners:
- Landscapes: Simplified landscapes are great for practicing washes and understanding how colors blend in the background, middle ground, and foreground. Begin with a basic horizon line, and use the wet-on-wet technique to create a soft sky. Then, add in some simple shapes for trees or hills using wet-on-dry to define the landscape.
- Still Lifes: Set up a simple still life with a limited number of objects. This can help you focus on shape and shadow without the complexity of too many details. Practice using light washes for highlights and deeper shades for shadows, which will help you understand value and form.
- Abstracts: Abstract painting is a liberating way to explore color and brushwork without the constraints of representational accuracy. Experiment with color mixing, layering, and textural effects like splattering or dry brush to express your creativity freely.
- Florals: Flowers are a forgiving subject for beginners due to their organic shapes. Use loose, flowing strokes to create petals, and practice your brush control with stems and leaves.
- Animal Silhouettes: Painting animal silhouettes against a colorful background can be a fun way to practice your brushwork and enjoy the process of layering.
Regardless of the project you choose, the key is to focus on the process rather than the final product. Experimentation is vital; try different techniques, color combinations, and brushstrokes to see what effects they produce. Completing projects, even simple ones, is important as it allows you to see your progress over time and understand the areas where you need more practice. Each painting will add to your experience and confidence, bringing you closer to mastering the art of watercolor painting.
Troubleshooting Common Watercolor Mistakes
Even the most skilled watercolor artists were once beginners who made their share of mistakes. Understanding common pitfalls and learning how to troubleshoot them can significantly improve your watercolor practice. Here are several frequent beginner mistakes, along with solutions and preventive measures:
- Overworking the Paper: Repeatedly brushing over the same area can damage the paper and result in a muddy appearance. Solution: Work with confidence and purpose, making conscious brushstrokes. Allow areas to dry fully before reworking them, and use a lighter touch to preserve the paper's surface.
- Using Too Much Water: An excess of water can dilute colors too much and cause uncontrollable bleeding. Solution: Consistently blot your brush on a paper towel to remove excess water before touching the paper, and practice controlling the wetness of your brush on a test sheet.
- Not Waiting for Layers to Dry: Impatience can lead to colors bleeding into each other unintentionally. Solution: Cultivate patience and allow each layer to dry completely before applying the next. Use a hairdryer on a low setting to speed up the drying process if necessary, but be gentle to avoid disturbing the paint.
- Poor Color Mixing: Inexperienced mixing can create dull, unintentional colors. Solution: Practice mixing colors on a palette or scrap paper first. Use a limited palette to reduce the risk of creating muddy colors and to gain a better understanding of color relationships.
- Lack of Planning: Diving into a painting without a plan can lead to composition and design issues. Solution: Take time to sketch out your composition lightly with a pencil before you start painting. Plan your color palette and consider your light source to ensure a cohesive piece.
- Unintended Backruns: Also known as "blooms" or "watermarks," these occur when more water is introduced to a damp area. Solution: Control the wetness of the paper by waiting for it to be just damp (not wet) before adding new strokes, or completely dry for sharp details.
Preventive measures include getting to know your materials well. Understand how your paper reacts to water, familiarize yourself with the flow of your brushes, and get comfortable with the pigments you use. Keep practicing these solutions, and with time, you'll find yourself making fewer mistakes and gaining more control over your watercolor paintings.
Additional Resources and Practice Tips
Fostering your watercolor skills is a continuous journey, and there are numerous resources available to aid in your learning. For comprehensive understanding, books such as "Watercolor Painting: A Comprehensive Approach to Mastering the Medium" by Tom Hoffmann, and "The Watercolor Artist's Bible" by Marylin Scott offer valuable insights into techniques and materials. Additionally, "Everyday Watercolor" by Jenna Rainey provides a structured approach to learning watercolor in 30 days.
Online courses offer the convenience of learning at your own pace. Websites like Skillshare, Udemy, and Domestika feature classes taught by professional artists covering various aspects of watercolor painting, from the basics to more advanced techniques. For more interactive and personalized instruction, local workshops and community education classes can be invaluable. Check with local art schools, community centers, or art supply stores for information on classes and workshops in your area.
Joining a community of watercolor artists can provide a sense of camaraderie and support. Online forums, social media groups, and local art clubs offer opportunities to connect with other artists, share work, receive feedback, and participate in challenges that can help sharpen your skills.
To maintain motivation and see steady progress, set realistic practice goals. This could mean dedicating a specific amount of time each day or week to painting or completing a watercolor painting project within a certain timeframe. Keep a journal or sketchbook to document your work, noting what techniques you used and what you learned with each piece. Celebrate small victories and don't be too hard on yourself when things don't go as planned.
Remember, the path to mastering watercolor is unique to each artist, and regular practice is more important than talent. Embrace the learning process, stay curious, and enjoy the beautiful unpredictability that makes watercolor painting so rewarding.


