- Introduction to Embroidery
- Different Types of Embroidery Techniques
- Materials and Equipment Needed in Embroidery
- Embroidery Tips for Beginners
- Advanced Embroidery Techniques and Tips
- Maintaining and Cleaning Your Embroidery
- Conclusion: The Art and Craft of Embroidery
Introduction to Embroidery
Embroidery, a timeless craft, has been part of human culture for centuries. Originating in the Middle East around 3000 B.C., it quickly spread across the globe (Embroidery Guild, 2010). Known for its ability to transform ordinary fabric into intricate designs, embroidery carries significant cultural and historical weight.
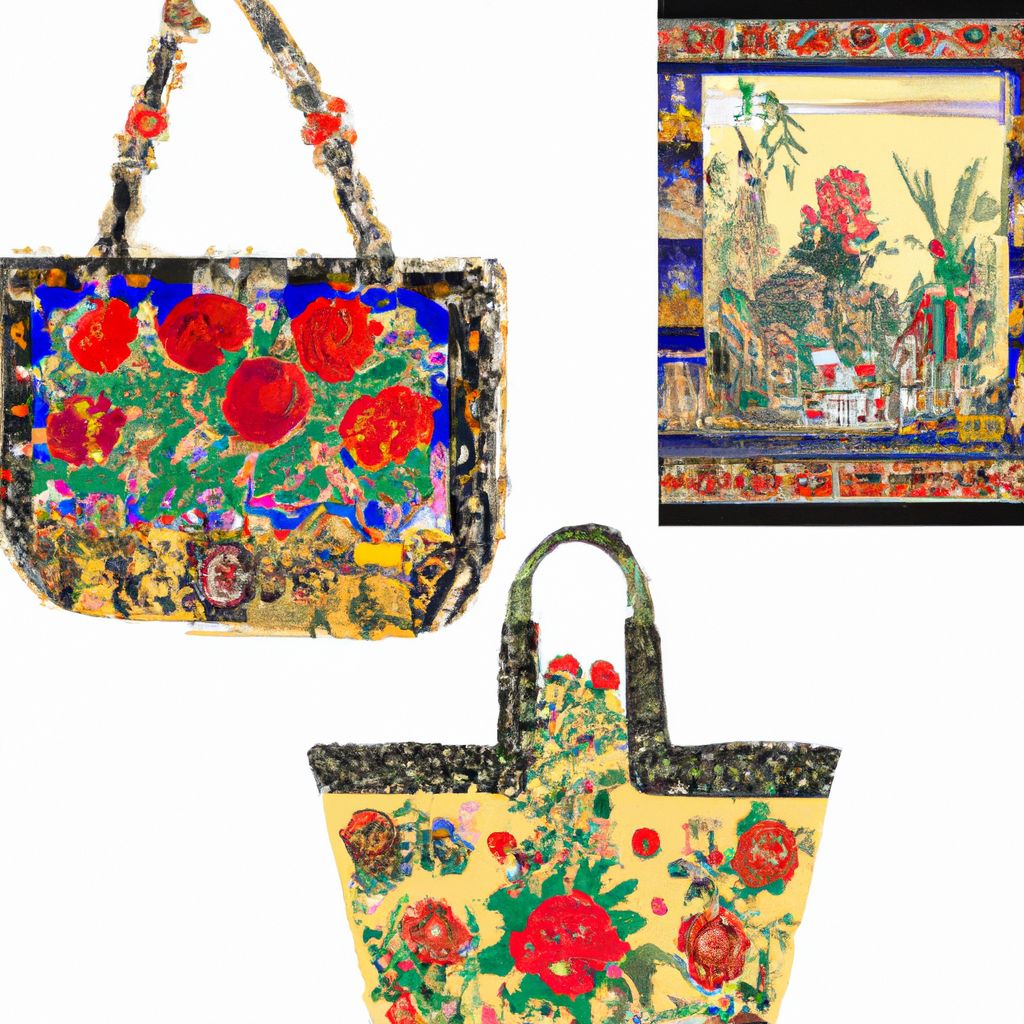
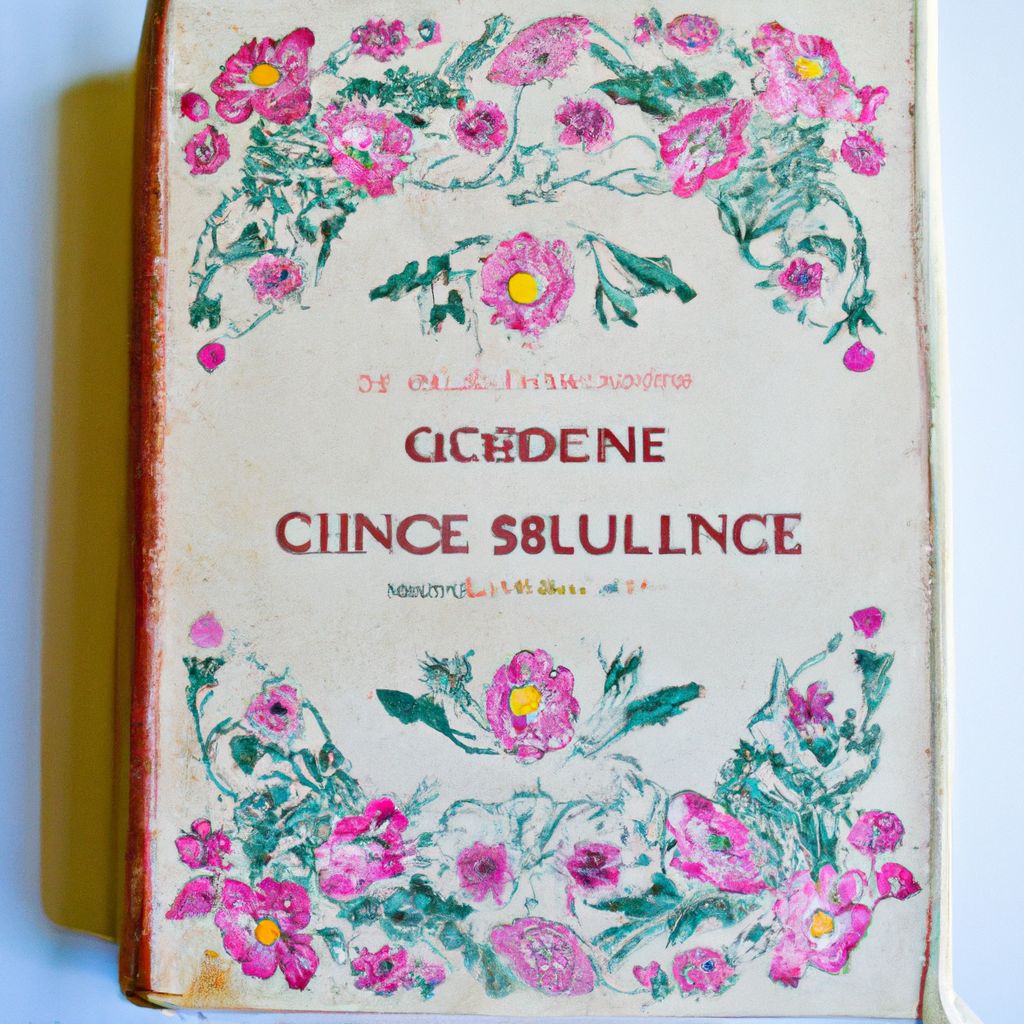
In its simplest form, embroidery is an art of decorating fabric with needle and thread. However, with the evolution of techniques and styles, it has come to incorporate materials like pearls, beads, quills, and sequins. This craft is practiced in various forms worldwide, each with its distinctive characteristics.
- Cross Stitch
- A popular form of counted-thread embroidery where X-shaped stitches are used to form a picture.
- Crewel
- An embroidery technique using wool and a variety of different stitches to follow a design outline applied to the fabric.
- Blackwork
- A historical form of embroidery generally using black thread, though other colors are also used.
This guide aims to provide an in-depth understanding of embroidery, covering various techniques and tips, and exploring the importance of this age-old craft in contemporary fashion and design.
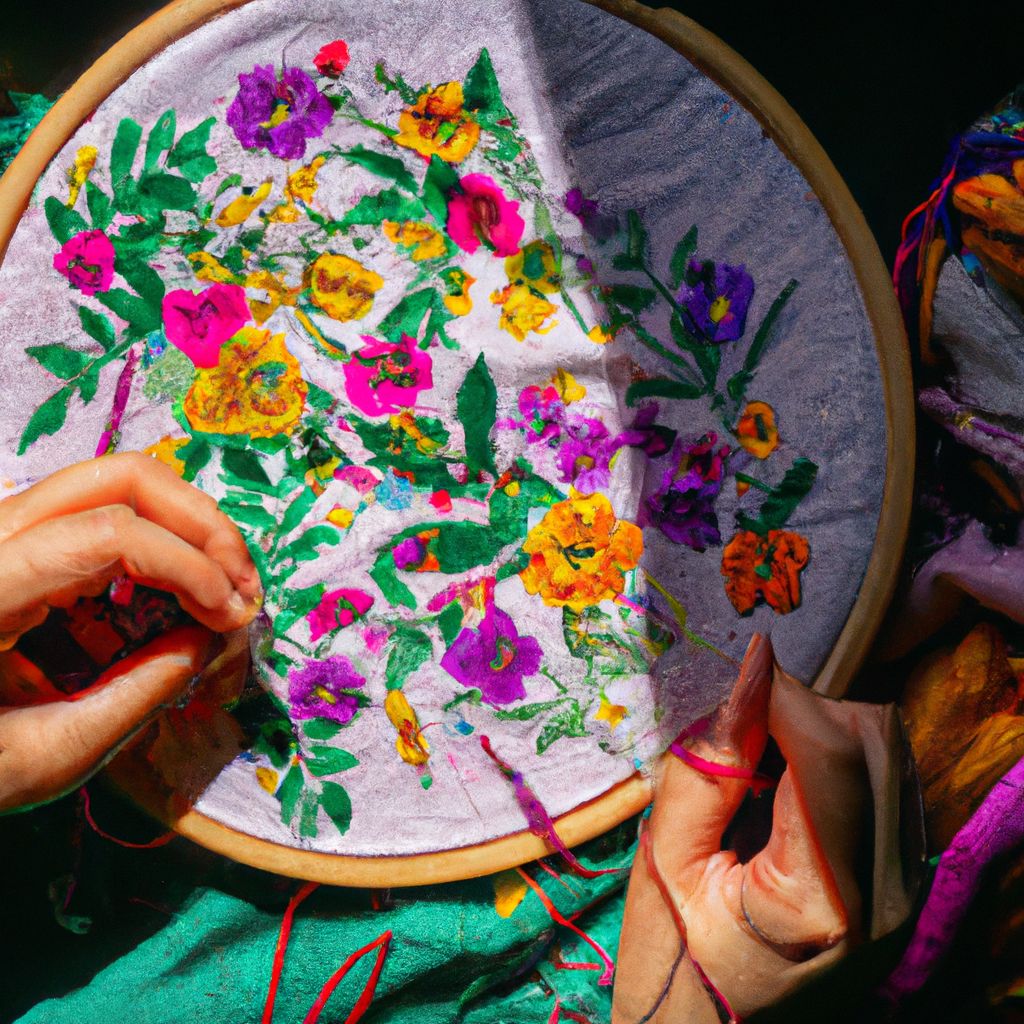
Different Types of Embroidery Techniques
Embroidery is a broad field with a myriad of techniques, each requiring a different set of skills and materials. Here, we delve into four popular techniques: Cross-stitch, Needlepoint, Crewel, and Blackwork.
One of the most popular forms of embroidery, cross-stitch, is known for its simplicity and versatility. It involves making small x-shaped stitches to create intricate patterns. Ideal for beginners, it requires patience and precision but not necessarily advanced skills. Cross-stitch is best done on evenly-woven fabric like Aida or linen.
Needlepoint, also known as canvas work, involves stitching over the entire fabric (usually a stiff canvas). The technique can be as simple or as complex as the embroiderer desires, making it suitable for all skill levels. Needlepoint often takes longer to complete than other forms of embroidery due to its comprehensive coverage.
Crewel is a type of surface embroidery using wool and a variety of stitches to create a textured, three-dimensional effect. While not overly complicated, crewel embroidery does require some practice and familiarity with different stitches. It is traditionally done on tightly woven linen twill, but any fabric sturdy enough to support the weight of the wool can be used.
Originating from the 16th century, blackwork embroidery is traditionally worked in black thread on white or off-white linen. It involves geometric designs and is known for its repeating patterns, often creating a lace-like effect. Blackwork can be a bit challenging for beginners due to the complexity of patterns, but it offers a rewarding experience for those willing to learn.
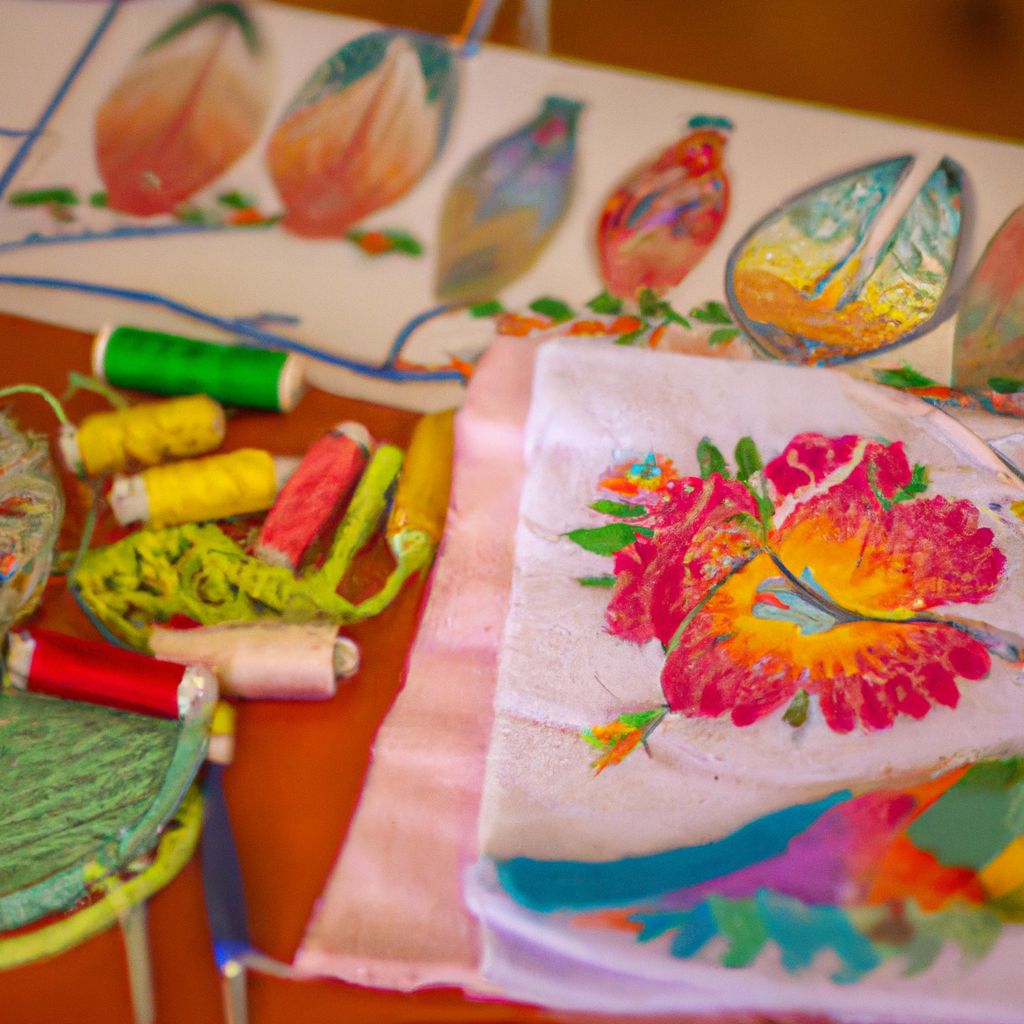
Materials and Equipment Needed in Embroidery

Embroidery, like any craft, requires specific tools and materials. Having the right equipment can significantly impact the quality of your work and the overall embroidery experience. Let's explore some of the essentials:
- Needles
- Embroidery needles come in different sizes and types. Sharp needles are used for general sewing, while ballpoint needles are best for knits. Tapestry needles, with their large eye and blunt point, are perfect for counted-thread embroidery like cross-stitch and needlepoint.
- Threads
- Thread selection can dramatically affect the appearance of your embroidery. Common types include cotton (ideal for beginners), rayon (known for its shine), and silk (for high-quality projects). The choice depends on the project's requirements and the desired effect.
- Fabrics
- The fabric serves as the foundation of your embroidery. Light to medium-weight fabrics like linen, cotton, and silk are commonly used. The fabric should not stretch or distort while being embroidered.
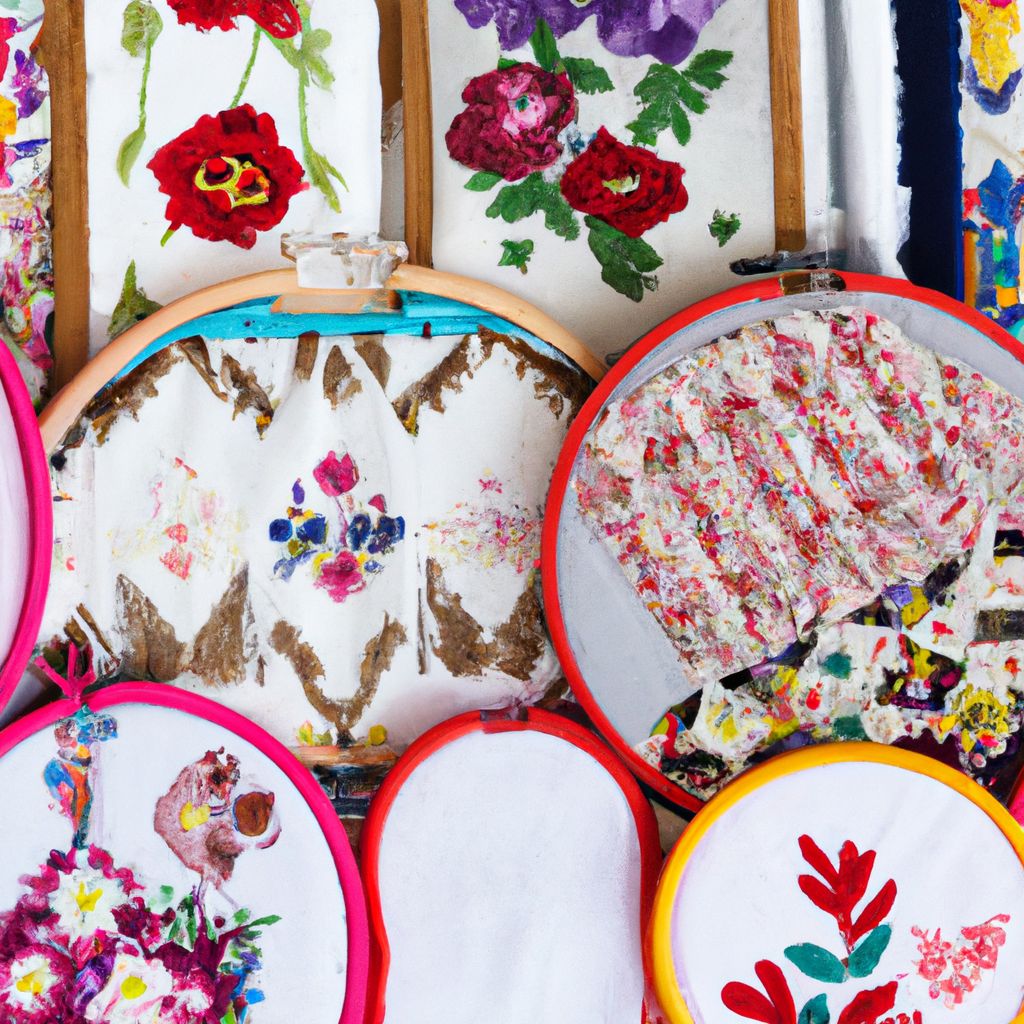
- Embroidery Hoops
- A hoop holds the fabric taut while you work, providing a smooth surface for your stitches. They come in various sizes and materials, with wood and plastic being the most common.
- Scissors
- A pair of sharp, high-quality scissors is a must for any embroidery work. Embroidery scissors are typically small, allowing for precise cuts.
Choosing the right materials for your project requires consideration of the technique used, the desired end result, and personal preference. Experimentation and practice will help determine what works best for you.
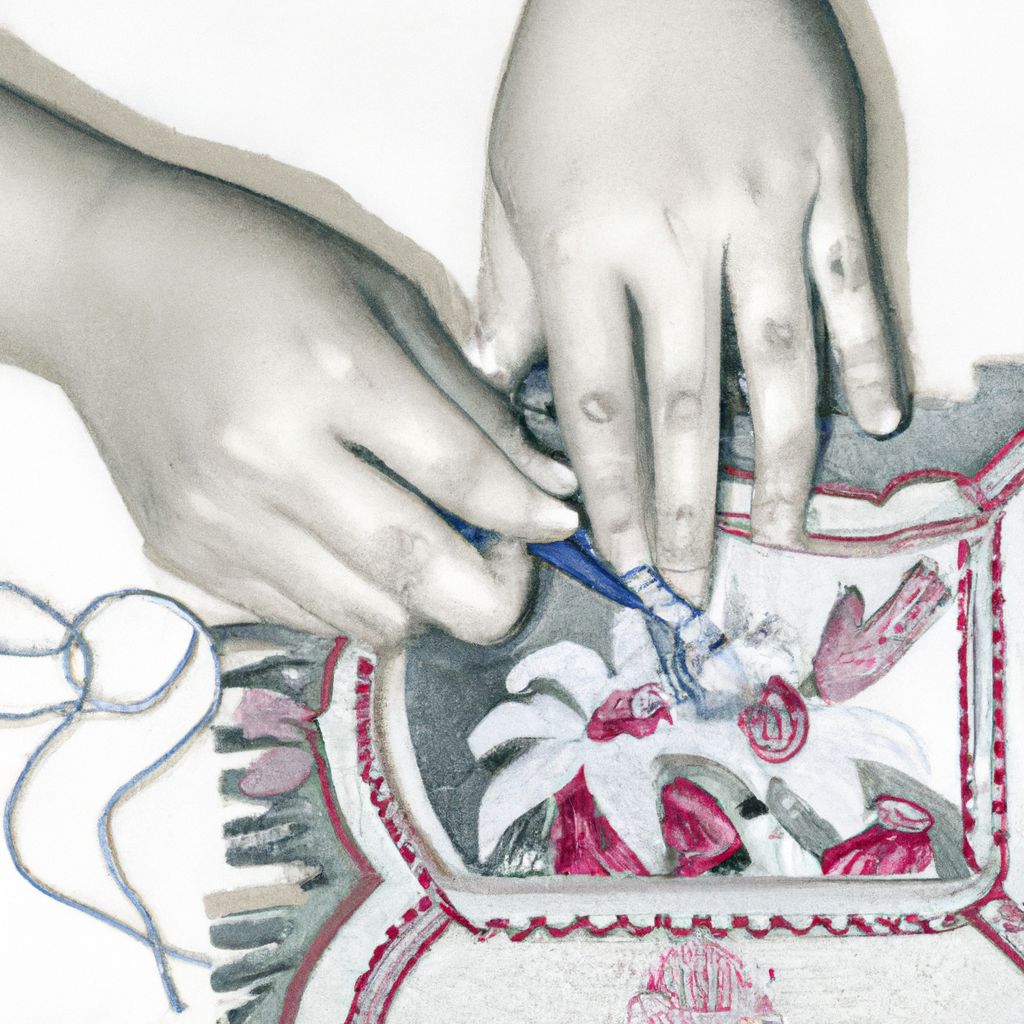
Embroidery Tips for Beginners
Embroidery can seem daunting to beginners, but with a few tips and tricks, you can start creating beautiful designs in no time. Here are some fundamental tips to help you get started:
- Threading a Needle: Cut a length of thread no longer than 18 inches to prevent tangling. Wet the end of the thread slightly, then push it through the eye of the needle. Pull it until there is an equal length of thread on both sides of the eye.
- Starting and Ending a Thread: To start, bring the needle up through the fabric leaving about an inch of thread on the backside. As you make your first few stitches, make sure they cover the tail. To end, simply make several small stitches on the backside of the fabric over the last stitch you made.
- Preventing Thread from Tangling: One way to prevent thread from tangling is to use shorter lengths. Another method is to use a product called thread conditioner, which smooths and strengthens the thread.
Now, let's learn how to create some basic stitches:
Bring the needle up through the fabric at your starting point. Push the needle back down a short distance away. Repeat this process along your line.
Like the running stitch, but after coming up a short distance away from your first stitch, you go back down at the end of the previous stitch. This creates a solid line.
Start like you would with a running stitch. When you bring the needle up for the next stitch, have it re-enter the fabric in the middle of the previous stitch, splitting the thread.
Remember, practice is key in embroidery. Don’t be discouraged if you don’t get it right the first time. With patience and perseverance, you will improve over time.
Advanced Embroidery Techniques and Tips
Once you've mastered the basics, you may want to try some more advanced embroidery techniques. Let's explore three of the most popular: the Satin Stitch, French Knot, and Chain Stitch.
The Satin Stitch is used to fill in shapes with smooth, glossy coverage. Start by outlining your shape with back stitch or split stitch. Then, fill the shape with straight stitches side by side, being careful not to pull too tight.
The French Knot creates a small, round bump, perfect for dotting 'i's, making eyes, or creating texture. Bring your needle up through the fabric, wrap the thread around the needle 2-3 times, then insert the needle back into the fabric next to where you came up.
The Chain Stitch creates a chain-like line and is great for outlines and curves. Bring your needle up through the fabric, then back down in the same spot. Before pulling it all the way through, bring the needle back up a short distance away, keeping the thread under the needle tip as you pull tight.
As for troubleshooting tips, here are a few to consider:
- If your thread is knotting, try using a shorter length or a thread conditioner.
- If your stitches are puckering the fabric, your thread may be too tight. Try loosening your tension.
- If your satin stitch isn't smooth, try outlining your shape with back stitch or split stitch first.
Remember, even advanced embroiderers sometimes face challenges. Don't be discouraged. Practice, patience, and experimentation will help you master these advanced techniques.
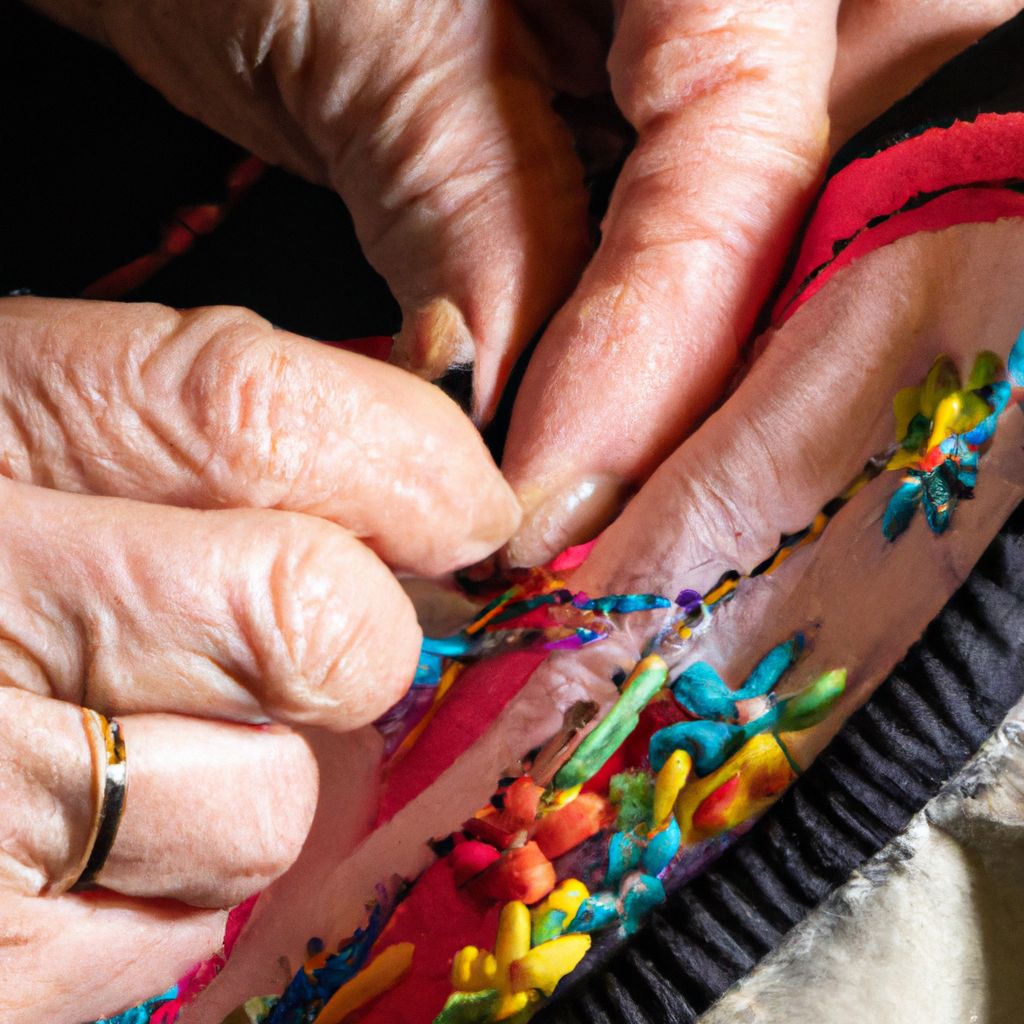
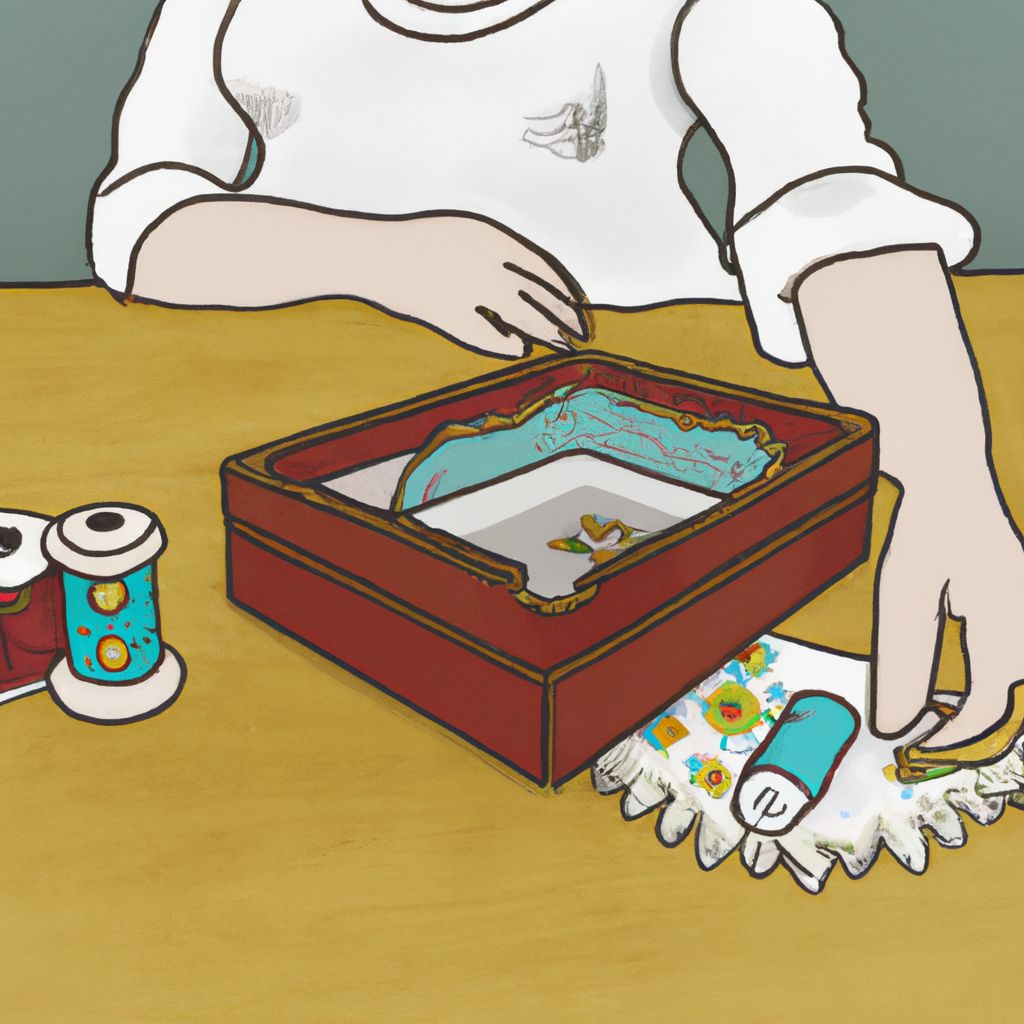
Maintaining and Cleaning Your Embroidery
Proper maintenance and care are crucial to preserving the beauty of your embroidery pieces. Here are some tips to help you keep your work in the best possible condition:
- Storage
- Store your embroidery pieces in a clean, dry place. Avoid direct sunlight as it can fade the colors. For best results, wrap each piece in acid-free tissue paper before storing it in a box.
- Cleaning
- Hand washing is the safest method to clean your embroidery. Use cold water and a mild detergent. Do not rub or scrub the fabric. Rinse thoroughly and gently squeeze out excess water, then lay flat to dry.
- Repair
- If a piece becomes damaged, it's usually best to remove the damaged stitches and re-embroider the section. If the fabric is damaged, it may be necessary to patch it or seek professional help.
Remember, embroidery is a labor of love, and your pieces deserve careful attention. With proper care, they can remain vibrant and beautiful for years to come.
Conclusion: The Art and Craft of Embroidery
Embroidery is a versatile and rewarding craft that spans history and cultures. From the simplicity of the running stitch to the complexity of the French knot, each technique offers unique possibilities for personal expression.
Mastering embroidery requires patience and practice. It's important to start with the basics, learning how to thread a needle, start and end a thread, and create simple stitches. As you gain confidence, you can explore more advanced techniques, experimenting with different threads, fabrics, and patterns.
Remember, the beauty of embroidery lies not only in the finished product but also in the process itself. It's an opportunity to slow down, engage your hands, and create something beautiful and unique. So, explore your own style, create your own projects, and most importantly, enjoy the journey.
Whether you're a beginner looking to try a new hobby or an experienced embroiderer seeking to refine your skills, we hope this guide has been informative and inspiring. Happy stitching!