- Introduction to Embroidery Stitches
- Common Types of Embroidery Stitches
- Complex Embroidery Stitches
- Step-by-Step Guides to Master Embroidery Stitches
- Practicing and Perfecting Your Stitches
- Conclusion: The Art of Embroidery Stitches
Introduction to Embroidery Stitches
Embroidery, an art form with a rich history dating back to 30,000 B.C., is a time-honored practice of creating intricate designs on fabric using thread or yarn. With roots in cultures across the world, embroidery has evolved to become a diverse craft with countless styles and techniques.
Embroidery stitches, the foundational element of this art form, play a vital role in fabric decoration and design. They add texture, depth, and detail to the artwork, transforming ordinary materials into pieces of aesthetic and cultural significance. The mastery of various embroidery stitches can significantly enhance one's embroidery skills, opening up a world of creative possibilities.
Embroidery stitches are not just about adding visual appeal—they also serve practical functions. They can strengthen the fabric, repair tears, or even create buttonholes. Therefore, understanding the different types of stitches and their appropriate uses is crucial for anyone interested in mastering this craft.
Through meticulous practice and a deeper understanding of each stitch's nature, you can master these stitches and create beautiful and intricate embroidery designs. Let's delve deeper into some of the most commonly used embroidery stitches and learn how to master them.
Common Types of Embroidery Stitches
- Running Stitch
-
The running stitch, often considered the most basic of embroidery stitches, is a simple stitch that creates a dashed line effect. Often used for outlining designs, it's also a staple in creating patterns and filling spaces.
- Back Stitch
-
Back stitch, as the name suggests, involves moving the needle backwards to the previous stitch, creating a solid, continuous line. It's commonly used for outlining shapes and adding fine details. Its sturdy nature makes it ideal for seams in hand sewing.
- Split Stitch
-
Split stitch involves splitting the thread of the previous stitch with the needle to create a line with a slightly textured appearance. It's often used for outlines and lettering due to its fine, richly detailed look.
- Satin Stitch
-
The satin stitch is a series of flat stitches that are used to completely cover a section of the fabric, giving it a smooth, satin-like finish. It's commonly used to fill in shapes, lending a rich, full-bodied texture to the design.
- Stem Stitch
-
Stem stitch, often used to outline plant stems in floral designs, creates a slightly twisted line that adds a beautiful texture to the design. It's versatile and can be used for curves, straight lines, and even text.
- French Knot
-
The French knot is a tiny knot used for making points or dots in a pattern, or for comprising a pattern itself. This stitch can add a three-dimensional effect to the embroidery, making it perfect for creating textures and patterns.
- Chain Stitch
-
Chain stitch creates a series of looped stitches that form a chain-like pattern. It's a versatile stitch that can be used for outlines, filling spaces, or creating textured lines and has a beautiful, intricate appearance.
Complex Embroidery Stitches
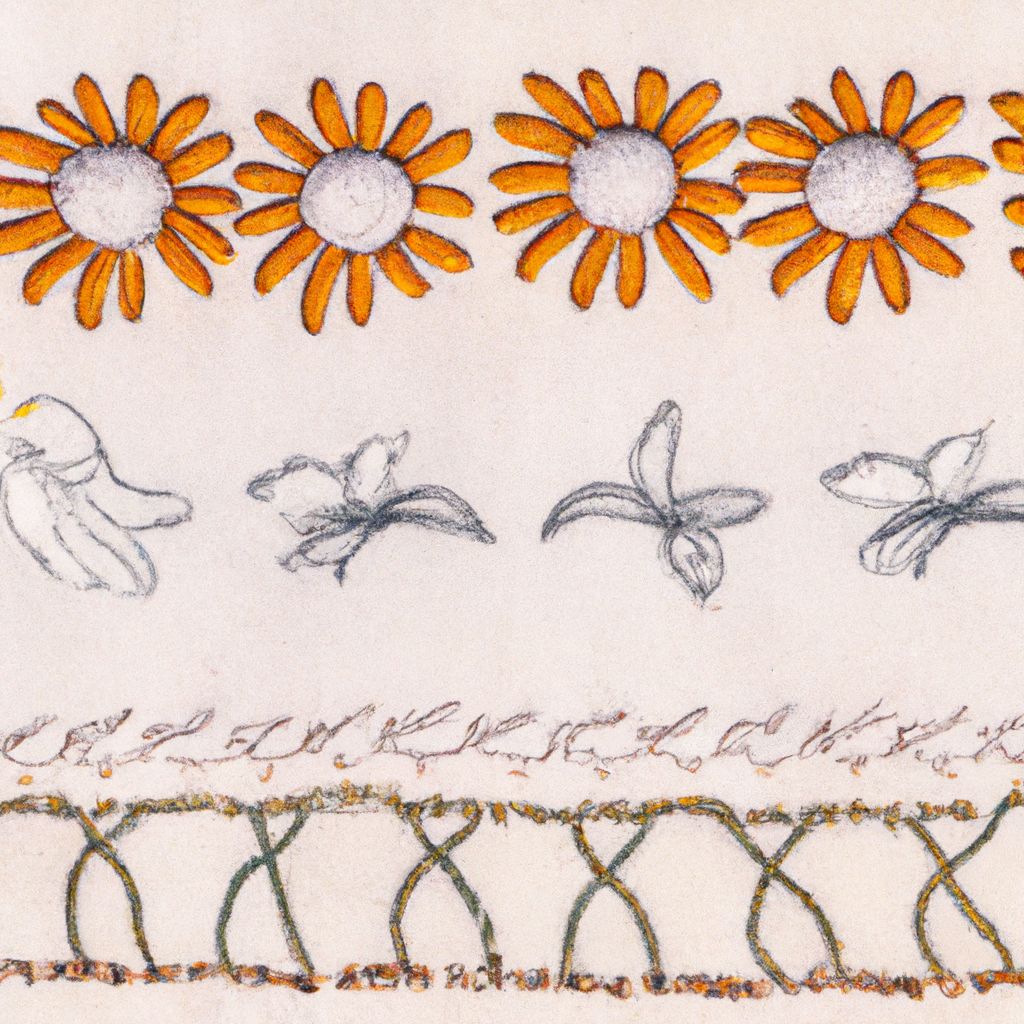
Once you've mastered the fundamentals, you can move on to more complex embroidery stitches. These stitches may seem daunting initially, but with practice and patience, they can add intricate detail and depth to your embroidery pieces. Some of these complex stitches include the lazy daisy, bullion knot, feather stitch, and herringbone stitch.
- Lazy Daisy
-
Lazy Daisy is a playful stitch often used to create individual flower petals or leaves in embroidery designs. It's essentially a looped stitch that forms a teardrop shape, adding a vibrant and dynamic element to the piece.
- Bullion Knot
-
The Bullion Knot stitch, known for its unique, cylindrical shape, is often used to create a variety of shapes like roses, buds, and stems in floral patterns. This three-dimensional stitch adds a rich texture and depth to the artwork, making it stand out.
- Feather Stitch
-
Feather Stitch, with its delicate, fern-like appearance, is a decorative stitch often used in border designs and to fill in areas with a light, airy texture. It adds an elegant and intricate touch to your embroidery work.
- Herringbone Stitch
-
Herringbone Stitch, named after the herring fish due to its resemblance to the fish's skeleton, is a crossed stitch often used for borders and filling areas. It creates a zigzag pattern that adds visual depth and interest to the design.
Each of these stitches requires a higher level of skill and understanding. However, the intricate patterns and textures they can create are well worth the effort. Mastering these stitches can take your embroidery work to a whole new level, transforming simple designs into pieces of intricate art.
Step-by-Step Guides to Master Embroidery Stitches
Mastering embroidery stitches takes practice and patience. Here are step-by-step guides to help you learn and perfect each stitch mentioned earlier. Visual aids like diagrams or pictures may be beneficial in understanding the process.
- Running Stitch
-
1. Thread the needle and knot the end.

2. Bring the needle up through the fabric from the back (at point A).

3. Push the needle down into the fabric a short distance away to create your first stitch (at point B).

4. Bring the needle back up a short distance away (at point C), then back down again (at point D).

5. Repeat the process for as long as you want your line of running stitches. - Back Stitch
-
1. Bring the needle up through the fabric (at point A).

2. Push the needle back into the fabric a short distance away (at point B).

3. Bring the needle back up a short distance away from your initial stitch (at point C).

4. Push the needle back into the end of your initial stitch (back at point A).

5. Repeat the process, always moving forward on the front side of the fabric and backward on the back. - Split Stitch
-
1. Start with a single straight stitch (from point A to B).

2. Bring the needle up through the fabric again, but this time, come up through the middle of your initial stitch (at point C).

3. Push the needle back into the fabric a short distance away (at point D).

4. Repeat the process, always splitting the previous stitch.
In addition to these instructions, practice is critical. The more you practice, the more natural these stitches will become, and the more consistent your stitches will look. Happy stitching!
Practicing and Perfecting Your Stitches
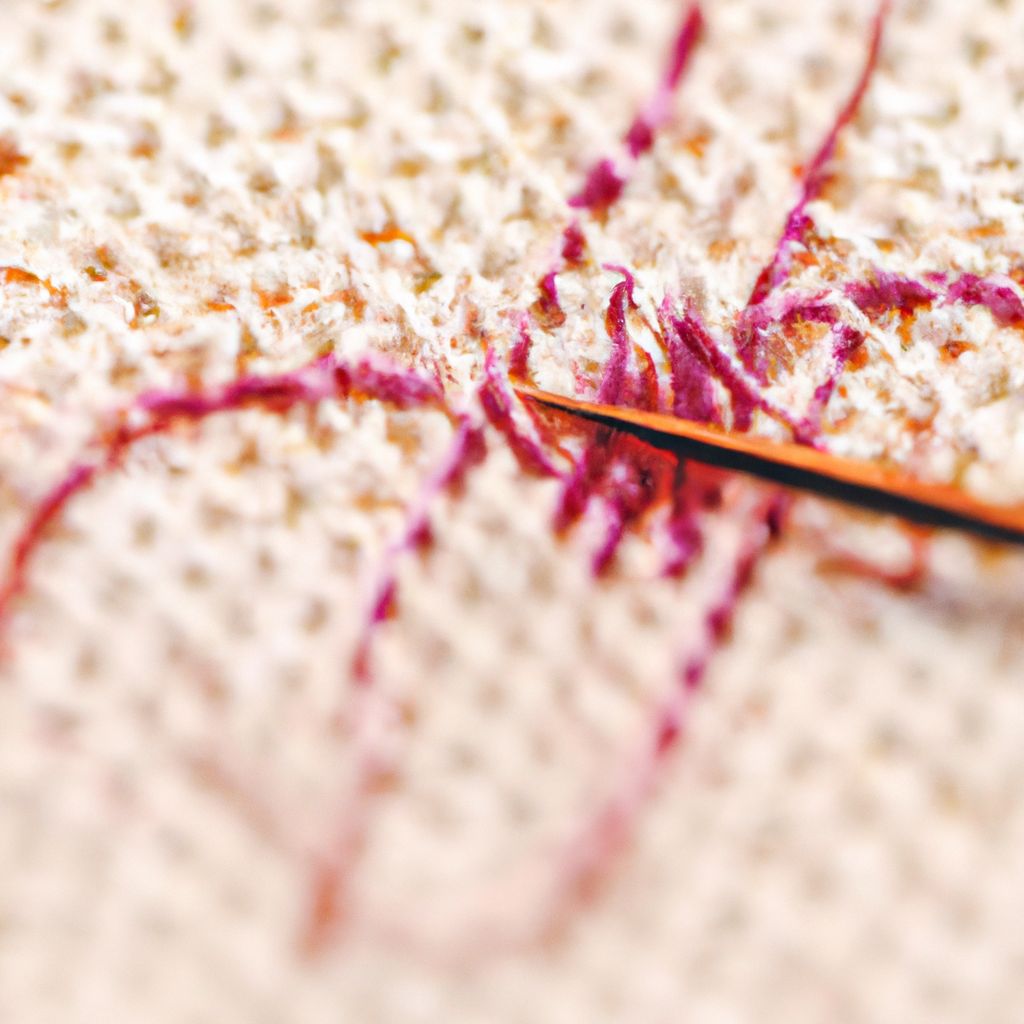
Just like any other form of art, mastering embroidery stitches requires consistent practice. The importance of practice in embroidery cannot be overstated—every stitch you make improves your hand-eye coordination, your understanding of how the thread moves through the fabric, and your ability to make precise, consistent stitches.
Starting with simpler stitches is a good strategy for beginners. The running stitch, for instance, is a great starting point. It introduces you to the basic movement of moving the needle and thread through the fabric, and its simplicity allows you to focus on creating even, consistent stitches. Once you're comfortable with the running stitch, you can move on to slightly more complex stitches, like the back stitch or the split stitch.
Practicing on scrap fabric is another effective strategy. Not only does it allow you to practice without fear of ruining a piece, but it also lets you experiment with different types of stitches, thread, and fabric. This experimentation can lead to a deeper understanding of how different materials interact, which can help you make more informed decisions in your projects.
Finally, remember to be patient with yourself. It's okay if your stitches aren't perfect at first—that's what practice is for! With each stitch, you're improving and working towards mastery. Keep at it, and soon you'll see your embroidery skills flourish.
Conclusion: The Art of Embroidery Stitches
Embroidery stitches are the building blocks of any embroidery project. They add depth, texture, and detail, transforming ordinary materials into works of art. By mastering different types of stitches, you can enhance your embroidery projects, bringing your designs to life with a richness and complexity that can truly captivate.
Moreover, learning and mastering these stitches can open up a world of creative possibilities. From the simplest running stitch to the more complex bullion knot or feather stitch, each stitch you learn adds a new tool to your creative toolbox. And with these tools, you can experiment, innovate, and create intricate designs that reflect your unique artistic vision.
So, whether you're new to embroidery or an experienced embroiderer looking to refine your skills, remember the value of mastering your stitches. Practice consistently, experiment freely, and most importantly, enjoy the process. Your journey in the world of embroidery is bound to be an exciting one.