- Introduction to Knitting Techniques
- Understanding Knitting Basics
- Technique 1: Knit and Purl Stitch
- Technique 2: Casting On and Off
- Technique 3: Increasing and Decreasing
- Technique 4: Cable Stitch
- Technique 5: Colorwork
- Technique 6: Lace Knitting
- Technique 7: Brioche Stitch
- Technique 8: Short Rows
- Technique 9: Blocking
- Technique 10: Fixing Mistakes
- Conclusion: Master Your Knitting Techniques
Introduction to Knitting Techniques
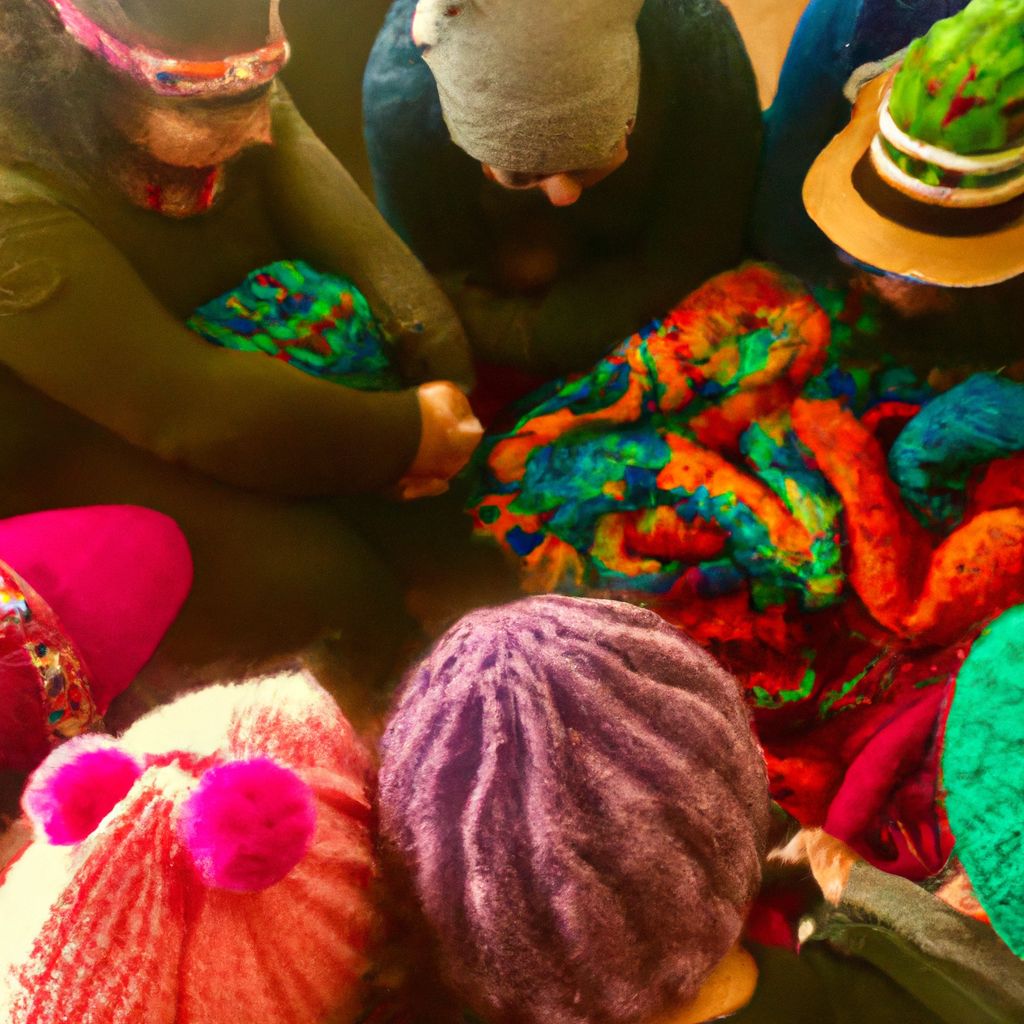
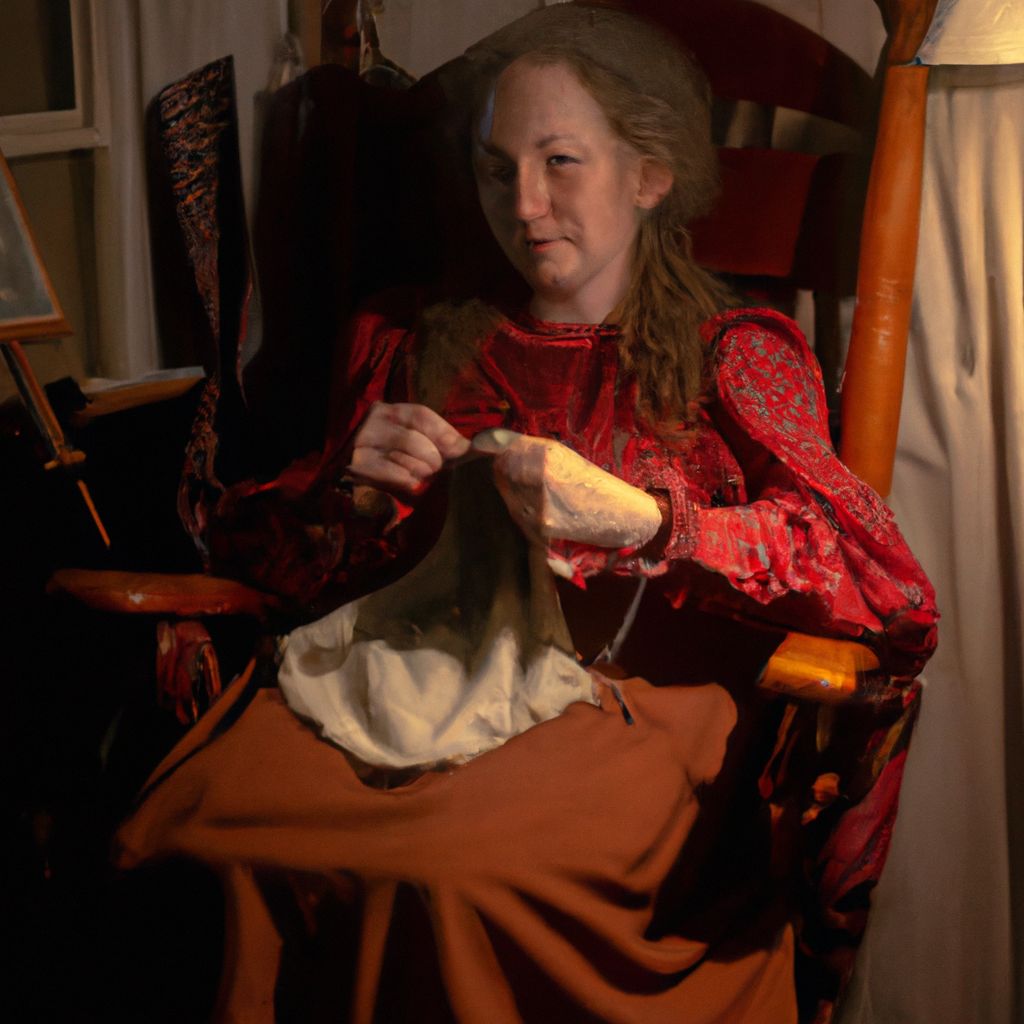
Knitting, an ancient craft that dates back to the 5th century AD, has witnessed a resurgence in popularity in recent years.According to the Craft Yarn Council, over 38 million people are engaged in knitting and crocheting in the United States alone. Whether you're a novice knitter or a seasoned pro, mastering various knitting techniques can significantly enhance your knitting experience.
Each knitting technique opens up a new realm of possibilities, allowing you to create more intricate patterns and designs. Not only does it add depth and dimension to your projects, but it also helps improve your efficiency and speed. This cluster content aims to introduce the top 10 knitting techniques that every knitter should know, each with its own unique applications and benefits.
Understanding Knitting Basics
Understanding Knitting Basics
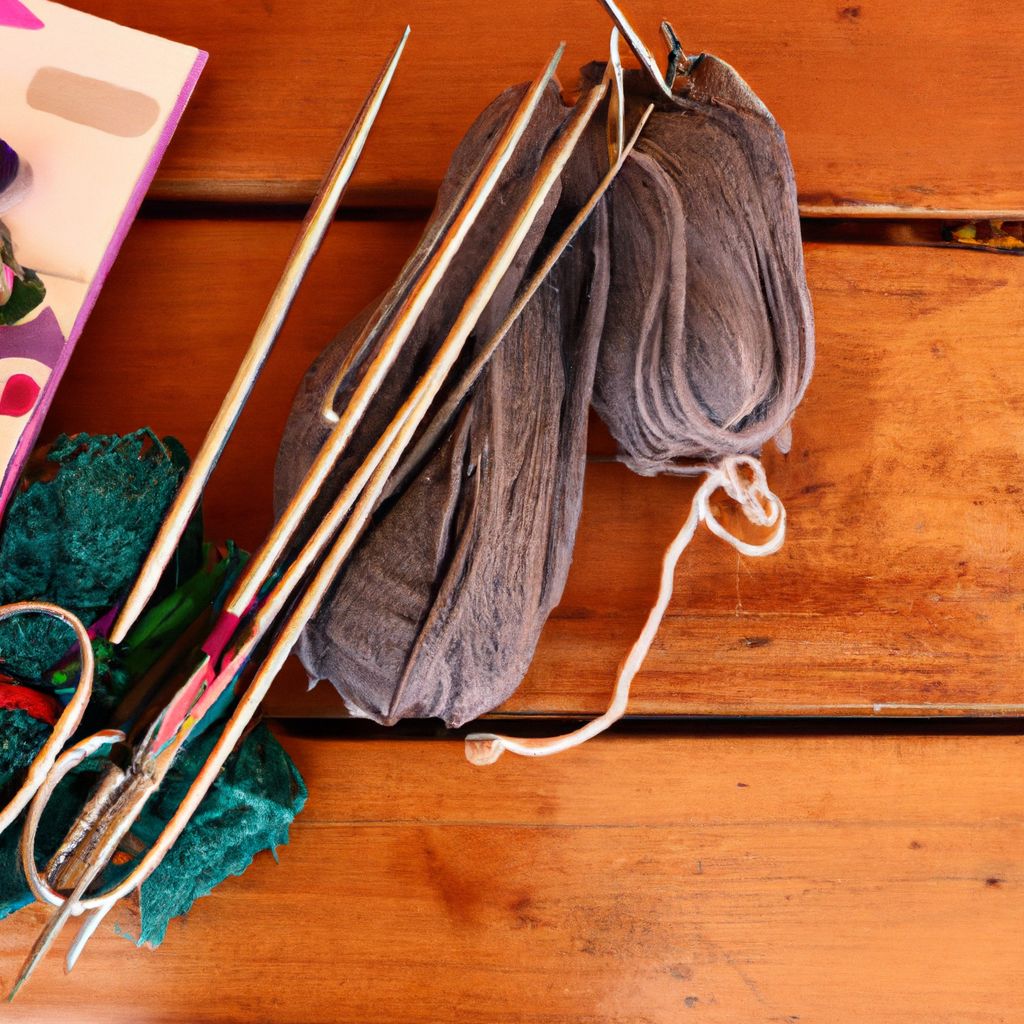
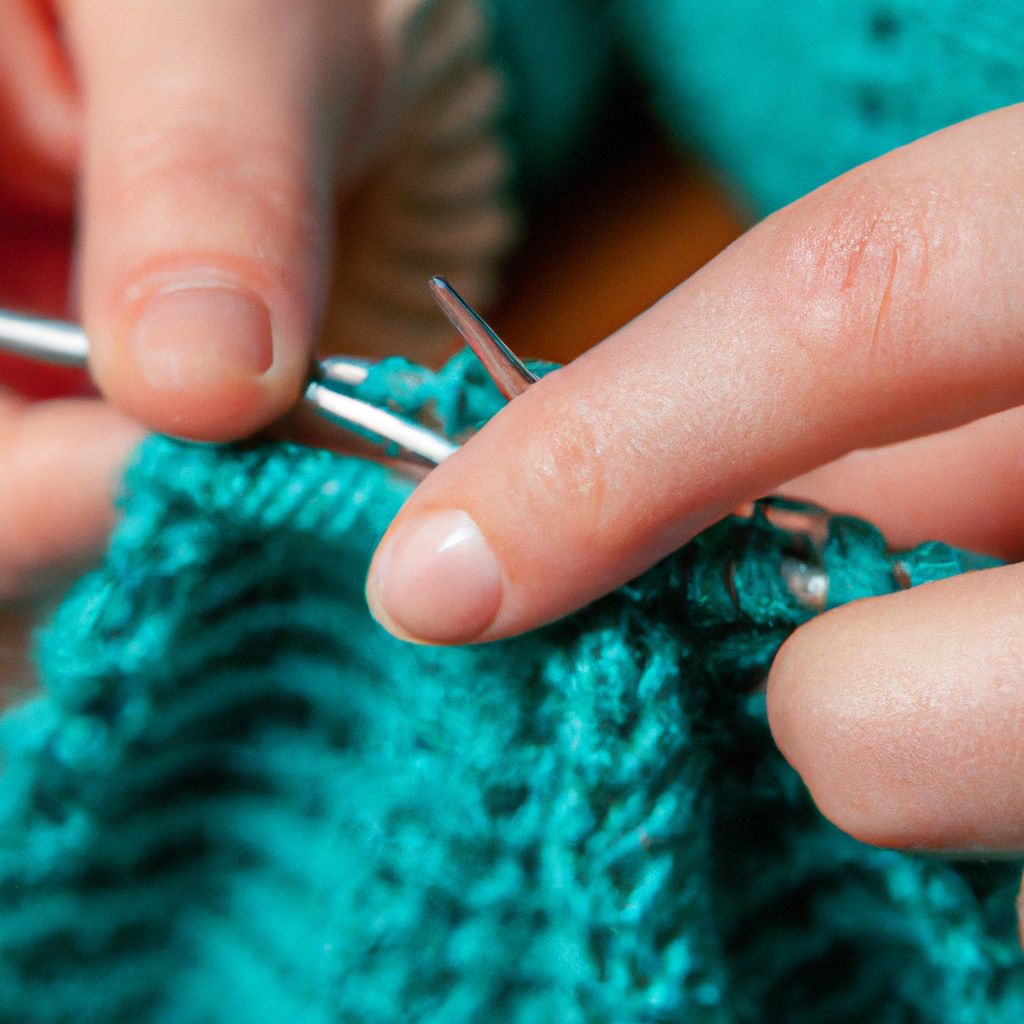
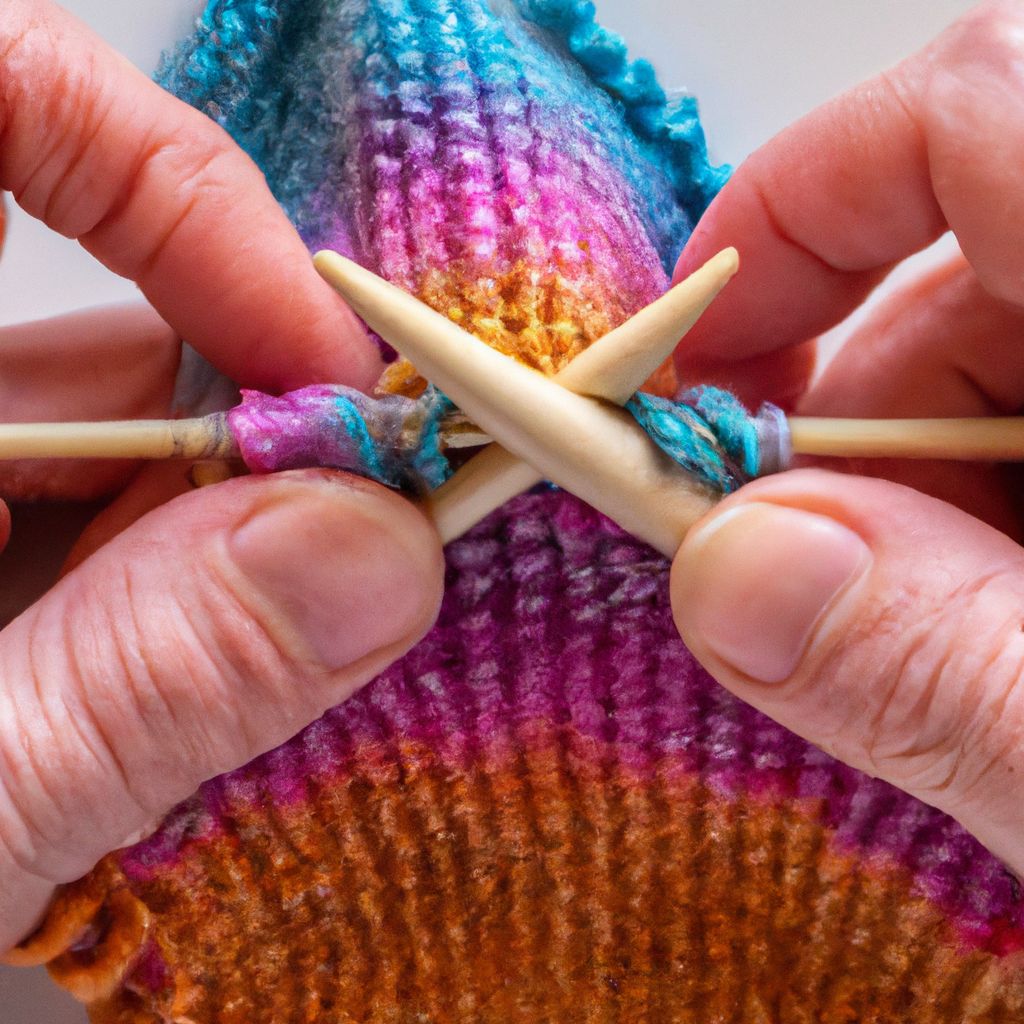
Before you dive into more complex knitting techniques, it's crucial to have a solid understanding of the basics. The foundation of all knitting is based on two simple stitches: the knit stitch and the purl stitch. Everything else is a variation or combination of these two stitches.According to knitting expert, Clara Parkes, 'Mastering the basics gives you the confidence to explore more advanced techniques.'
Casting On
The first step in any knitting project is 'casting on.' This technique creates the initial set of loops (or stitches) on the needle. There are many methods to cast on, but the most common ones are the 'knitted cast on' and the 'long tail cast on.'
Knit Stitch and Purl Stitch
After casting on, you'll use the 'knit stitch' or the 'purl stitch' to create your fabric. The knit stitch results in a flat, smooth fabric (known as stockinette stitch when used alone), while the purl stitch creates a bumpy texture (known as reverse stockinette stitch).
Casting Off
Once your project is the desired length, you'll need to 'cast off' (or 'bind off') to remove the loops from the needles and secure the stitches. This technique ensures that your work won't unravel.
Technique 1: Knit and Purl Stitch
Technique 1: Knit and Purl Stitch
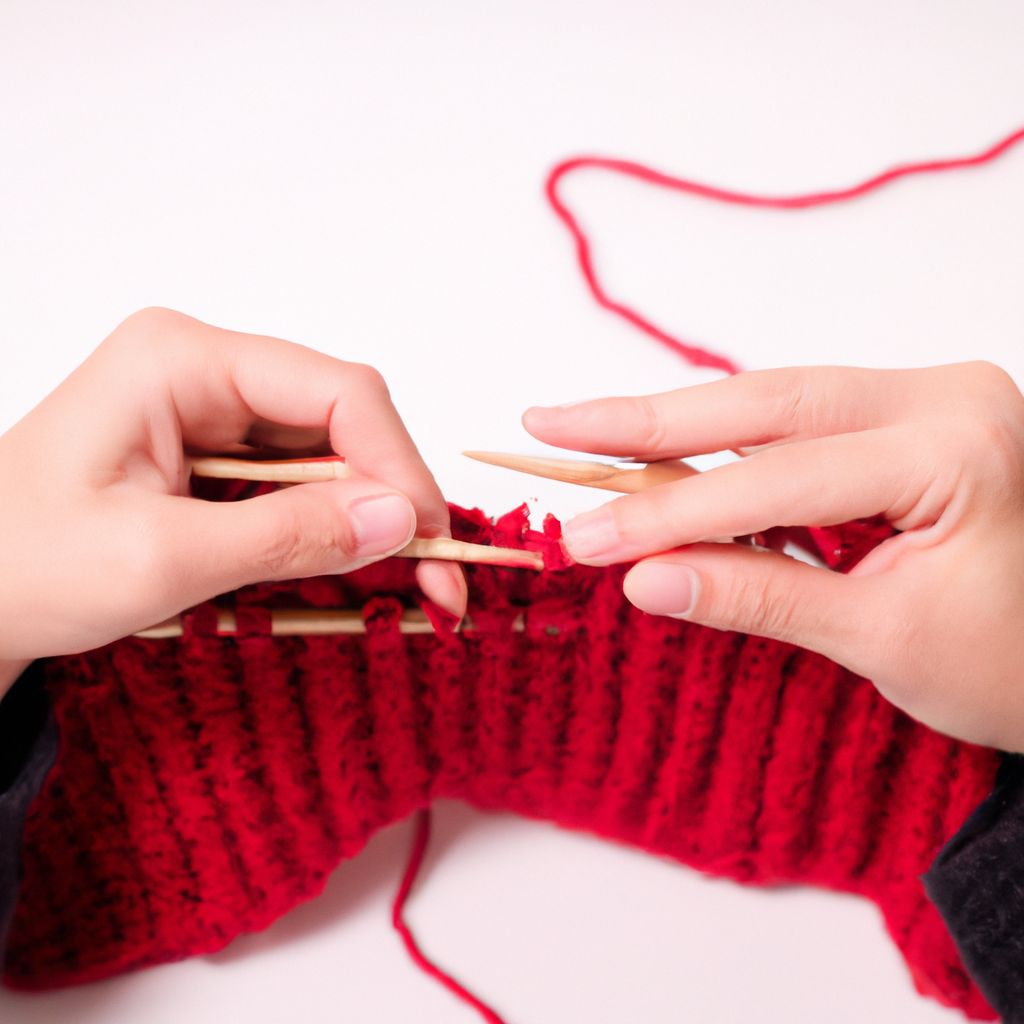
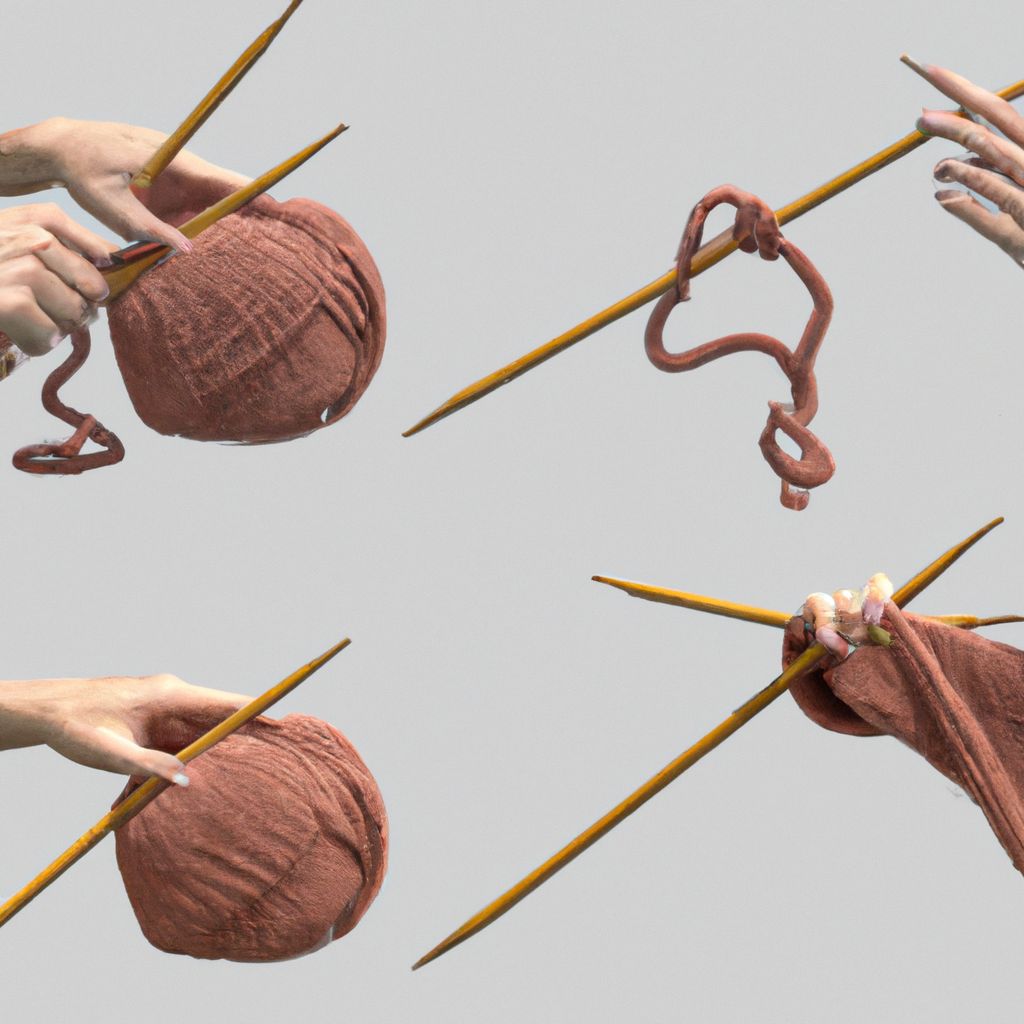
As mentioned earlier, the knit stitch and the purl stitch form the backbone of all knitting patterns. They're the first stitches you'll learn as a beginner, and you'll use them in almost every knitting project.
Knit Stitch
- Start with the yarn at the back of the work. Insert the right needle into the front of the first stitch on the left needle, from left to right.
- Wrap the yarn around the right needle from back to front.
- Slide the right needle down, pulling the loop of yarn through the stitch.
- Slide the old stitch off the left needle. The new stitch is now on the right needle.
Tip: Keep your stitches close to the tips of the needles to make them easier to work with, but be careful not to let them slip off.
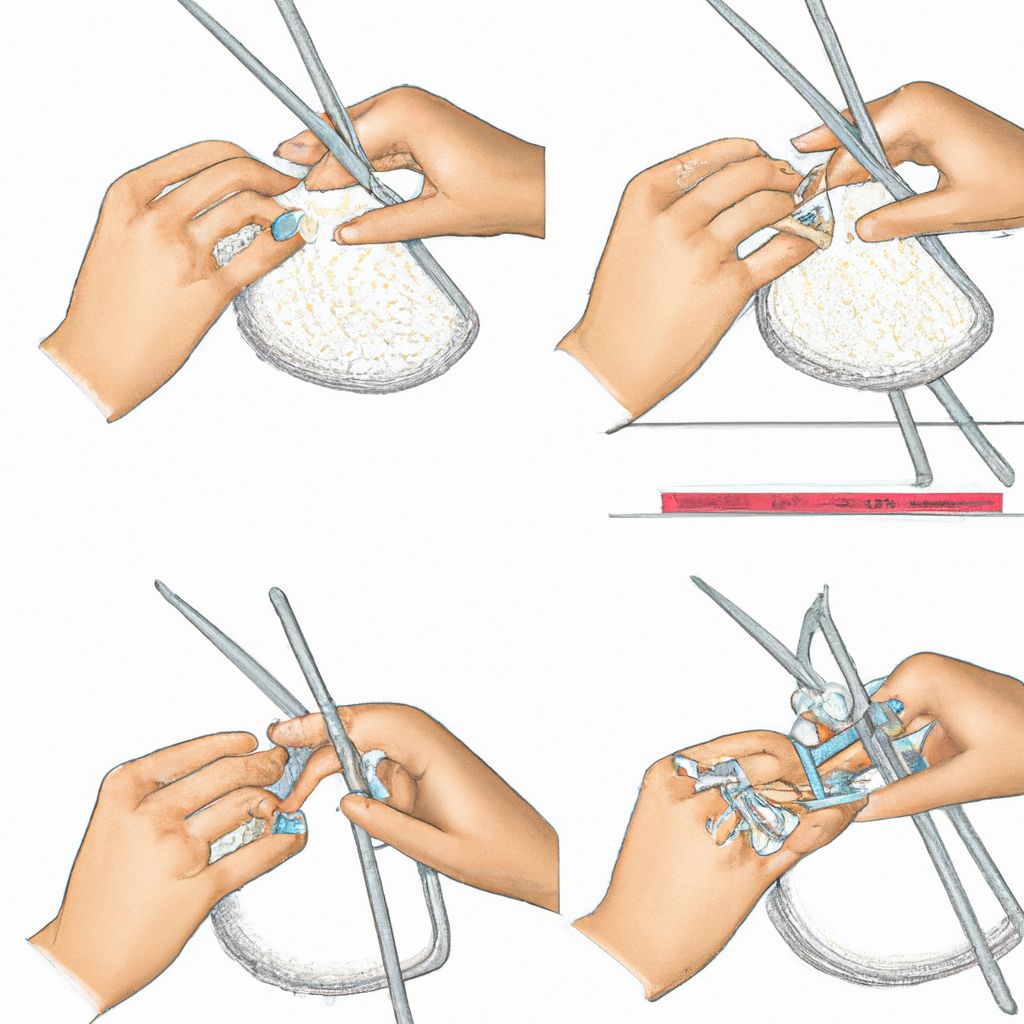
Purl Stitch
- Start with the yarn at the front of the work. Insert the right needle into the front of the first stitch on the left needle, from right to left.
- Wrap the yarn around the right needle from front to back.
- Slide the right needle up, pulling the loop of yarn through the stitch.
- Slide the old stitch off the left needle. The new stitch is now on the right needle.
Tip: The purl stitch can be a bit trickier to master than the knit stitch. Practice making rows of purl stitches until you feel comfortable with the motion.
Technique 2: Casting On and Off
Technique 2: Casting On and Off
Every knitting project starts with 'casting on' and ends with 'casting off.' These techniques create the beginning and end of your knitting project, and they're essential for preventing your work from unravelling.
Casting On
The method you choose for casting on will depend on your project. Some methods create a looser edge, while others create a more elastic edge. Here are two of the most common methods:
- Knitted Cast On
- This method is simple and creates a stable edge. However, it's not very elastic, so it's not suitable for projects that need to stretch, like socks or hats.
- Long Tail Cast On
- This method is a bit more complex but creates a very elastic edge. It's perfect for projects that need to stretch.
Casting Off
Like casting on, there are several methods for casting off, each with its own advantages:
- Basic Bind Off
- This is the simplest method and creates a firm, stable edge. It's perfect for most projects.
- Stretchy Bind Off
- This method creates a more elastic edge. It's great for projects that need to stretch, like socks or the brim of a hat.
Tip: Always practice your chosen cast on and off techniques before starting your project. This will give you a chance to get comfortable with the technique and ensure a clean, neat edge for your project.
Technique 3: Increasing and Decreasing
Technique 3: Increasing and Decreasing
Increasing and decreasing are crucial techniques for altering the shape and size of your knitted piece. They're typically used to create shaping in garments, such as waist shaping in a sweater or the gusset of a sock, but they can also be used to create decorative elements like lace patterns.
Increasing
Increasing adds extra stitches to your work, making it wider. There are several methods for increasing, but two of the most common are the 'knit front and back' (KFB) and the 'make one' (M1).
- Knit Front and Back (KFB)
- The KFB is an easy increase that involves knitting into the front and back of a stitch. This method creates an extra stitch and a small bump that can be a decorative element.
- Make One (M1)
- The M1 is a more invisible increase. It involves lifting the bar between two stitches onto the left needle and knitting into the back of it.
Decreasing
Decreasing removes stitches from your work, making it narrower. The two most common methods are 'knit two together' (K2Tog) and 'slip, slip, knit' (SSK).
- Knit Two Together (K2Tog)
- The K2Tog is the simplest decrease. It involves knitting two stitches together as if they were one.
- Slip, Slip, Knit (SSK)
- The SSK creates a slightly more subtle decrease. It involves slipping two stitches as if to knit, then knitting those two stitches together through the back loops.
Tip: When increasing or decreasing, be sure to count your stitches regularly to ensure you're maintaining the correct number.
Technique 4: Cable Stitch
Technique 4: Cable Stitch
Cable stitches are a beautiful and classic knitting technique that creates a twisted or braided effect. They're often used in Aran sweaters and other textured patterns. Although they look complicated, they're created by simply rearranging the order of stitches.
Here's a simple guide to creating a basic 4-stitch cable, often abbreviated as C4F (Cable 4 Front):
- Knit to the place where you want the cable to be.
- Slip the next two stitches onto a cable needle and hold it at the front of the work.
- Knit the next two stitches from the left-hand needle.
- Then knit the two stitches from the cable needle.
- Continue knitting to the end of the row.
The cable will twist in the direction that you hold the cable needle. So, for a C4F, you hold the cable needle at the front of the work, which makes the cable twist to the left. For a C4B (Cable 4 Back), you would hold the cable needle at the back of the work, which makes the cable twist to the right.
Please note that it's not possible to include images or videos in this HTML-formatted content. However, there are many online resources, including YouTube tutorials and knitting websites, where you can find visual guides to help you master the cable stitch.
Tip: Cable needles come in different sizes and shapes. Choose one that's close to the size of your knitting needles for best results.
Technique 5: Colorwork
Technique 5: Colorwork
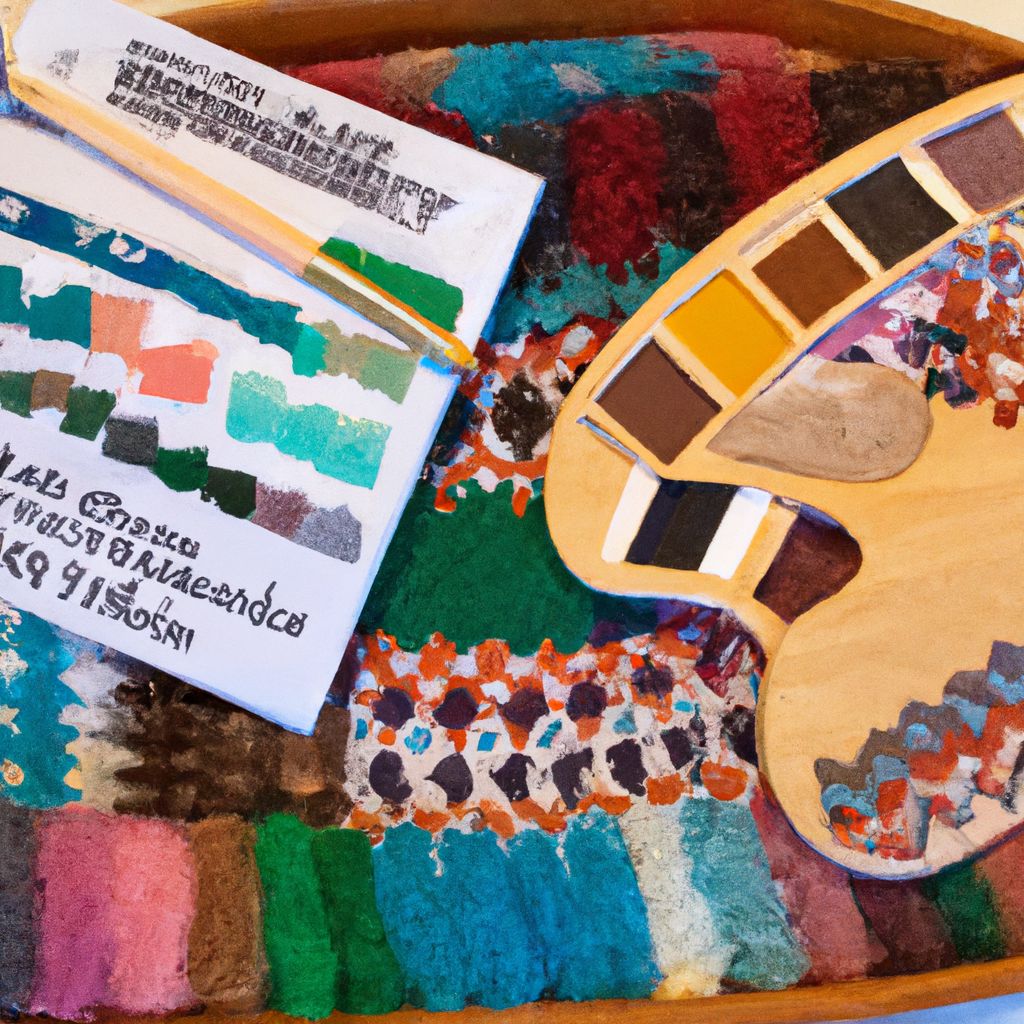
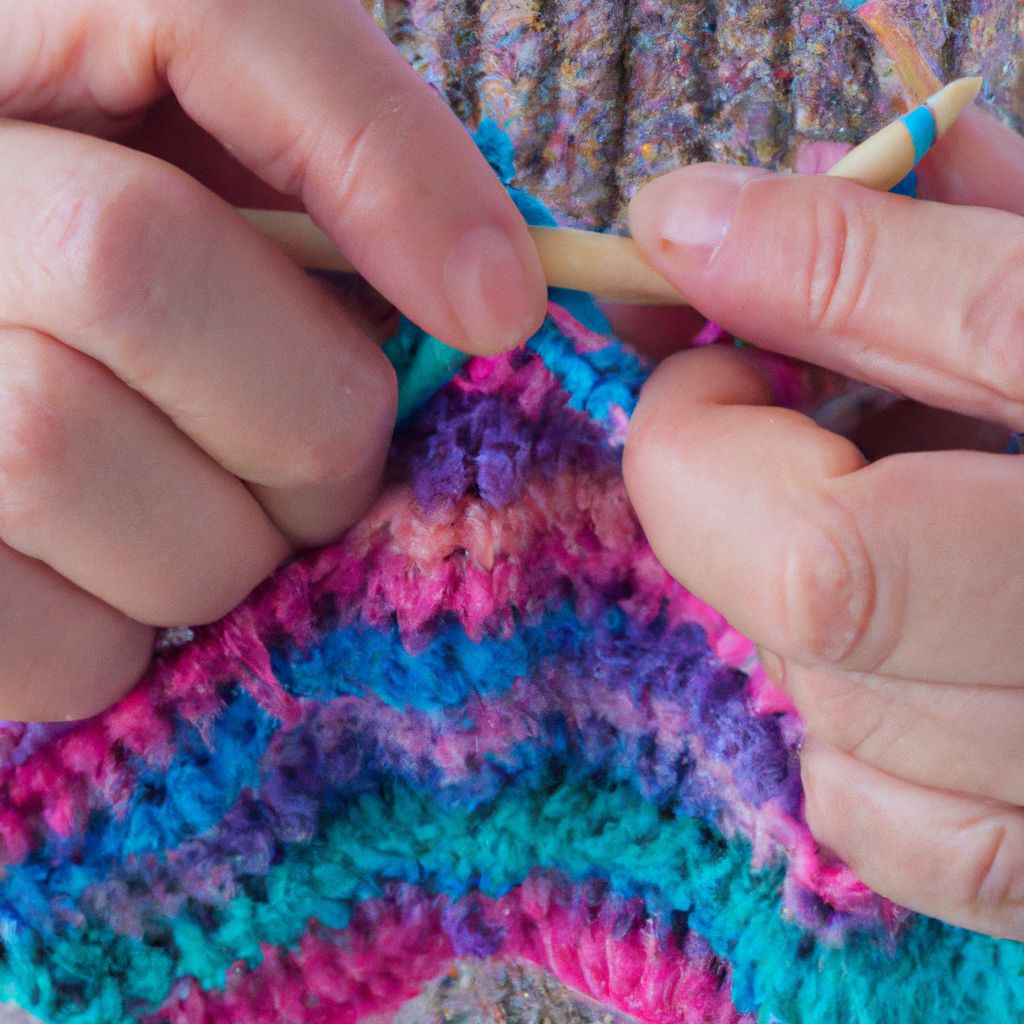
Adding color to your knitting can completely transform your projects, creating stunning visual interest and complexity. There are several techniques for working with multiple colors, but two of the most popular are Fair Isle and Intarsia.
Fair Isle
Fair Isle, also known as stranded colorwork, involves working with two or more colors in the same row. The unused color is carried along the back of the work, creating strands or 'floats.'
To knit Fair Isle:
- Hold one color in each hand.
- Knit the stitches of each color as indicated in your pattern, carrying the unused color along the back of your work.
- Be sure to spread out your stitches on the right needle before changing colors to prevent the floats from pulling too tight.
Intarsia
Intarsia involves knitting blocks of color using separate balls of yarn or bobbins for each color change. Unlike Fair Isle, there are no floats carried along the back of the work.
To knit Intarsia:
- Begin knitting with your first color.
- When it's time to change colors, drop the first color and pick up the new color from underneath the first color. This will twist the two colors together and prevent holes in your work.
- Continue knitting with the new color, following your pattern.
Choosing Colors: When choosing colors for colorwork, look for hues that contrast well to ensure your pattern stands out. Consider the color wheel: colors opposite each other (like red and green or blue and orange) provide high contrast, while colors next to each other (like blue and green) provide low contrast.
Carrying Yarns: In Fair Isle knitting, avoid carrying floats over more than 3-5 stitches to prevent puckering and loose strands on the back of your work. In Intarsia, remember to twist your colors at each color change to prevent holes.
Technique 6: Lace Knitting
Technique 6: Lace Knitting
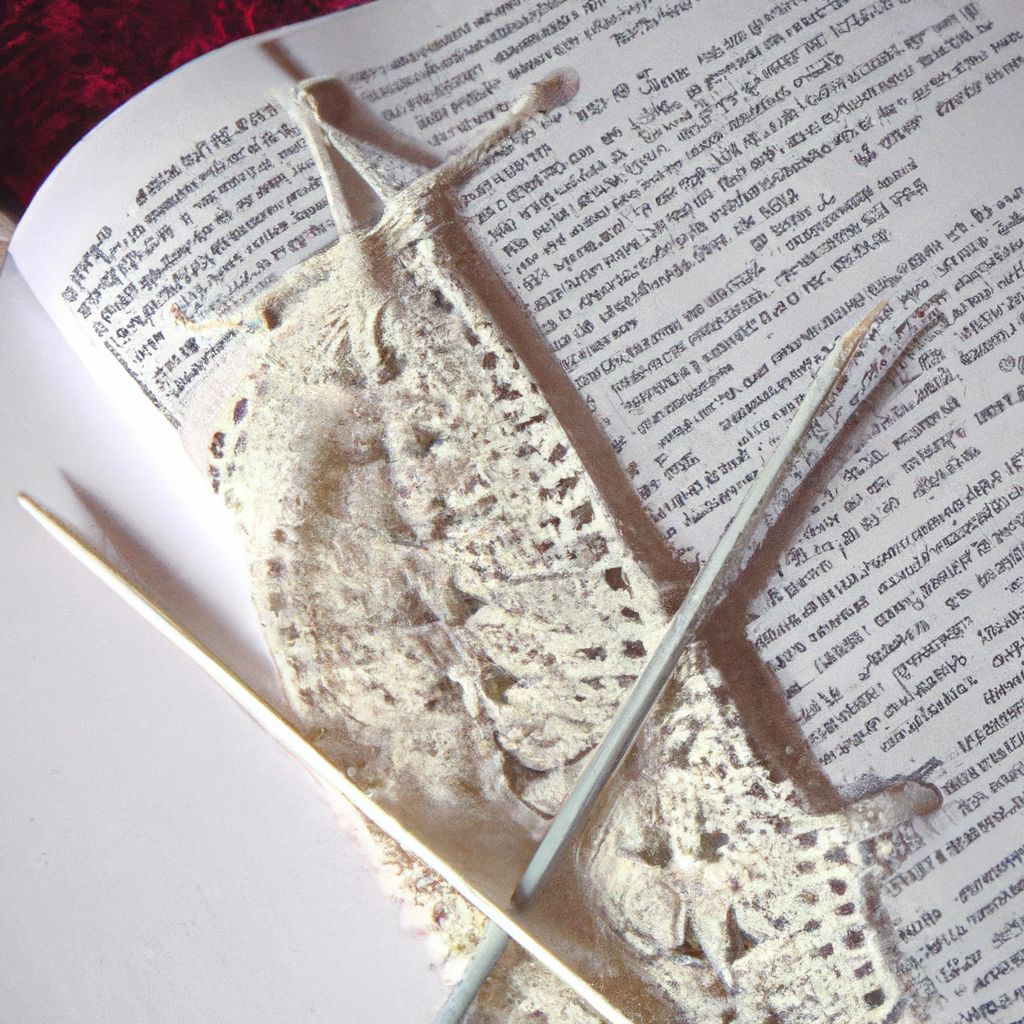
Lace knitting is a technique that uses increases and decreases to create intricate patterns of holes and stitches. Lace patterns can range from simple eyelet designs to complex floral and geometric patterns. They're often used in shawls, scarves, and summer tops.
Lace Patterns
Lace patterns are usually worked on a background of stockinette stitch. The holes are created by 'yarn overs' (YOs), which add a stitch, and the shape is formed by decreases that balance out the increases.
Here's a simple lace pattern to get you started:
  Row 1 (RS): K3, *YO, K2, SSK, K2tog, K2, YO, K1; rep from * to last 2 sts, K2

  Row 2 and all WS rows: Purl all stitches

  Row 3: K2, *YO, K1, SSK, K2tog, K1, YO, K3; rep from * to last st, K1

  Row 5: K1, *YO, SSK, K2tog, YO, K5; rep from * to end

  Row 7: Repeat Row 3

  Row 8: Repeat Row 2
Reading Lace Charts
Lace patterns are often presented in chart form, which uses symbols to represent each stitch. Reading a lace chart can be a bit like learning a new language, but once you get the hang of it, it can make knitting lace easier and more intuitive. Here are a few tips:
- Each square on the chart represents one stitch.
- Right-side rows are usually read from right to left, and wrong-side rows from left to right.
- The key will tell you what each symbol means.
- Use a ruler or sticky note to keep your place on the chart.
Tip: Lace knitting requires concentration, so it's best tackled when you can pay close attention. Using stitch markers to mark off pattern repeats can also be very helpful.
Technique 7: Brioche Stitch
Technique 7: Brioche Stitch
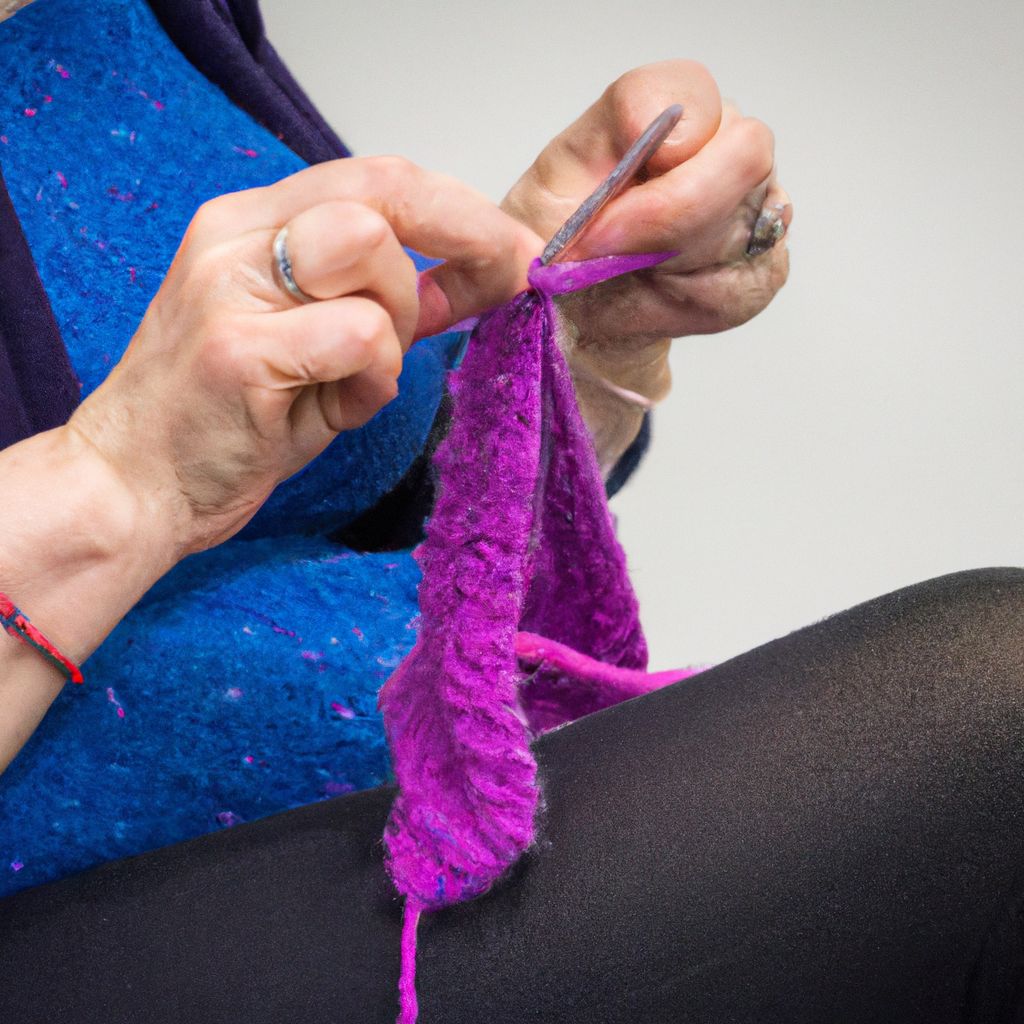
The Brioche stitch is a versatile knitting technique that creates a dense, squishy fabric similar to 1x1 ribbing. However, Brioche uses a unique combination of yarn overs and slipped stitches to create a more complex pattern with a beautiful, rich texture. The resulting fabric is reversible, with a ribbed pattern that stands out in high-relief.
How to Knit Brioche Stitch
Here's a simple guide to creating a single-color Brioche stitch:
- Start with an even number of stitches.
- Row 1 (setup row): *Yarn over, slip 1 purlwise, knit 1; repeat from * to end.
- Row 2: *Yarn over, slip 1 purlwise, knit 2 together (the yarn over and the slipped stitch from the previous row); repeat from * to end.
- Repeat Row 2 for pattern.
Tip: Brioche stitch can be confusing at first because the yarn overs from the previous row are knitted together with the slipped stitch as if they were one stitch. It may be helpful to practice with a light-colored yarn so you can see your stitches more easily.
Distinctive Features and Tips for Beginners
Brioche stitch is known for its lofty, squishy texture and its excellent heat retention, making it perfect for warm, cozy projects like scarves, hats, and blankets. Here are a few tips for beginners:
- Be patient: Brioche stitch can take some getting used to, but once you get the rhythm, it's very satisfying.
- Count carefully: Each pair of yarn over and slipped stitch counts as one stitch in Brioche.
- Practice: Consider practicing with two contrasting colors of yarn. This can make it easier to see and understand the structure of the stitch.
Technique 8: Short Rows
Technique 8: Short Rows
Short rows are a technique used to add shape to knitted items without using increases or decreases. By working only a portion of the row and then turning your work before reaching the end, you can create curves, angles, and other shapes that would be impossible with traditional techniques.
How to Knit Short Rows
There are several methods for knitting short rows, but one of the most common is the wrap and turn (W&T).
- Knit to the point where you want to turn your work.
- Bring the yarn to the front (if knitting) or to the back (if purling).
- Slip the next stitch purlwise from the left needle to the right needle.
- Move the yarn back to its original position.
- Slip the stitch back to the left needle, then turn your work. The yarn is now in the correct position to continue knitting or purling.
When you come back to the wrapped stitch on a subsequent row, you can 'pick up and knit' the wrap together with the stitch it's wrapping to prevent a hole in your work.
Uses of Short Rows
Short rows can be used in a variety of ways in knitting:
- Shaping: Short rows can add shaping to garments, such as bust darts in a sweater or turning a heel in a sock.
- Design Elements: They can also be used as a design element, such as creating waves or wedges in shawls or adding a pop of color.
- Correcting Length: They can be used to correct length discrepancies in garments, such as raising the back of a collar or balancing out a hemline.
Tip: When working short rows, it can be helpful to use a stitch marker or a piece of waste yarn to mark your turning point. This makes it easier to find when you need to pick up the wraps.
Technique 9: Blocking
Technique 9: Blocking
Blocking is the final step in your knitting project. It's a process that involves wetting or steaming your finished piece and then shaping it to the correct dimensions. Blocking can enhance the drape and appearance of your knitted items, smooth out any uneven stitches, and help your piece hold its shape.
How to Block Knitted Items
- First, soak your finished piece in lukewarm water with a bit of mild soap or wool wash. Let it soak for about 20 minutes.
- Next, gently squeeze out the water (don't wring it). Roll the piece in a towel and press to remove as much water as possible.
- Now, shape your piece on a flat surface. You can use rust-proof pins to hold it in shape if necessary. If you're blocking a lace item, you'll need to stretch it to open up the lace pattern.
- Finally, let your piece dry completely. This can take a day or two, depending on the thickness of the yarn and the humidity in your area.
Tip: Always check the care instructions for your yarn before blocking. Some fibers, like acrylic, can't be wet blocked, and some, like superwash wool, can stretch excessively when wet.
While blocking may seem like an extra, unnecessary step, it's well worth the effort. A well-blocked piece of knitting is a thing of beauty, and it can make the difference between a homemade and a handmade look.
Technique 10: Fixing Mistakes

Technique 10: Fixing Mistakes
Even the most experienced knitters make mistakes. The key is knowing how to fix them. Whether it's a dropped stitch, an extra stitch, or a twisted stitch, there's almost always a way to correct it without having to unravel your entire project.
Common Mistakes and How to Fix Them
- Dropped Stitch
- If you've dropped a stitch, don't panic. Simply use a crochet hook to pull the dropped stitch up through the ladders (the strands of yarn from each row) until it's back on your needle.
- Extra Stitch
- If you have an extra stitch, it's usually because you accidentally made a yarn over or picked up a piece of the yarn between stitches. If it's a yarn over, you can simply drop it off your needle. If it's a picked up strand, you can knit it together with the next stitch to eliminate the extra stitch.
- Twisted Stitch
- If your stitch is twisted (it looks like a little loop instead of a V), you can fix it by slipping it off your needle, turning it around, and slipping it back on.
Preventing Mistakes
While everyone makes mistakes, there are several things you can do to prevent them:
- Count your stitches: Regularly counting your stitches can help you catch extra or missing stitches before you get too far.
- Use stitch markers: Stitch markers can help you keep track of pattern repeats or important places in your pattern.
- Read your knitting: Learning to understand what your stitches should look like can help you catch mistakes early.
- Take your time: Rushing can lead to mistakes. Take your time and enjoy the process.
Tip: If you've made a mistake and you're not sure how to fix it, don't be afraid to ask for help. Your local yarn store, a knitting friend, or an online knitting forum can be great resources.
Conclusion: Master Your Knitting Techniques
Master Your Knitting Techniques
Mastering these knitting techniques not only enhances the quality of your finished projects, but it also expands the range of patterns you can tackle. Each technique adds a unique dimension to your skills, empowering you to take on more challenging projects with confidence.
Remember, knitting is a journey. It's not about perfection, but about the joy of creating something with your own two hands. So, don't be afraid to make mistakes. Embrace them as opportunities to learn and grow. With patience and practice, you'll be amazed at what you can achieve.
So, pick up your needles, choose your yarn, and start exploring these techniques. Happy knitting!