- Introduction to Latte Art
- Tools Needed for Latte Art
- Perfecting Espresso and Milk Foam
- Basic Latte Art Designs
- Advanced Latte Art Techniques
- Common Mistakes and How to Avoid Them
- The Importance of Practice
- Conclusion: Latte Art as a Barista's Signature
Introduction to Latte Art
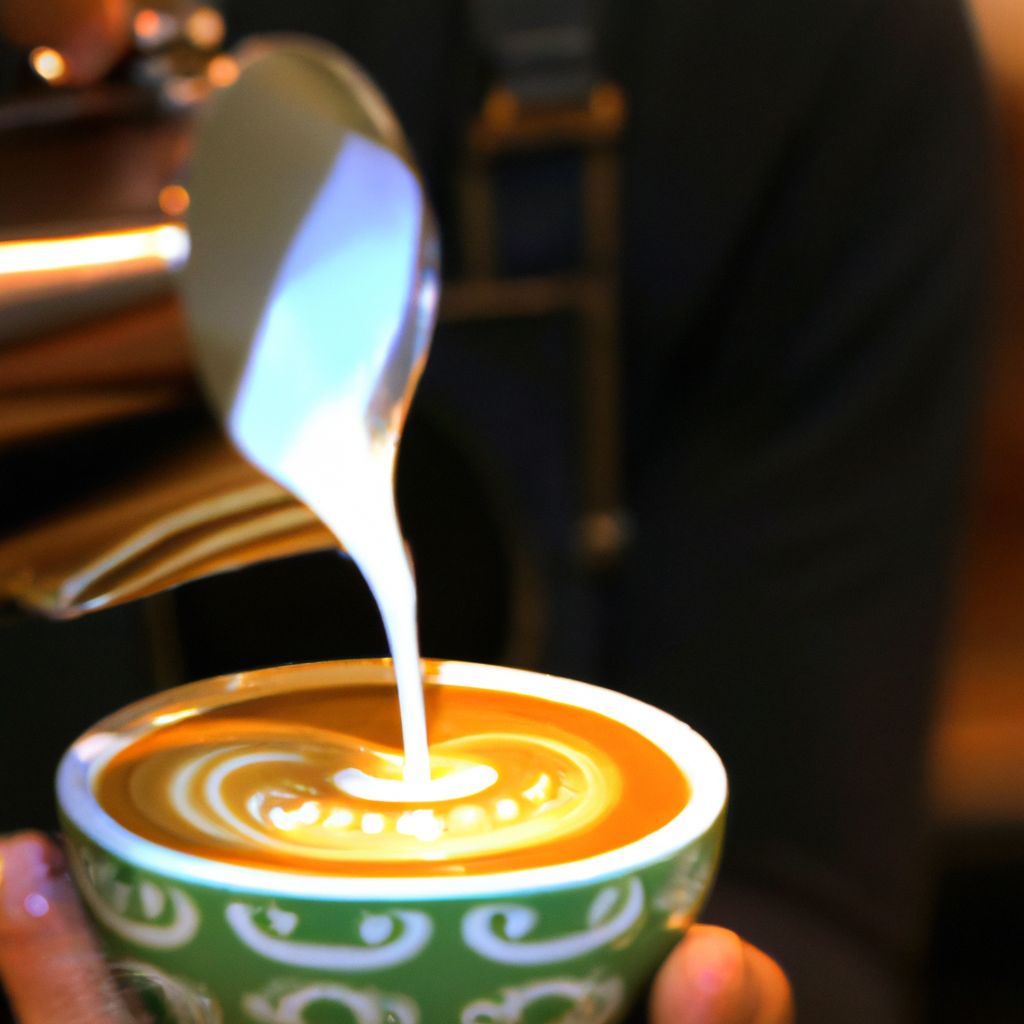
Latte art is a method of preparing coffee, created by pouring microfoam into a shot of espresso, resulting in a pattern or design on the surface of the latte. It can also be created or embellished by simply "drawing" in the top layer of foam. The term is not restricted to latte as it can be used to decorate any kind of milk-based coffee. For many baristas, latte art is the pinnacle of coffee artistry. It's not just about making the coffee taste good; it's also about presenting it in a way that's visually appealing.
The origins of latte art are a little murky, but it's generally believed to have been first developed in Italy. It then spread to America in the 1980s and 1990s, where it became popular in coffeehouses on the West Coast. From there, it gained worldwide recognition and is now considered a standard skill for any professional barista.
"Latte art is a fascinating blend of technical skill and artistic creativity. It's an essential skill for modern baristas, adding an extra layer of aesthetic appeal to a well-made coffee." - James Hoffmann, World Barista Champion 2007
The importance of latte art in the coffee industry cannot be overstated. A study by the Journal of Sensory Studies found that people perceived coffee that had latte art as tasting better than coffee without it, even when the same coffee was used. This shows the significant impact latte art can have on customer satisfaction and enjoyment.
Moreover, latte art is not just about impressing the customer. It's also about showcasing the barista's skill and dedication to their craft. The ability to create complex designs in a cup of coffee demonstrates a deep understanding of the coffee's texture and how to manipulate it to achieve the desired effect. This level of expertise is what sets apart a professional barista from an average one.
Tools Needed for Latte Art
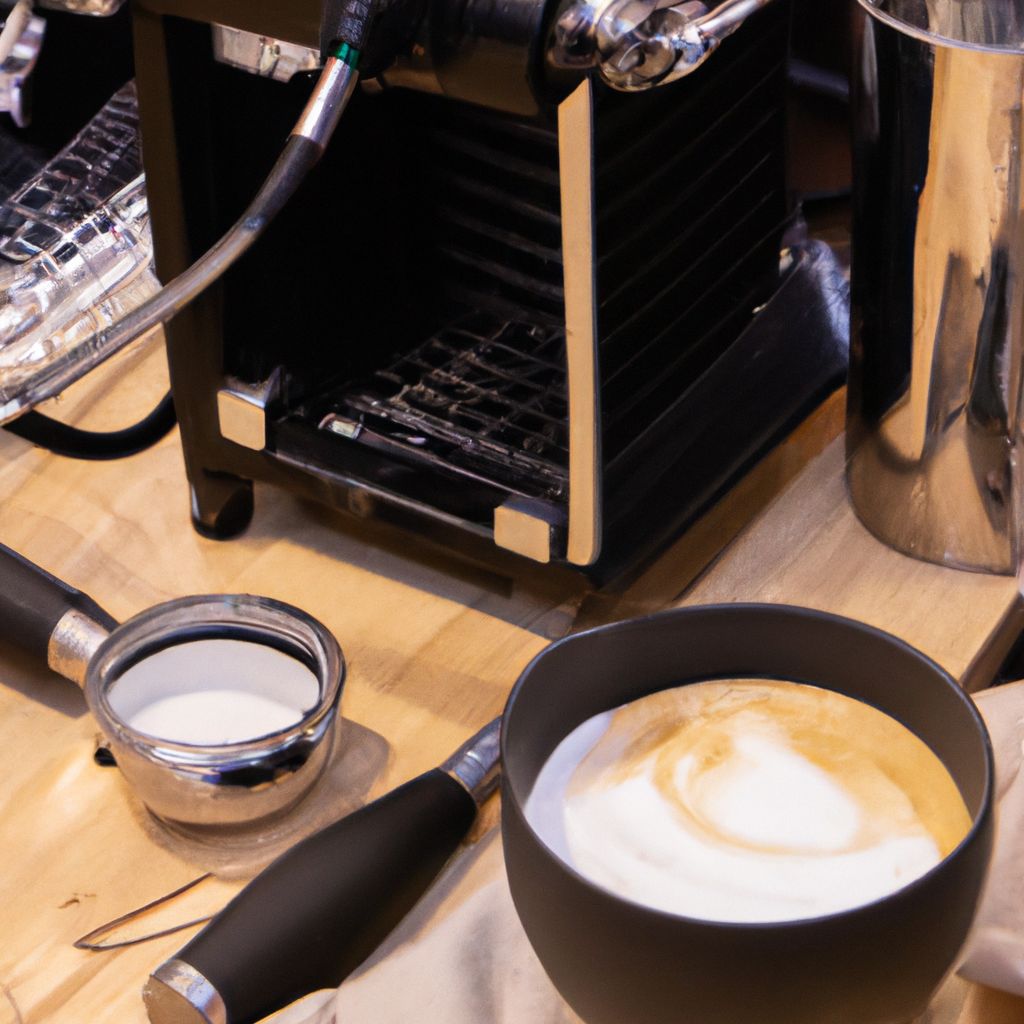
Creating latte art requires not only skill and practice but also the right tools. Here are the essential tools needed for latte art:
- Espresso Machine
- A high-quality espresso machine is the foundation for creating latte art. The machine should be capable of creating a rich, smooth shot of espresso with a layer of crema on top. The crema serves as the 'canvas' on which the latte art is created.
- Milk Pitcher
- The milk pitcher is where the milk is frothed before it's poured into the espresso. It's essential to choose a pitcher with a spout design that suits your pouring style. The size of the pitcher is also important - it should be large enough to hold the milk but not so large that it's difficult to control the pour.
- Latte Art Pen
- A latte art pen, also known as an etching tool, is used to create intricate designs in the foam of a latte. It's a great tool for baristas who want to take their latte art to the next level.
In addition to these essential tools, some baristas choose to use additional tools to enhance their latte art. These can include:
- Thermometer: A thermometer is used to ensure the milk is at the optimal temperature for frothing. Too hot, and the milk will scorch; too cold, and it won't froth properly.
- Microfiber Cloth: A clean cloth is essential for wiping down the steam wand after each use.
- Knock Box: A knock box is used to dispose of spent coffee grounds.
While these tools are helpful, remember that the most important tool for creating latte art is the barista's skill and creativity.
Perfecting Espresso and Milk Foam
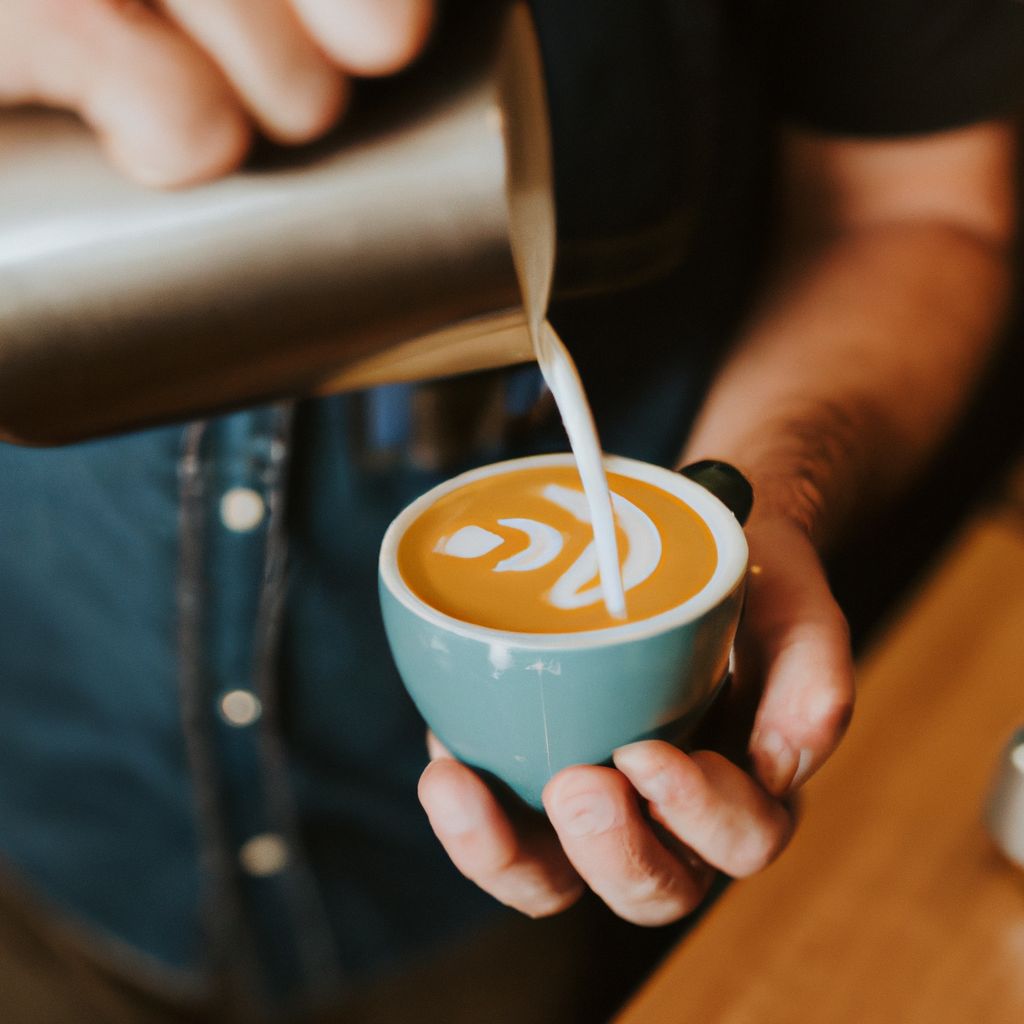
It's crucial to understand that latte art begins well before the milk meets the espresso. The quality of the espresso shot and the texture of the milk foam are foundational to creating good latte art.
Perfecting the espresso shot is the first step to good latte art. The espresso should have a rich, golden crema on top, which serves as the 'canvas' for the latte art. The espresso shot needs to be balanced in taste, as a bitter or sour shot can ruin the overall taste of the latte, regardless of how beautiful the art may be.
"A good espresso shot is the cornerstone of a great latte. It's not just about the art; the taste is equally important." - Scott Rao, Coffee Consultant and Author
The milk foam is equally important in latte art. The milk needs to be steamed to the right temperature (between 140 and 155 degrees Fahrenheit) to create microfoam, a velvety texture of small, uniform bubbles. This microfoam is what allows for the creation of patterns in latte art.
When the milk is steamed correctly, it integrates seamlessly with the espresso, creating a harmonious blend of flavors and textures. However, if the milk is too frothy or not frothy enough, it will be challenging to create designs, and the taste of the latte could be compromised.
The quality of the espresso shot and the texture of the milk foam are the foundations of good latte art. By perfecting these elements, baristas can create beautiful and delicious lattes that delight their customers.
Basic Latte Art Designs
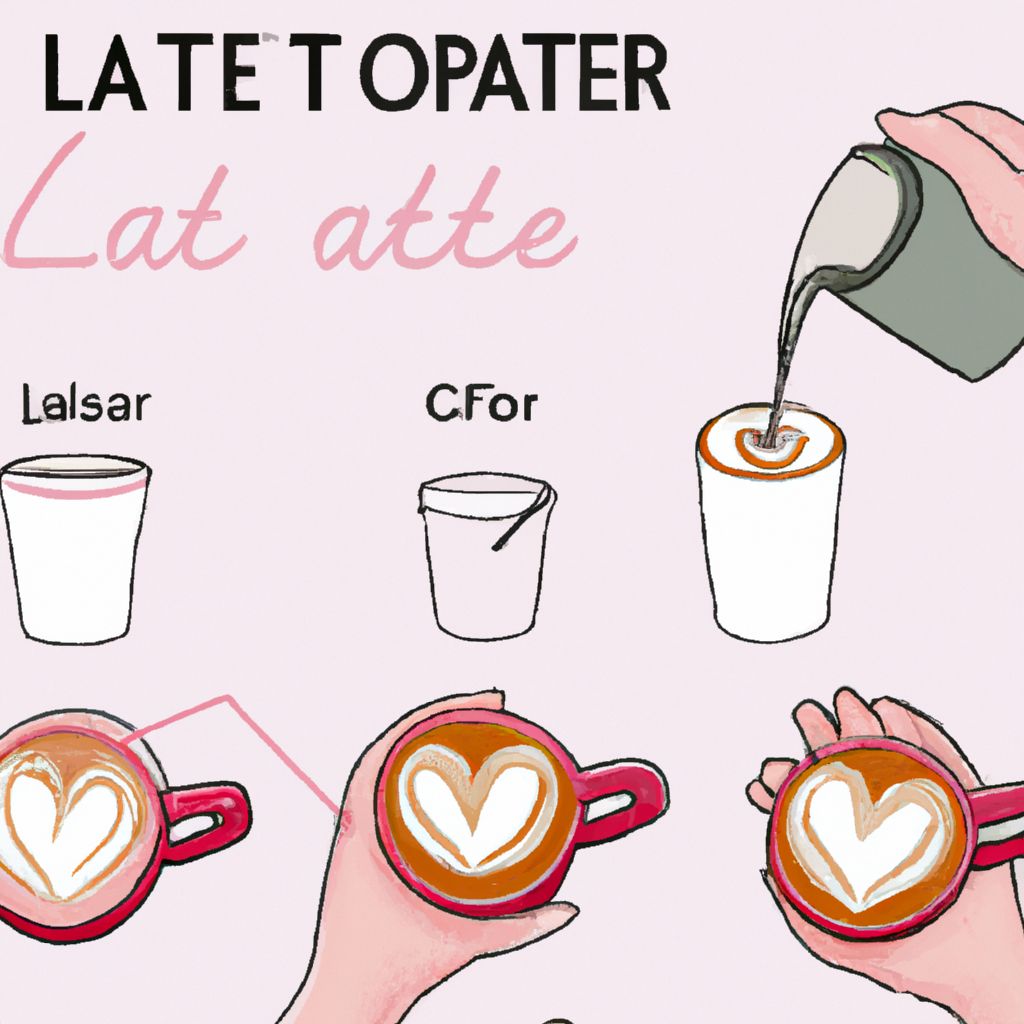
For a barista, mastering basic latte art designs is a rite of passage. Here are three fundamental designs every barista should know: the heart, the rosetta, and the tulip.
- The Heart
-
- Start with a properly pulled shot of espresso in a cup.
- Steam your milk to the right temperature and consistency. You're aiming for a velvety microfoam.
- Begin pouring the milk into the center of the espresso from a height to allow the milk to dive under the crema.
- As the cup fills, bring the pitcher closer to the surface and start pouring more slowly. As you do this, a white circle should form.
- Once the cup is nearly full, raise the pitcher slightly and swiftly move it through the white circle to create the heart shape.
- The Rosetta
-
- Begin as you would with the heart, pouring the milk into the center of the espresso.
- Once the cup is about half full, bring the pitcher closer to the surface and start wiggling it side to side. This will create the leaves of the rosetta.
- As you continue to pour, slowly move the pitcher back towards the edge of the cup.
- Finish the rosetta by lifting the pitcher slightly and making a quick line through the leaves, similar to finishing the heart.
- The Tulip
-
- Start by pouring the milk into the center of the espresso.
- Lower the pitcher, slow your pour, and move the pitcher slightly backwards to create a white dot.
- Repeat the process, stacking the white dots on top of each other. The number of dots you create will determine the number of layers your tulip has.
- Once you've created the desired number of layers, finish the tulip by lifting the pitcher slightly and making a quick line through the dots.
These designs are just the beginning. As you grow more comfortable with manipulating the milk and espresso, you can start to experiment with more complex designs and even create your own.
Advanced Latte Art Techniques
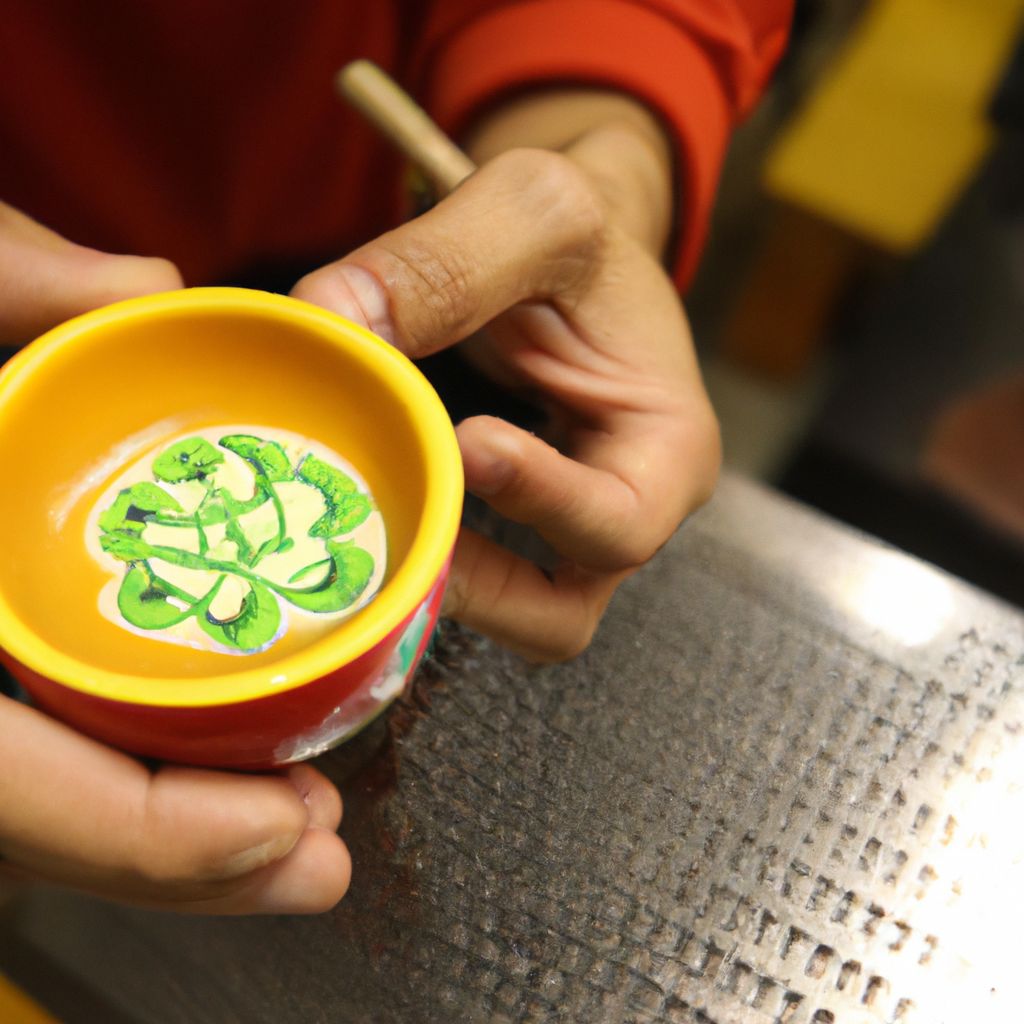
Once the basics of latte art are mastered, baristas can explore more advanced techniques to further enhance their skills and creativity.
- Multiple Patterns
- Creating a design that incorporates multiple patterns is a challenge, but it can result in some truly stunning latte art. For example, a barista might combine a rosetta and a heart in the same cup. This requires precise control over the pour and a deep understanding of how different patterns are formed.
- Color Latte Art
- Adding color to latte art is a relatively recent development in the coffee world, and it has opened up a whole new world of possibilities for latte art. Baristas can use food coloring or colored syrups to create vibrant, eye-catching designs. However, this technique requires a delicate touch, as adding too much color can alter the taste of the coffee.
- 3D Latte Art
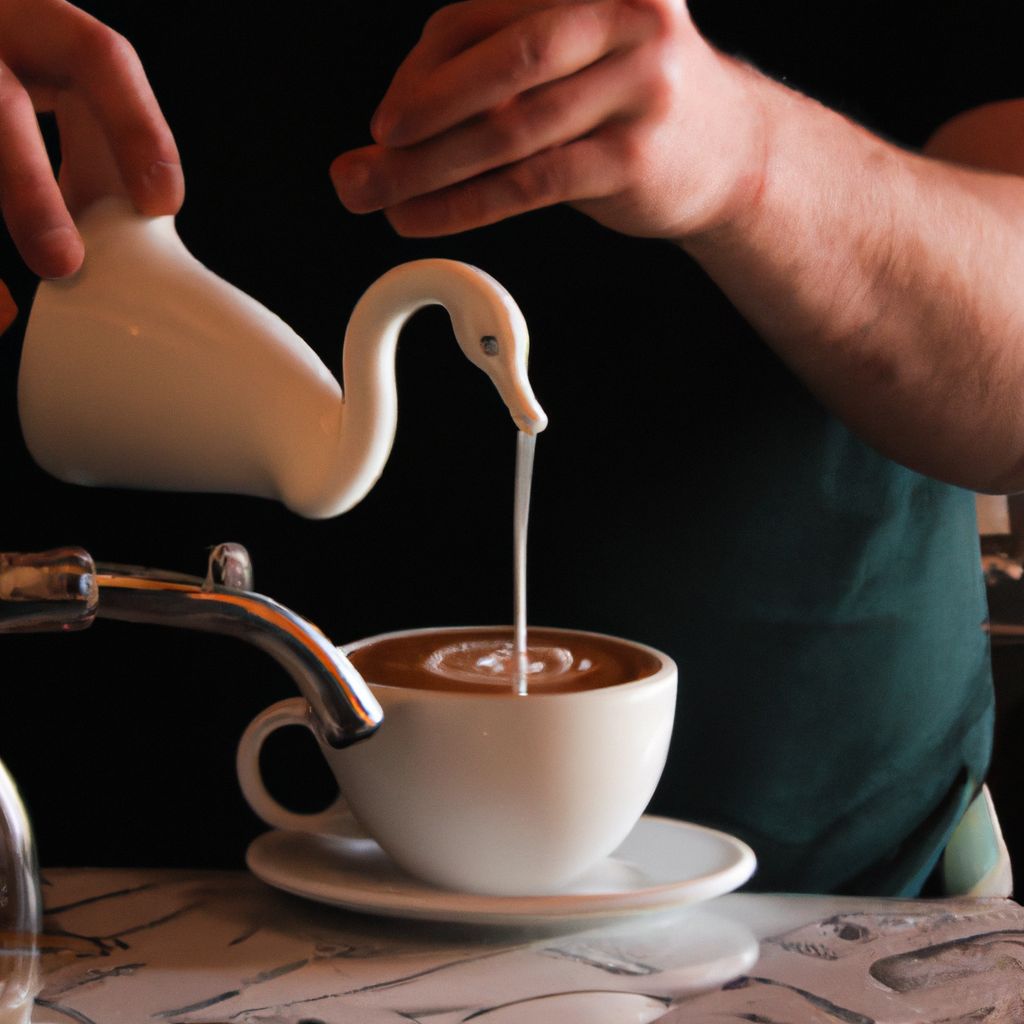
- 3D latte art is an advanced technique where the foam is sculpted into shapes that rise out of the cup. This can include animals, flowers, or even miniature scenes. This technique requires a lot of practice, as well as a special tool called a 'foam spoon' that's used to scoop and shape the foam.
These advanced techniques require a lot of practice and patience, but they can take your latte art to the next level. Remember, the key to great latte art is to never stop experimenting and learning.
Common Mistakes and How to Avoid Them
Latte art, while beautiful, can be challenging for beginners. Here are some common mistakes that new baristas often make, along with tips on how to avoid them:
- Overheating the Milk
- Overheating the milk can cause it to become too frothy, making it difficult to create smooth designs. The ideal temperature for steamed milk is between 140 and 155 degrees Fahrenheit. Use a thermometer to ensure you're heating the milk to the correct temperature.
- Improper Milk Texture
- Creating good latte art requires milk that's been frothed to a velvety microfoam. If the milk is under-frothed, it will be too thin and won't hold a shape. If it's over-frothed, it will be too thick and won't pour smoothly. Practice steaming the milk to the right consistency: it should look like wet paint.
- Pouring Too Quickly or Too Slowly
- The speed at which you pour the milk into the espresso can greatly affect the outcome of the latte art. Pouring too quickly can cause the milk to break through the crema and disrupt the design, while pouring too slowly can cause the milk to pool on the surface. The key is to pour steadily and adjust the speed as needed based on what the design requires.
- Starting the Design Too Soon
- When creating latte art, it's crucial to wait until the cup is about half full before starting the design. If you start too soon, the design will likely end up off-center and distorted. Practice your timing to ensure you're starting the design at the right moment.
Remember, creating good latte art takes time and practice, so don't be discouraged by these common mistakes. With patience and persistence, you'll be able to create beautiful latte art that impresses your customers.
The Importance of Practice
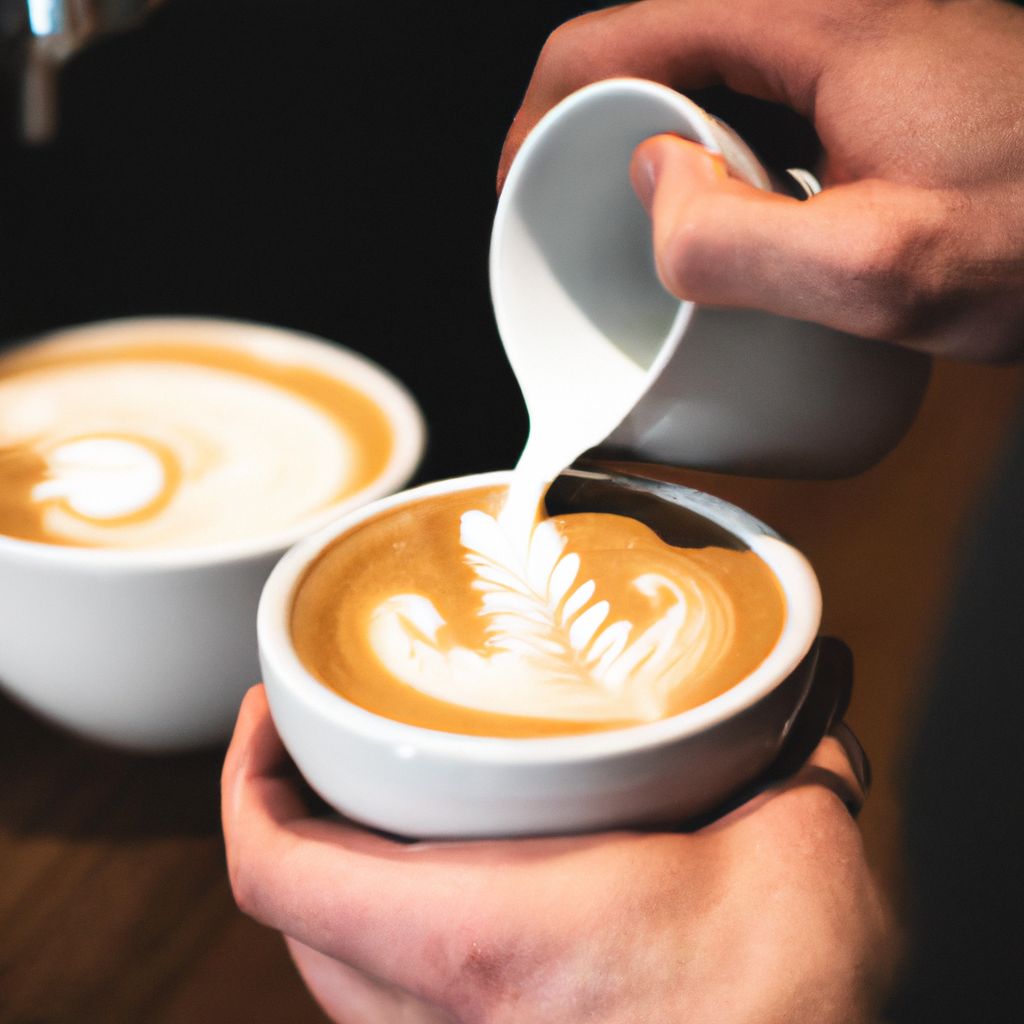
Mastering latte art is a journey that requires continuous practice and a dedication to improvement. It's not something that can be perfected overnight; it takes time, patience, and a lot of trial and error.
One of the best ways to practice is to make lattes regularly, whether that's at work in a coffee shop or at home. The more you practice, the more comfortable you'll become with the techniques and tools. It's also a good idea to experiment with different designs to challenge your skills and creativity.
Consistency is key when it comes to practice. It's better to practice for a little bit each day rather than for a long period of time once a week. This allows you to build muscle memory and continually refine your technique.
"Practice is the key to mastering any art, and latte art is no exception. It's not just about the physical act of pouring the milk; it's also about understanding the science of coffee and milk, the details of your tools, and developing a feel for the craft. The more you practice, the better you'll become." - Hidenori Izaki, World Barista Champion 2014
Finally, it's important to maintain a positive mindset. It's easy to get frustrated when your latte art doesn't turn out the way you want it to, but remember that every mistake is a learning opportunity. Stay patient, keep practicing, and don't be afraid to experiment and try new things. With time and dedication, you'll see your latte art skills improve.
Conclusion: Latte Art as a Barista's Signature
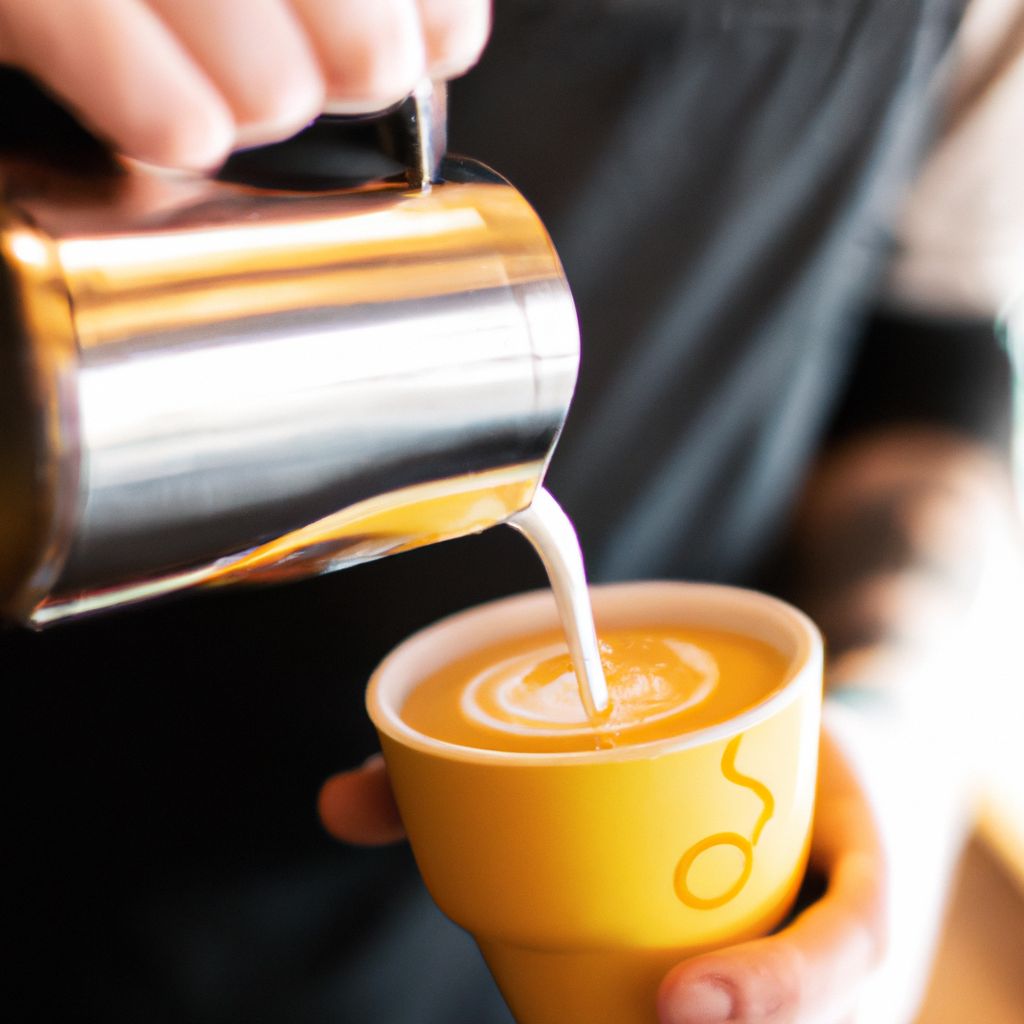
Latte art is more than just a decorative element; it's a testament to a barista's skill and creativity. It can be a signature of the barista, showcasing their unique style and approach to coffee-making. In fact, many coffee shops are recognized and remembered for their exceptional latte art, making it a key factor in setting them apart from the competition.
As a barista, mastering latte art can elevate your craft, enhance your customers' experience, and add a personal touch to every cup of coffee you serve. But remember, it's not just about creating beautiful designs; it's also about understanding and respecting the coffee, the milk, and the process.
So, keep honing your skills, experimenting with new designs, and pushing the boundaries of your creativity. The world of latte art is vast and exciting, ready to be explored. Never stop learning, and remember to enjoy the journey.


