
- Introduction to Aerial Footage and Drones
- Choosing the Right Drone for Aerial Footage
- Understanding the Basics of Drone Operation
- Camera Settings for Capturing Stunning Aerial Footage
- Advanced Drone Flying Techniques
- Planning Your Aerial Shoot
- Post-Production of Aerial Footage
- Conclusion: Challenges and Rewards of Aerial Videography
Introduction to Aerial Footage and Drones
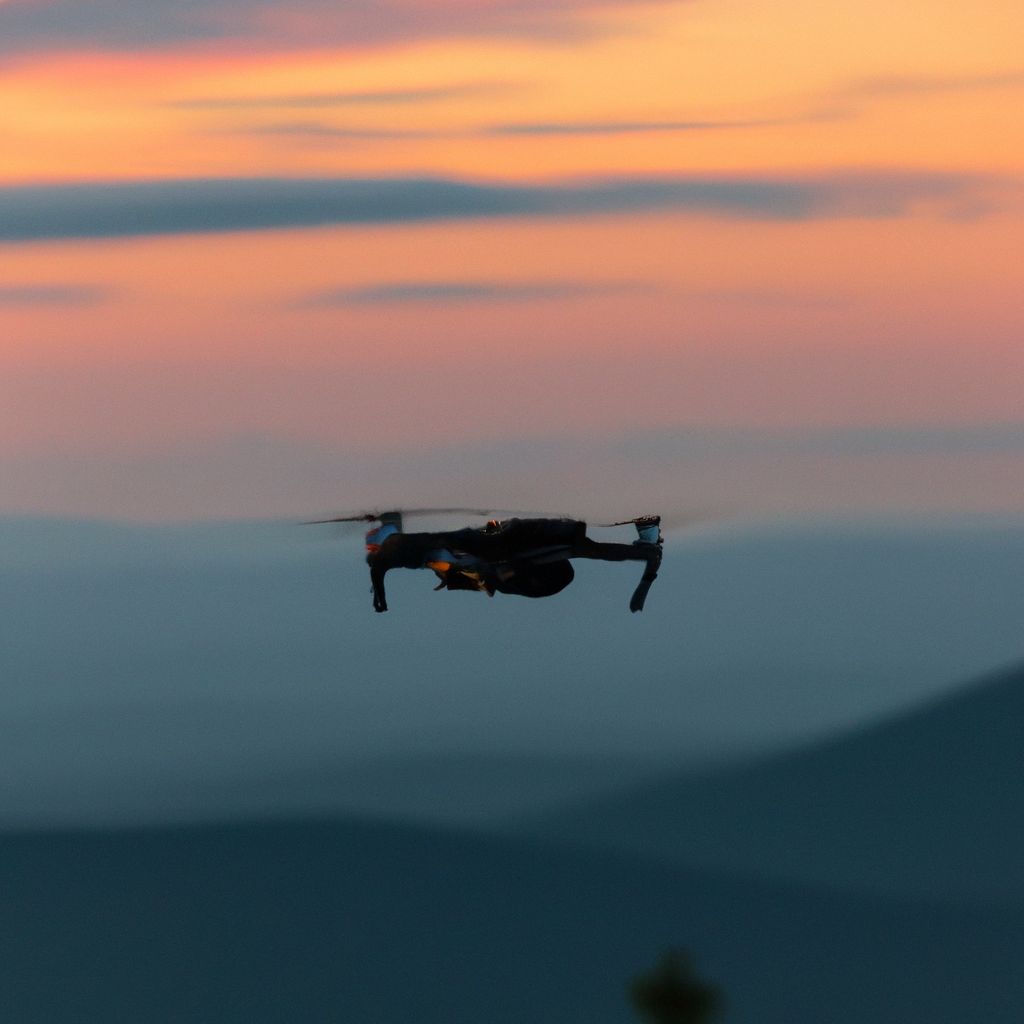
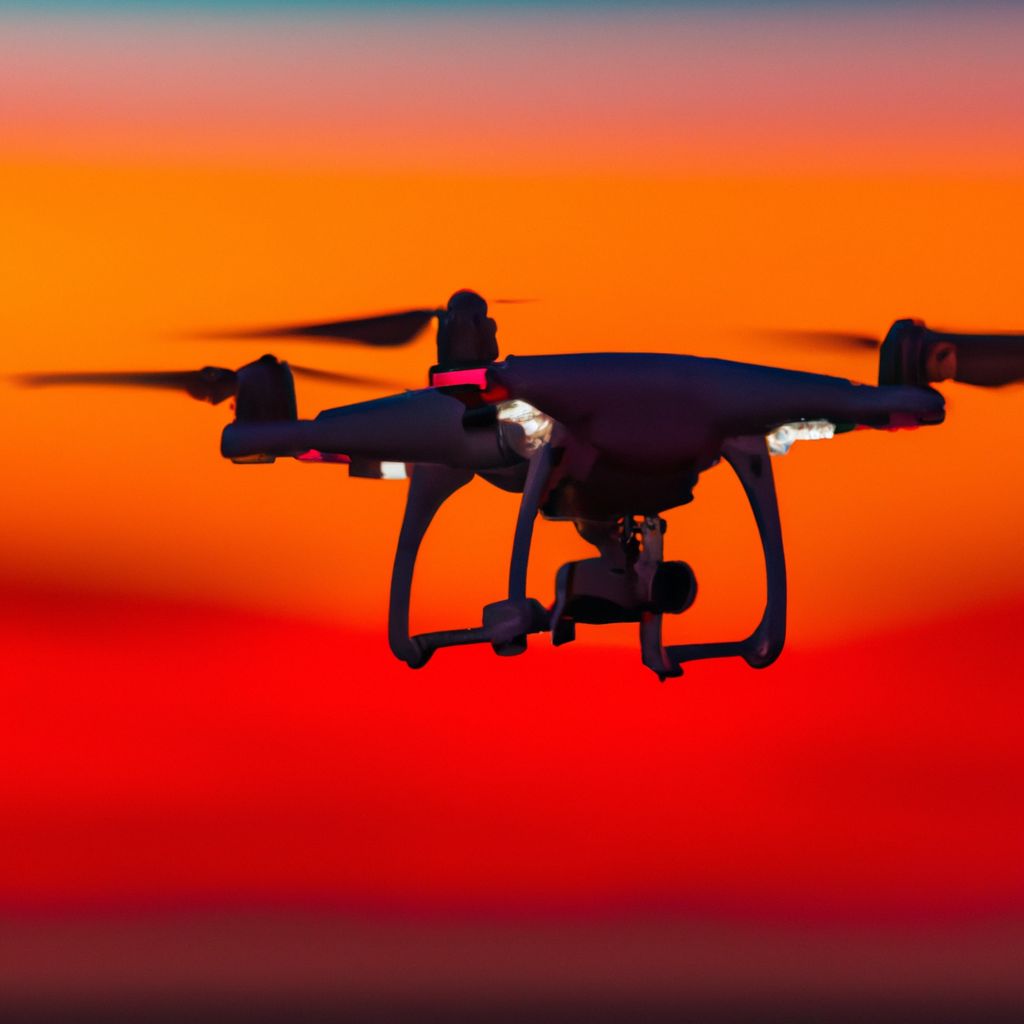
Unmanned aerial vehicles, more commonly known as drones, have revolutionized the field of photography and cinematography. Drone technology has come a long way since its inception, with improvements in flight mechanics, camera quality, and drone control systems. Today, drones are being widely used to capture stunning aerial footage for various purposes, from tourism and real estate marketing to wildlife conservation and sports coverage.
However, with the increasing popularity and accessibility of drone technology comes the responsibility to use it safely and responsibly. Various nations have set up regulations for drone usage, which vary depending on factors like the drone's weight, flight height, and proximity to populated areas. Therefore, it's crucial for drone pilots to familiarize themselves with these regulations before taking to the skies.
According to Grand View Research, the global drone services market size was valued at $4.4 billion in 2019 and is expected to grow at a compound annual growth rate (CAGR) of 55.9% from 2020 to 2027. This growth is largely propelled by the increasing demand for drone-based photography and videography services. Hence, understanding how to capture stunning aerial footage with your drone has the potential to unlock significant opportunities in this fast-growing market.
Choosing the Right Drone for Aerial Footage
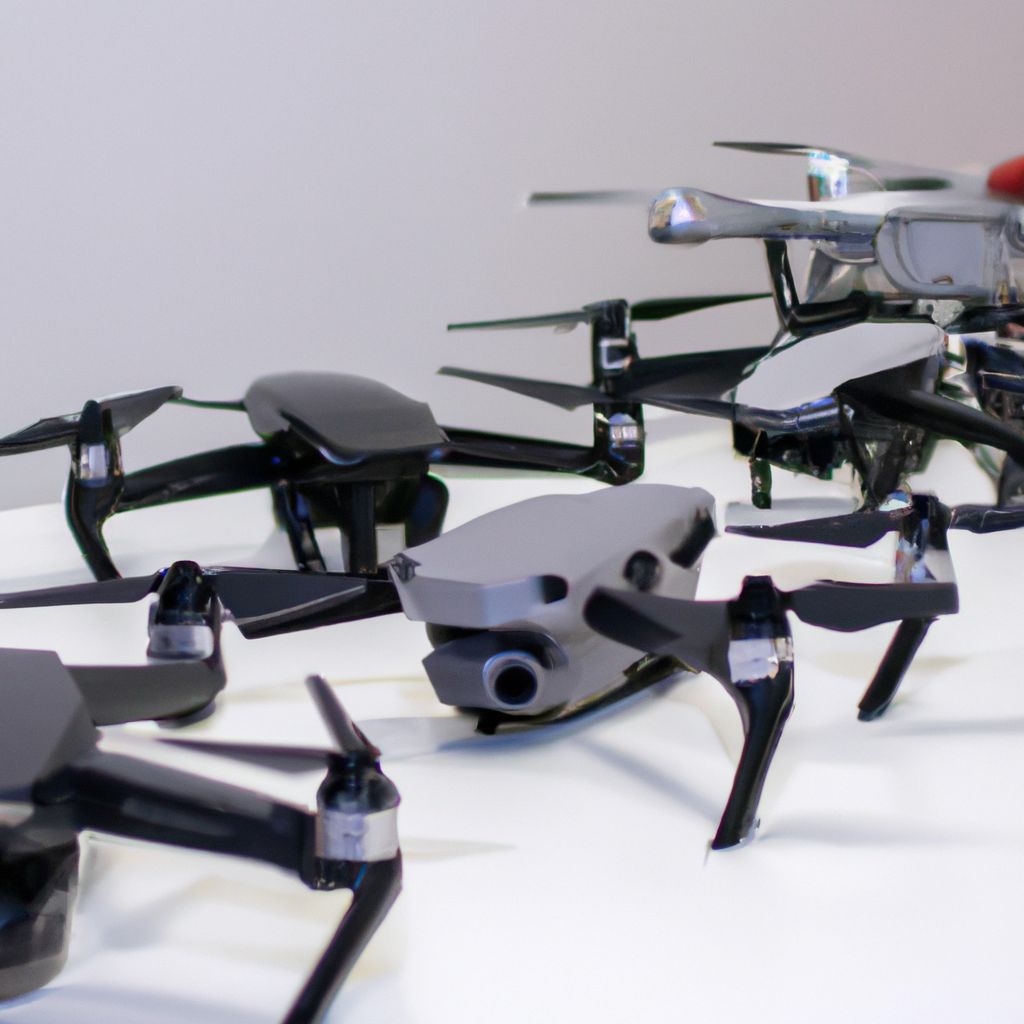
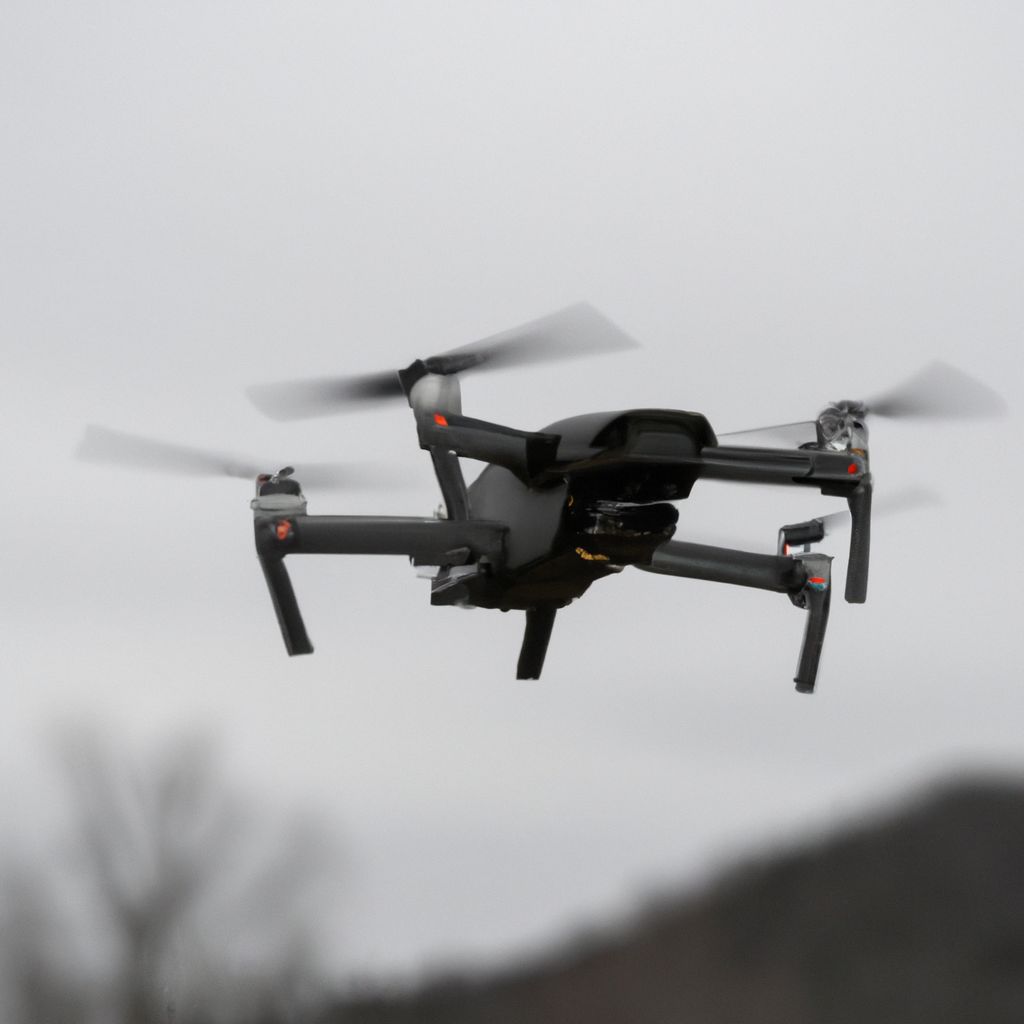
Choosing the right drone is a critical first step in capturing breathtaking aerial footage. The market is flooded with a wide variety of drones, each with different features, capabilities, and prices. Therefore, it's essential to consider your specific needs and budget when making a selection.
Generally, drones are classified into two main categories: consumer drones and professional drones. Consumer drones, such as DJI Mavic Air and Parrot Anafi, are typically used by hobbyists and beginners due to their affordability and ease of use. They offer a good balance of quality and value, making them an ideal choice for those starting their journey in aerial photography.
On the other hand, professional drones like DJI Inspire 2 and Autel Evo II Pro offer superior camera quality, advanced flight features, and longer flight times. However, these drones come with a hefty price tag, making them suitable for professional photographers and filmmakers who require the best quality footage.
According to a report by Drone Industry Insights, the DJI brand holds a 76.8% market share in the drone industry, indicating their popularity among drone pilots.
When choosing a drone, consider its camera resolution, flight time, range, stability, and the availability of additional features like GPS and obstacle avoidance. It's also critical to check the drone's compliance with local regulations to avoid legal issues.
For example, in the United States, drones weighing more than 0.55 pounds (250 grams) require registration with the Federal Aviation Administration (FAA). Hence, if you're a casual user looking for a lightweight, unregistered drone, DJI Mavic Mini (weight: 249 grams) could be an excellent choice.
Understanding the Basics of Drone Operation
Operating a drone may seem daunting at first, but with understanding and practice, you can master the art of drone flight. Here, we will cover the basics of drone operation, including controls, flight modes, and troubleshooting, along with essential safety tips and regulations.
Most drones come with a dedicated remote controller that allows you to pilot the drone. The left stick typically controls the drone's altitude and rotation, while the right stick controls the drone’s forward, backward, left, and right movements. These controls may vary slightly depending on the drone model and the controller's mode settings.
Drones also offer various flight modes to assist the pilot. For instance, DJI drones come with a Beginner Mode that restricts the drone's speed and distance from the controller, making it ideal for novice pilots. Other advanced modes, like Follow Me, Waypoint Navigation, and Point of Interest, can help capture dynamic and creative shots.
Despite all these features, drones are not immune to technical issues. Common problems include loss of GPS signal, battery drain, unstable flight, and camera issues. In such cases, refer to the drone’s instruction manual or contact the manufacturer's customer support for troubleshooting.
"Safety should be the number one priority when flying drones," advises Peter Sachs, a drone attorney and advocate. "Always maintain a line of sight with your drone, avoid flying near people or private property, and never fly in bad weather conditions."
Furthermore, it's essential to adhere to local drone regulations. In many countries, drones are not allowed to fly near airports, above certain altitudes, or over populated areas. Violating these regulations can result in hefty fines or even criminal charges.
For example, the FAA stipulates that drones should not fly higher than 400 feet in the air, should always remain within visual line-of-sight, and should not be operated from a moving vehicle.
Camera Settings for Capturing Stunning Aerial Footage
Understanding and manipulating your drone's camera settings is key to capturing stunning aerial footage. These settings, which include resolution, frame rate, shutter speed, ISO, and white balance, play a crucial role in determining the quality and feel of your footage.
Resolution: This setting determines the detail level of your footage. Higher resolutions like 4K or 1080p capture more details but also take up more storage space. The choice of resolution largely depends on your project requirements and the capability of your drone's camera.
Frame Rate: Frame rate, measured in frames per second (fps), affects the smoothness of your footage. A higher frame rate like 60fps will result in smoother footage, ideal for slow-motion sequences. On the other hand, a lower frame rate like 24fps will give your footage a more cinematic feel.
Shutter Speed: Shutter speed determines the amount of time the camera sensor will be exposed to light. A slower shutter speed (e.g., 1/50s) will result in more light and motion blur, while a faster shutter speed (e.g., 1/2000s) will capture sharper images with less light.
ISO: ISO controls the camera's sensitivity to light. A lower ISO (e.g., 100) will produce darker but less noisy images, while a higher ISO (e.g., 800) will brighten the image with the possibility of added noise.
White Balance: White balance adjusts the color temperature of your footage, affecting its overall mood and feel. You can select from various presets (e.g., Sunny, Cloudy, Fluorescent) or manually adjust the Kelvin value to achieve your desired look.
"Understanding camera settings and how they interact is essential to becoming a better drone cinematographer," says Philip Bloom, an acclaimed British filmmaker known for his drone work. "Experiment with different settings to find what works best for your specific shooting conditions."
Remember, there's no one-size-fits-all setting for capturing stunning aerial footage. It's all about understanding the impact of each setting and tweaking them according to your creative vision and the shooting conditions.
Advanced Drone Flying Techniques
Mastering advanced drone flying techniques can significantly elevate the quality of your aerial footage. Techniques such as orbiting, top-down, and follow-me not only add dynamism to your footage but also help to tell a compelling visual story. Here, we will explore these techniques in detail.
Orbiting: This technique involves flying your drone in a circular path around a subject. It's a great way to showcase the subject from multiple angles and create a sense of drama. To execute this, carefully set your drone's flight path and maintain a constant altitude and speed for a smooth, seamless shot.
Top-Down: Also known as bird's eye view, this technique involves shooting directly downwards from the sky. It offers a unique perspective that's not possible with traditional ground-level photography. Ensure your drone is stable and at a safe height to avoid any collisions.
Follow-Me: This technique involves having your drone follow a moving subject. It's ideal for capturing action sequences or tracking wildlife. Many drones come with a built-in follow-me mode, which makes executing this technique easier.
One common challenge when flying drones is dealing with windy conditions, which can lead to unstable footage. To counteract this, try to fly your drone at lower altitudes where wind speeds are generally lower. Also, make use of your drone’s GPS and gimbal stabilization features to maintain stability.
"Mastering advanced drone flying techniques requires practice and patience," says Elena Buenrostro, the founder of Women Who Drone. "Start with simple maneuvers and gradually move on to more complex ones as you gain confidence."
Remember, safety should always be your top priority when practicing these techniques. Ensure you're in a safe and open space, away from people, buildings, and other obstacles. And always keep your drone within line of sight.
Planning Your Aerial Shoot
Planning is a crucial aspect of capturing stunning aerial footage. A well-planned aerial shoot can save you time, ensure safety, and most importantly, help you achieve your creative vision. This involves checking the weather, scouting the location, creating a storyboard, and planning your timing.
Weather Checking: Weather plays a significant role in drone photography. Ideal conditions include clear skies and low wind speeds. Check the weather forecast for your shooting day and plan accordingly. Also, consider how different weather conditions can impact your footage. For instance, overcast conditions can create a moody atmosphere, while sunny days can result in vibrant, high-contrast footage.
Location Scouting: Knowing your location inside out can help you identify the best shooting angles and avoid potential hazards. Use online maps to get a preliminary idea of the location, but also visit the location in person, if possible, for a more accurate assessment.
Storyboard Creation: A storyboard can help you visualize your shots and sequences beforehand. This can be a simple sketch or a detailed digital diagram, depending on your preference. Having a storyboard can also help you communicate your vision to any team members.
Timing: The time of day can greatly affect the look and feel of your footage. Shooting during the golden hour, the time shortly after sunrise or before sunset, can result in beautiful, soft lighting and long shadows.
"Planning your aerial shoot is as important as the shoot itself," states Chase Guttman, an award-winning drone photographer. "It helps you stay organized, be prepared for any contingencies, and most importantly, capture your vision effectively."
Remember, a well-planned shoot not only results in better footage but also ensures safety and efficiency. So take the time to plan your aerial shoot meticulously for the best results.
Post-Production of Aerial Footage
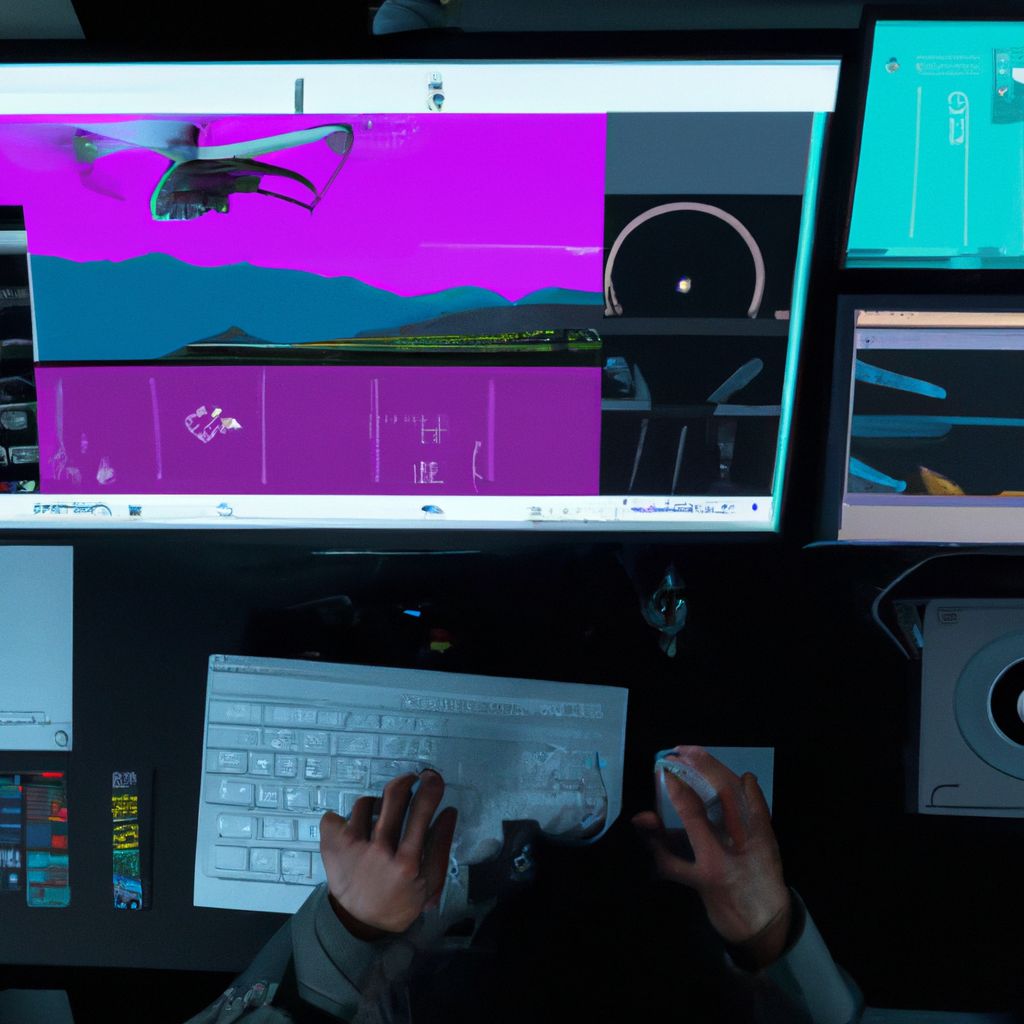
Post-production is where your aerial footage truly comes to life. By using video editing software like Adobe Premiere Pro or Final Cut Pro, you can not only correct any imperfections in your footage but also enhance its overall quality and impact. This involves steps like color grading, adding music, and incorporating transitions.
Color Grading: Color grading involves adjusting the colors in your footage to achieve a certain aesthetic or mood. This can be as simple as adjusting brightness and contrast, or as complex as changing individual color channels. Many editing software provide color grading tools and presets to help you achieve your desired look.
Adding Music: Music can greatly enhance the emotional impact of your footage. Choose a track that complements the mood of your footage. Make sure to respect copyright laws when using music; there are many websites like Epidemic Sound and Artlist that offer royalty-free music for video production.
Transitions: Transitions help to smoothly switch from one shot to another. While there are numerous transitions available, it's essential to use them sparingly and only when they enhance the storytelling. Some popular transitions in aerial footage include fade in/out, cross dissolve, and match cut.
"Post-production is where the magic happens," says Lizzie Peirce, a professional videographer and YouTuber. "A well-edited video can make even the most mundane footage look spectacular."
Remember, editing should always serve the story you're trying to tell. Avoid over-editing, which can distract from the actual content. Lastly, always save your original footage before starting editing, in case you need to revert to it later.
Conclusion: Challenges and Rewards of Aerial Videography
Aerial videography comes with its unique set of challenges. Battling wind gusts, ensuring a stable flight, maintaining battery power, and dealing with unexpected weather changes are just some of the issues you might face in the field. Furthermore, adhering to drone regulations and ensuring safety can add an extra layer of complexity to the process.
However, despite these challenges, the rewards of aerial videography are immense. The ability to capture stunning visuals from unique perspectives is unparalleled. It opens up a world of creative possibilities and allows you to tell stories in a way that’s not possible with traditional ground-level videography.
"The challenges of aerial videography are real, but the rewards are worth it," shares Dirk Dallas, founder of From Where I Drone. "When you see the world from a bird's eye view, it's like discovering a whole new world. And that's truly magical."
As you embark on your journey in aerial videography, remember that it's a continuous learning process. Keep experimenting with different techniques, settings, and perspectives. Stay updated with the latest technology and trends in the industry. And most importantly, keep flying and capturing the world from above.